HAPPY 1ST BIRTHDAY KEIRA!


DIY first birthday


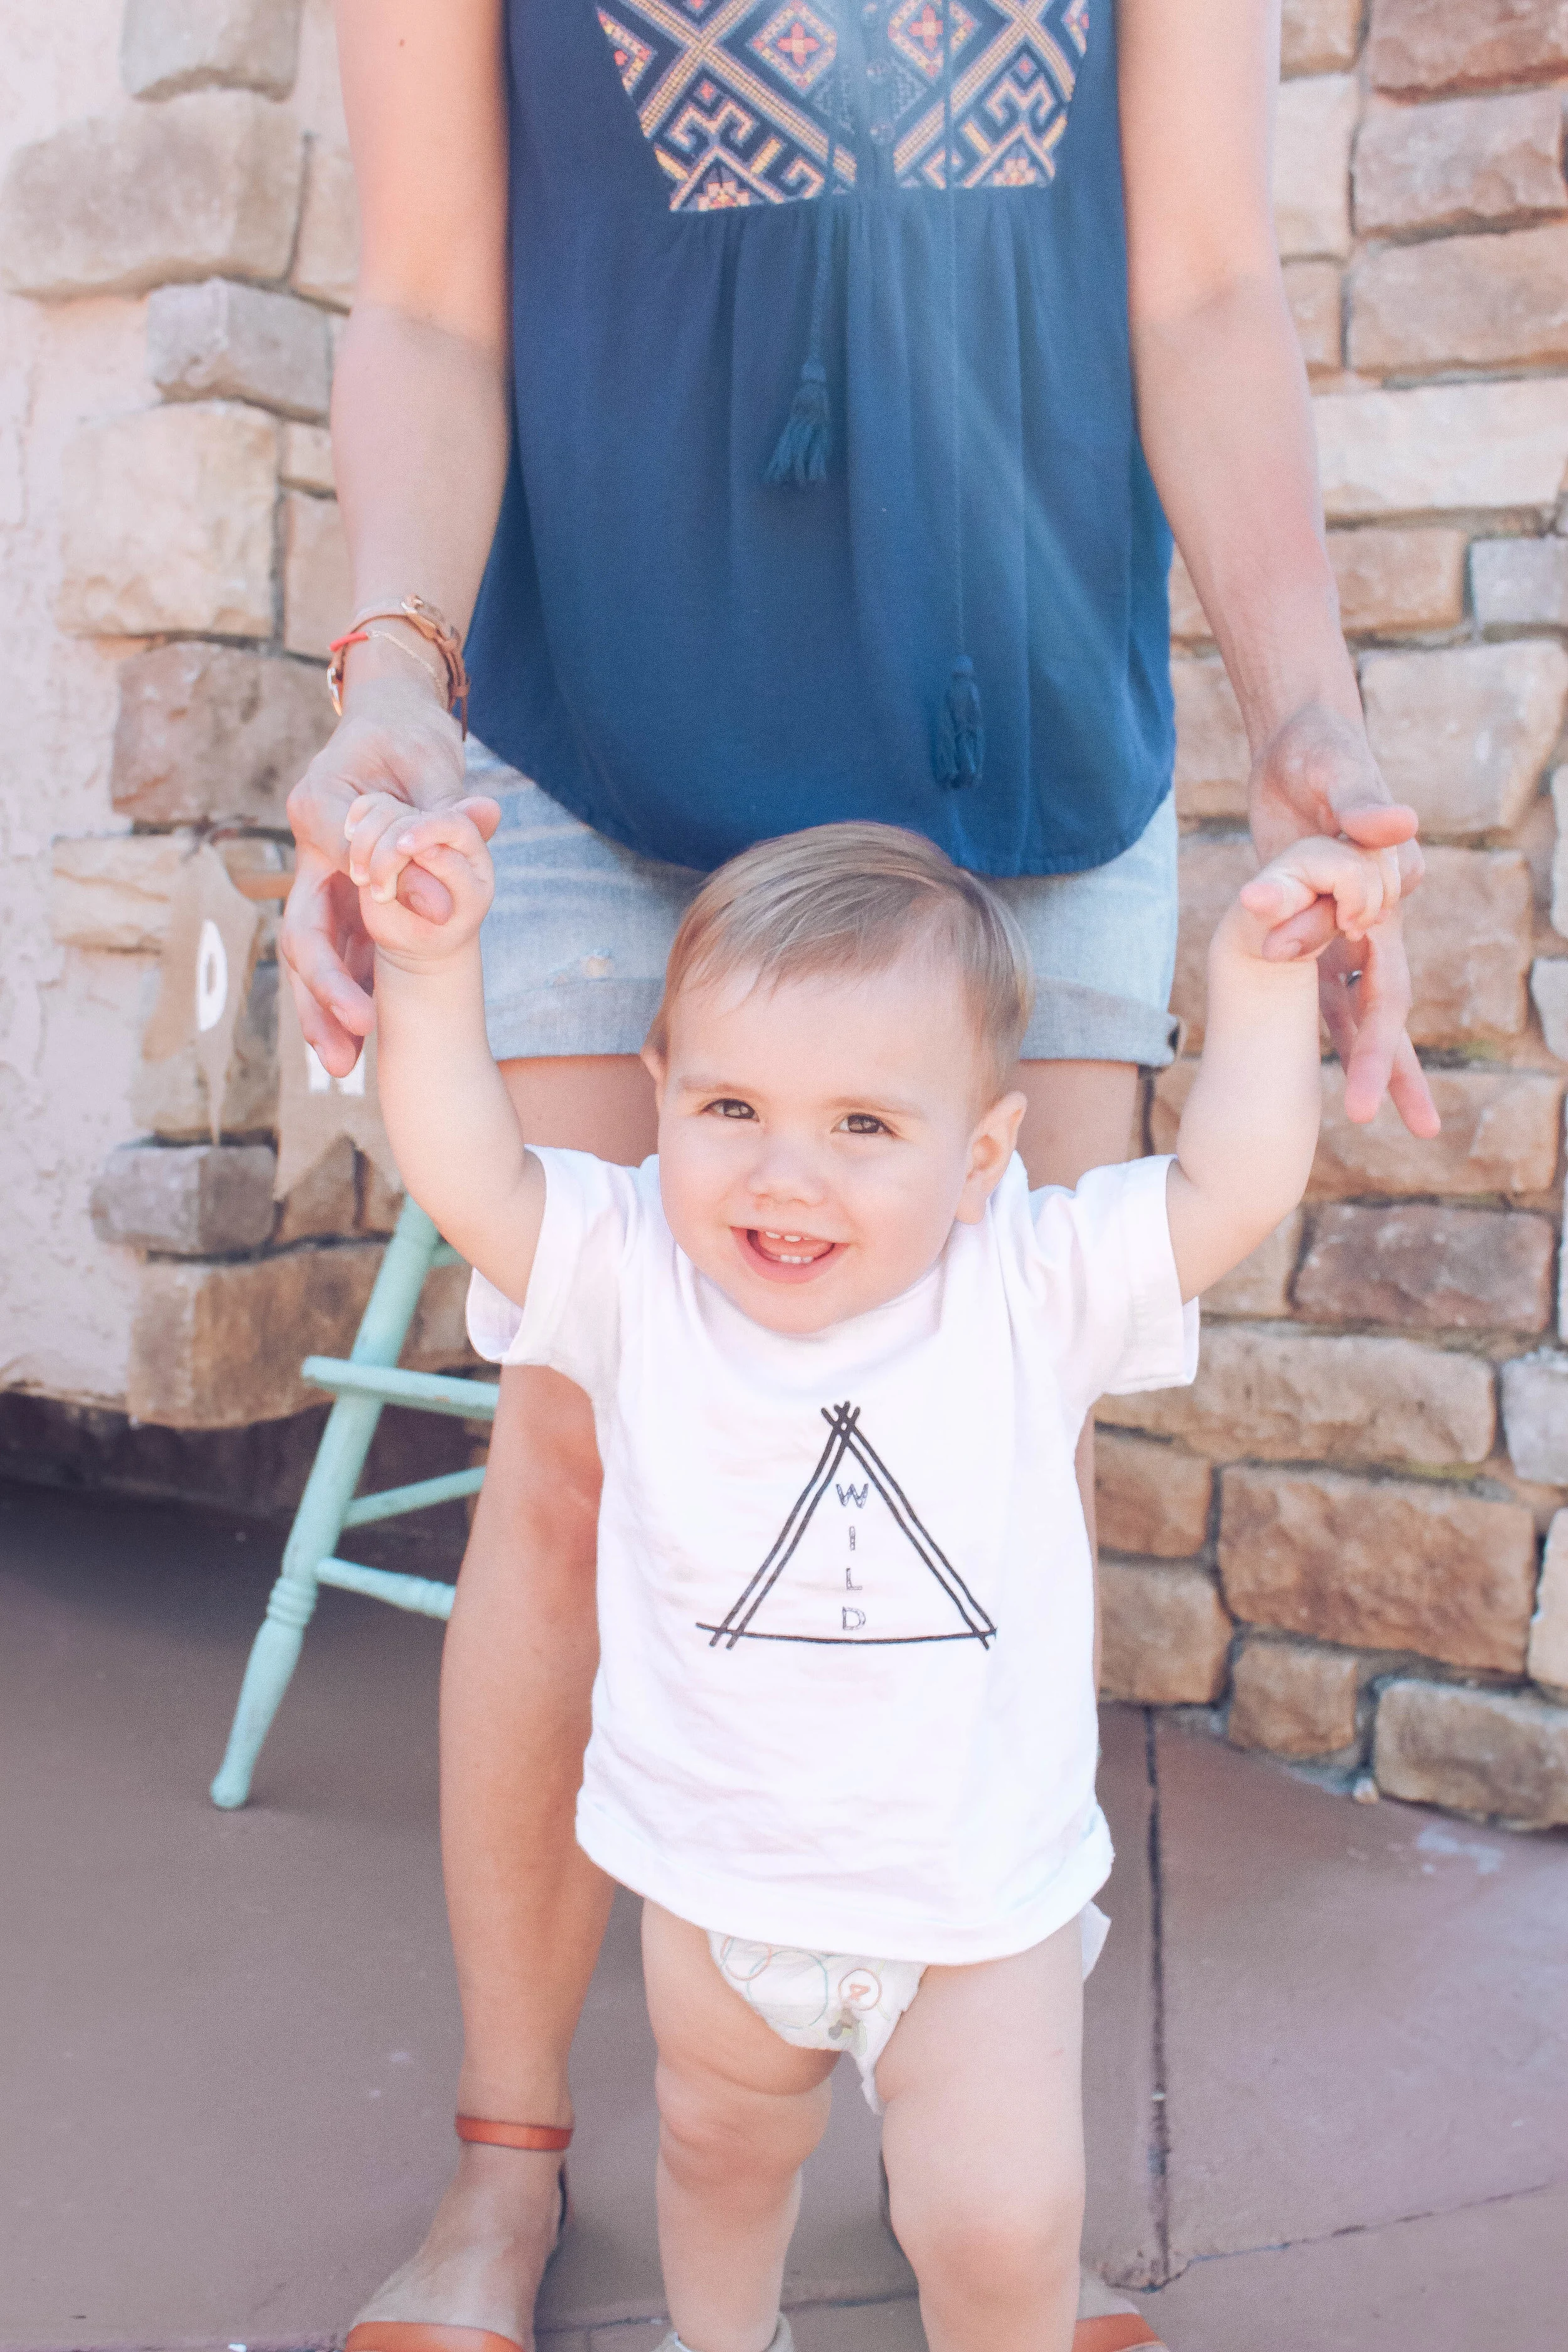
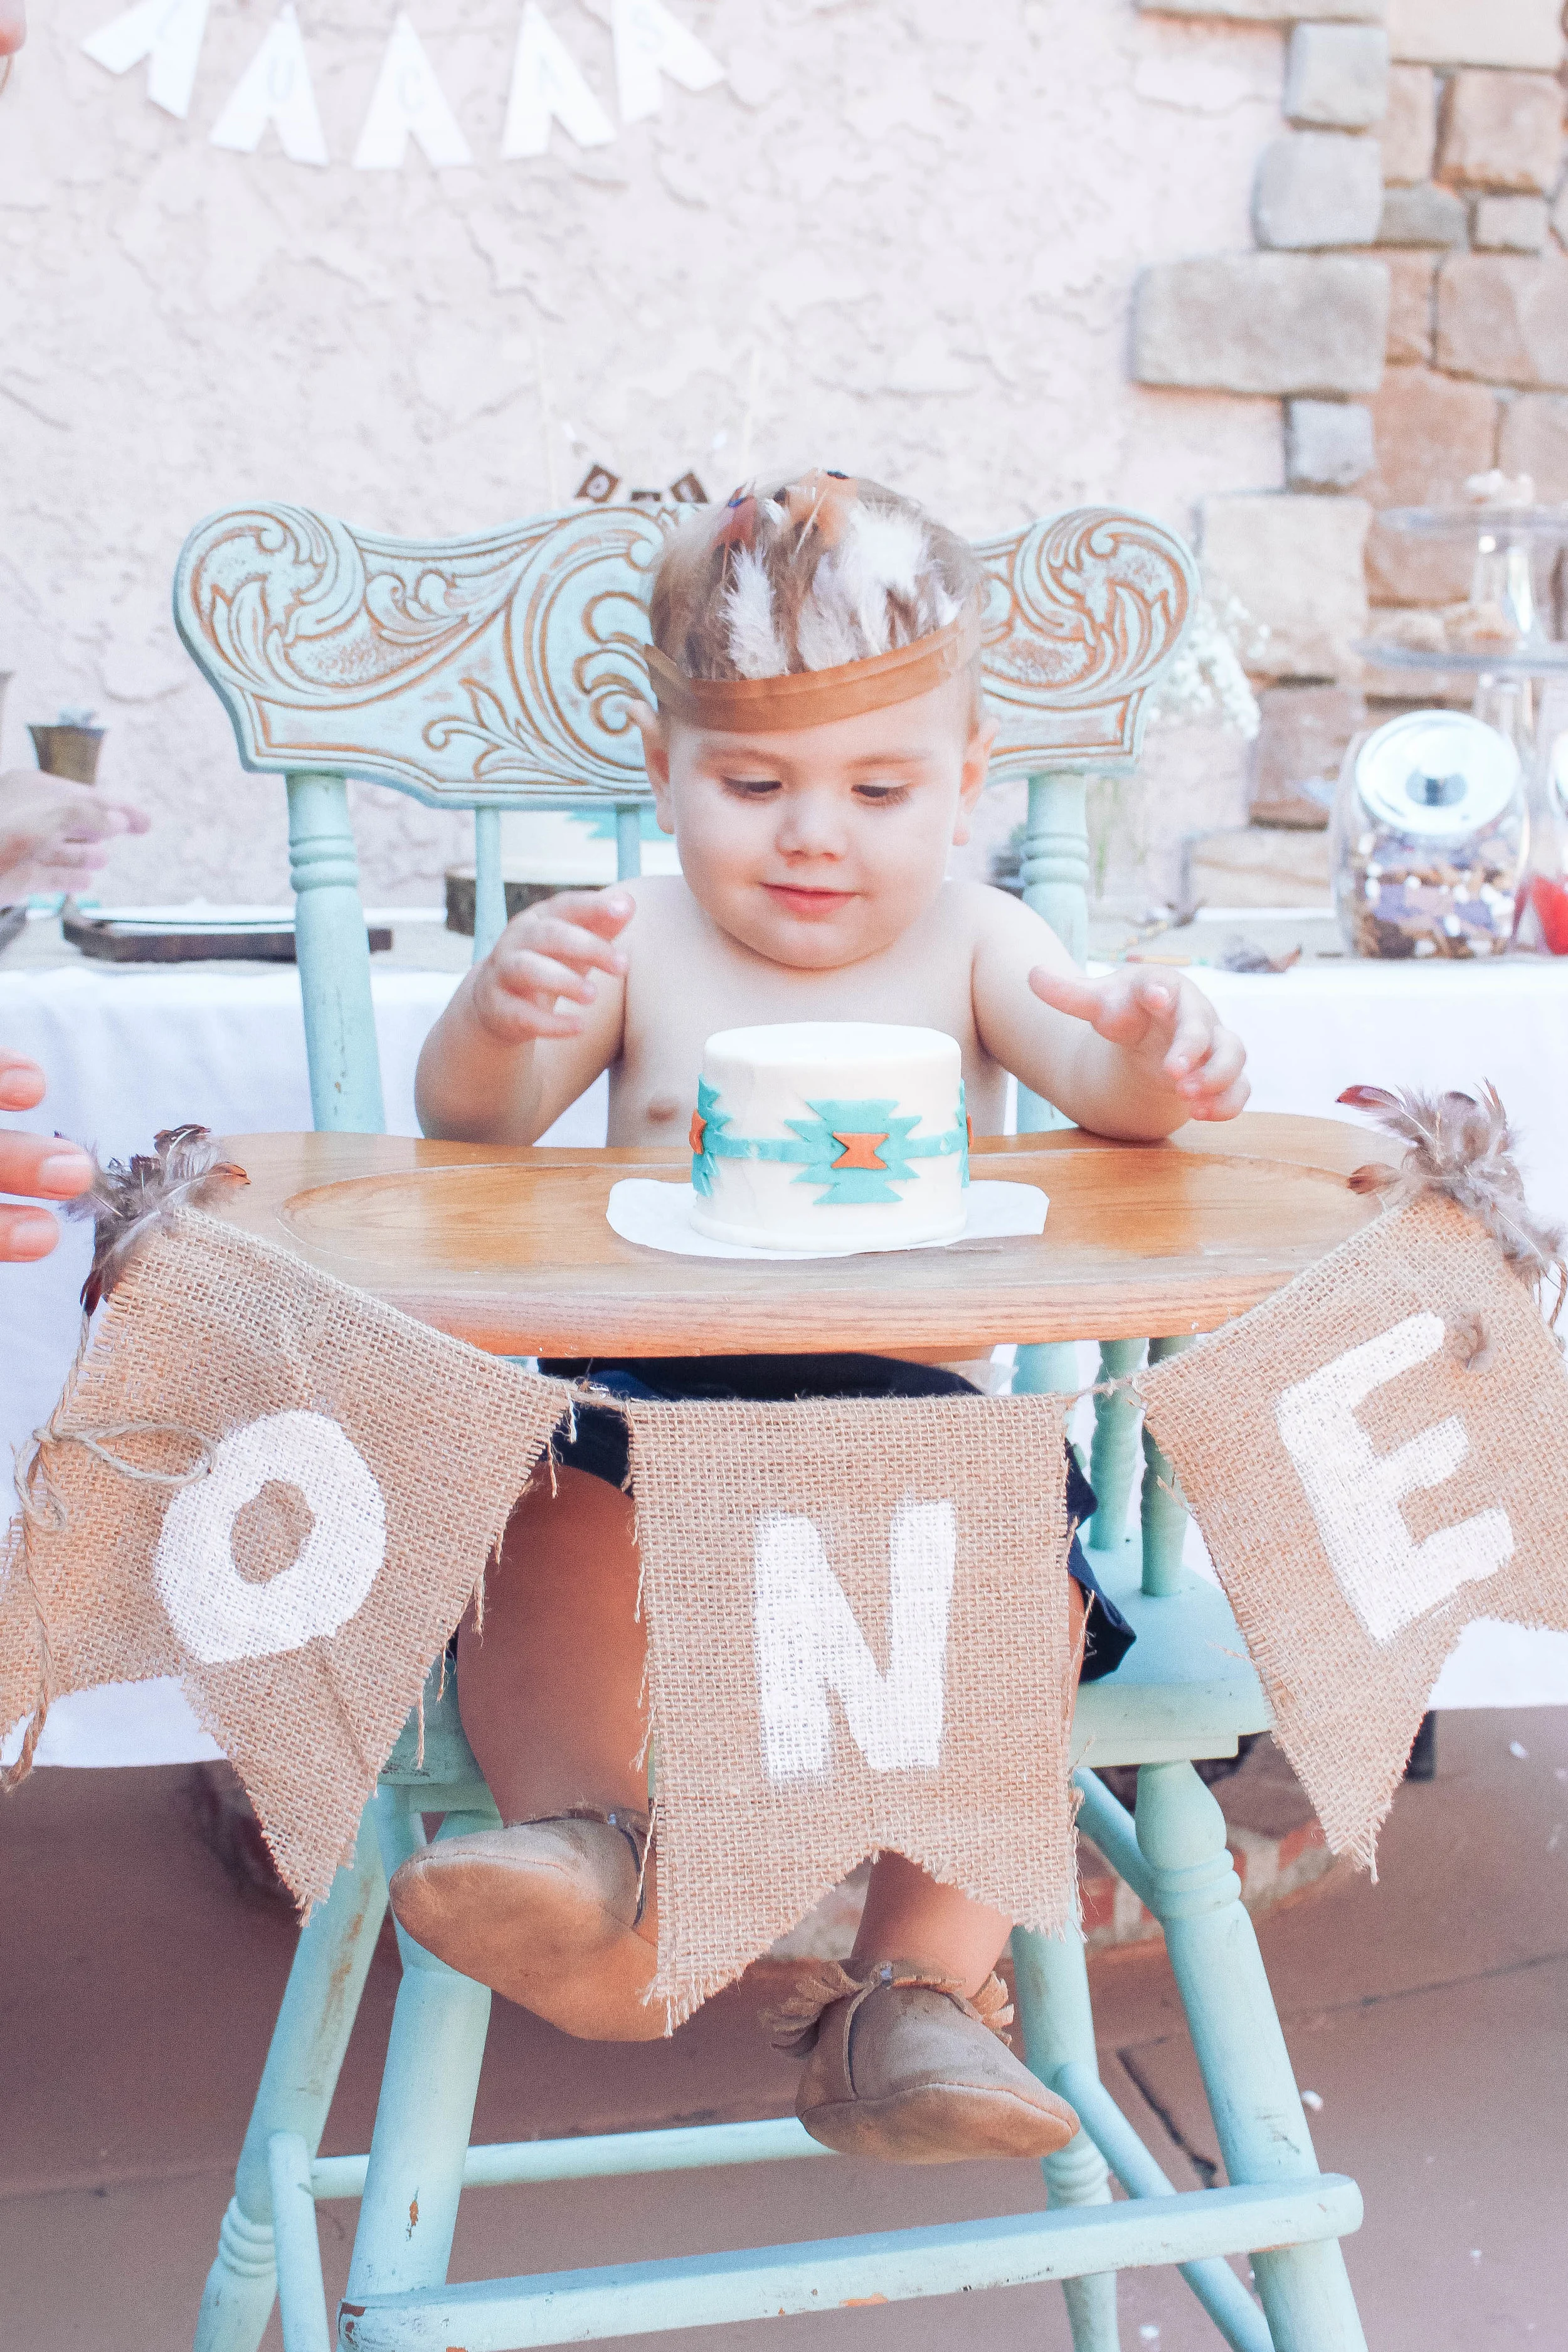
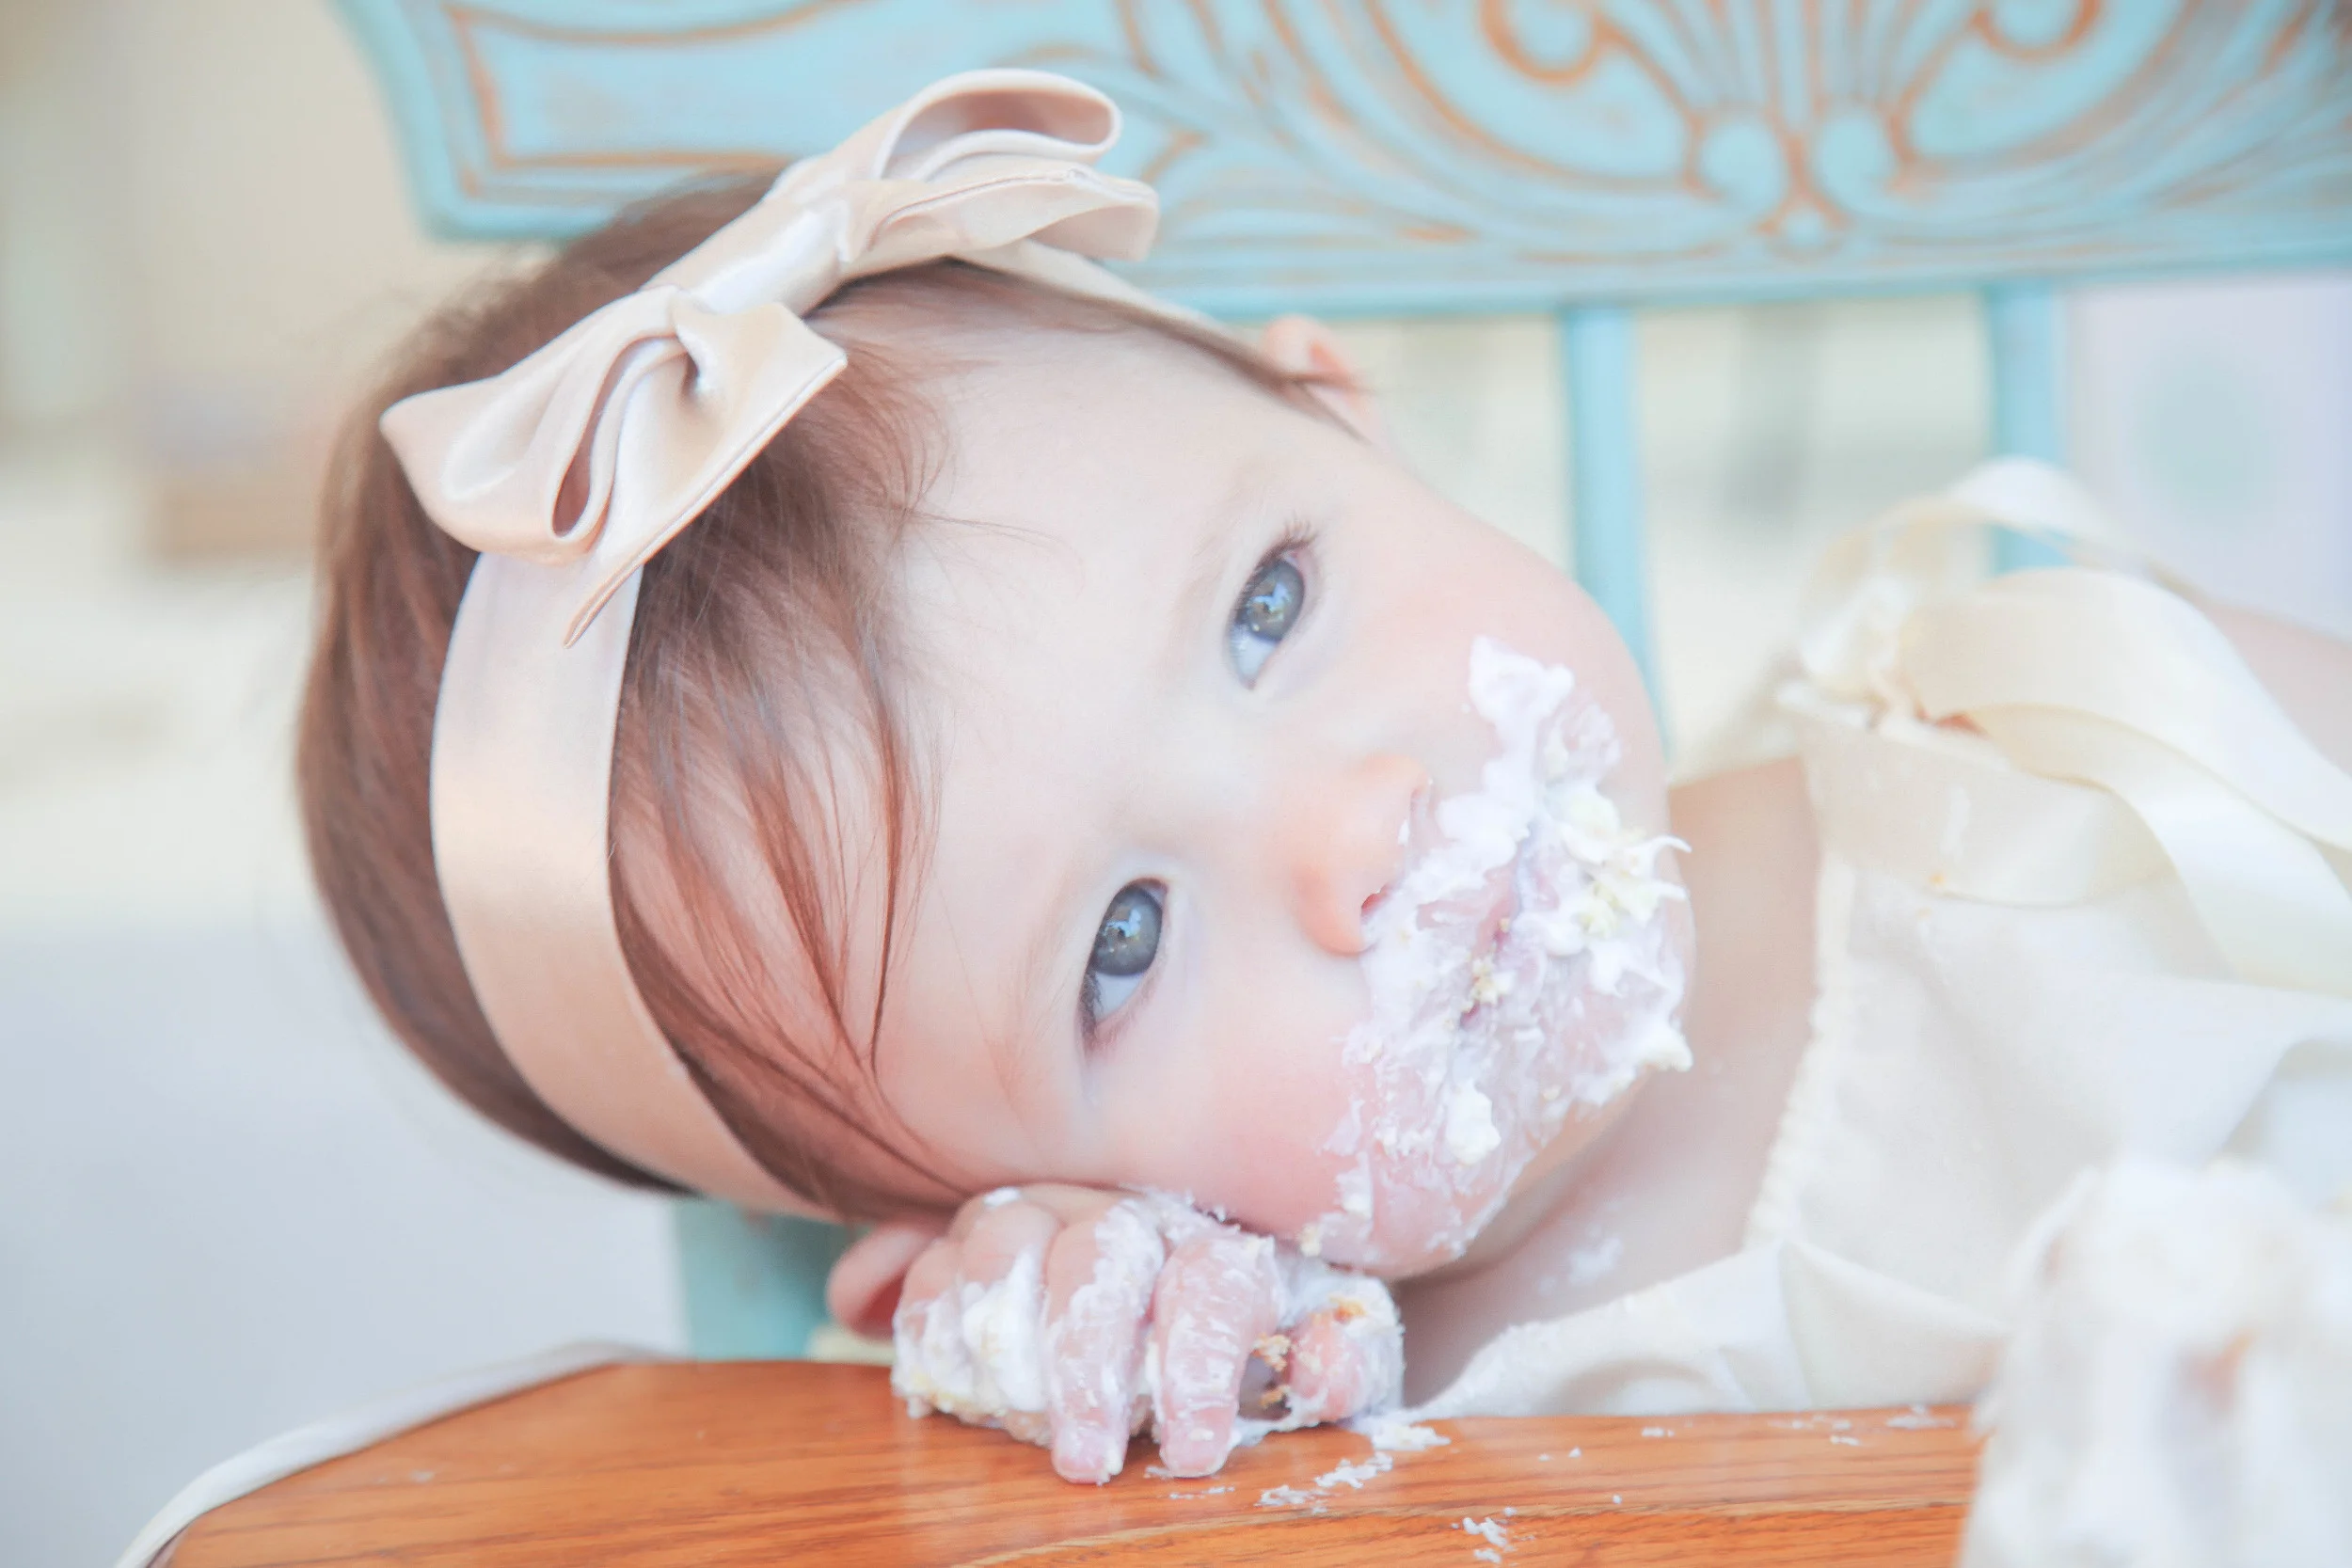
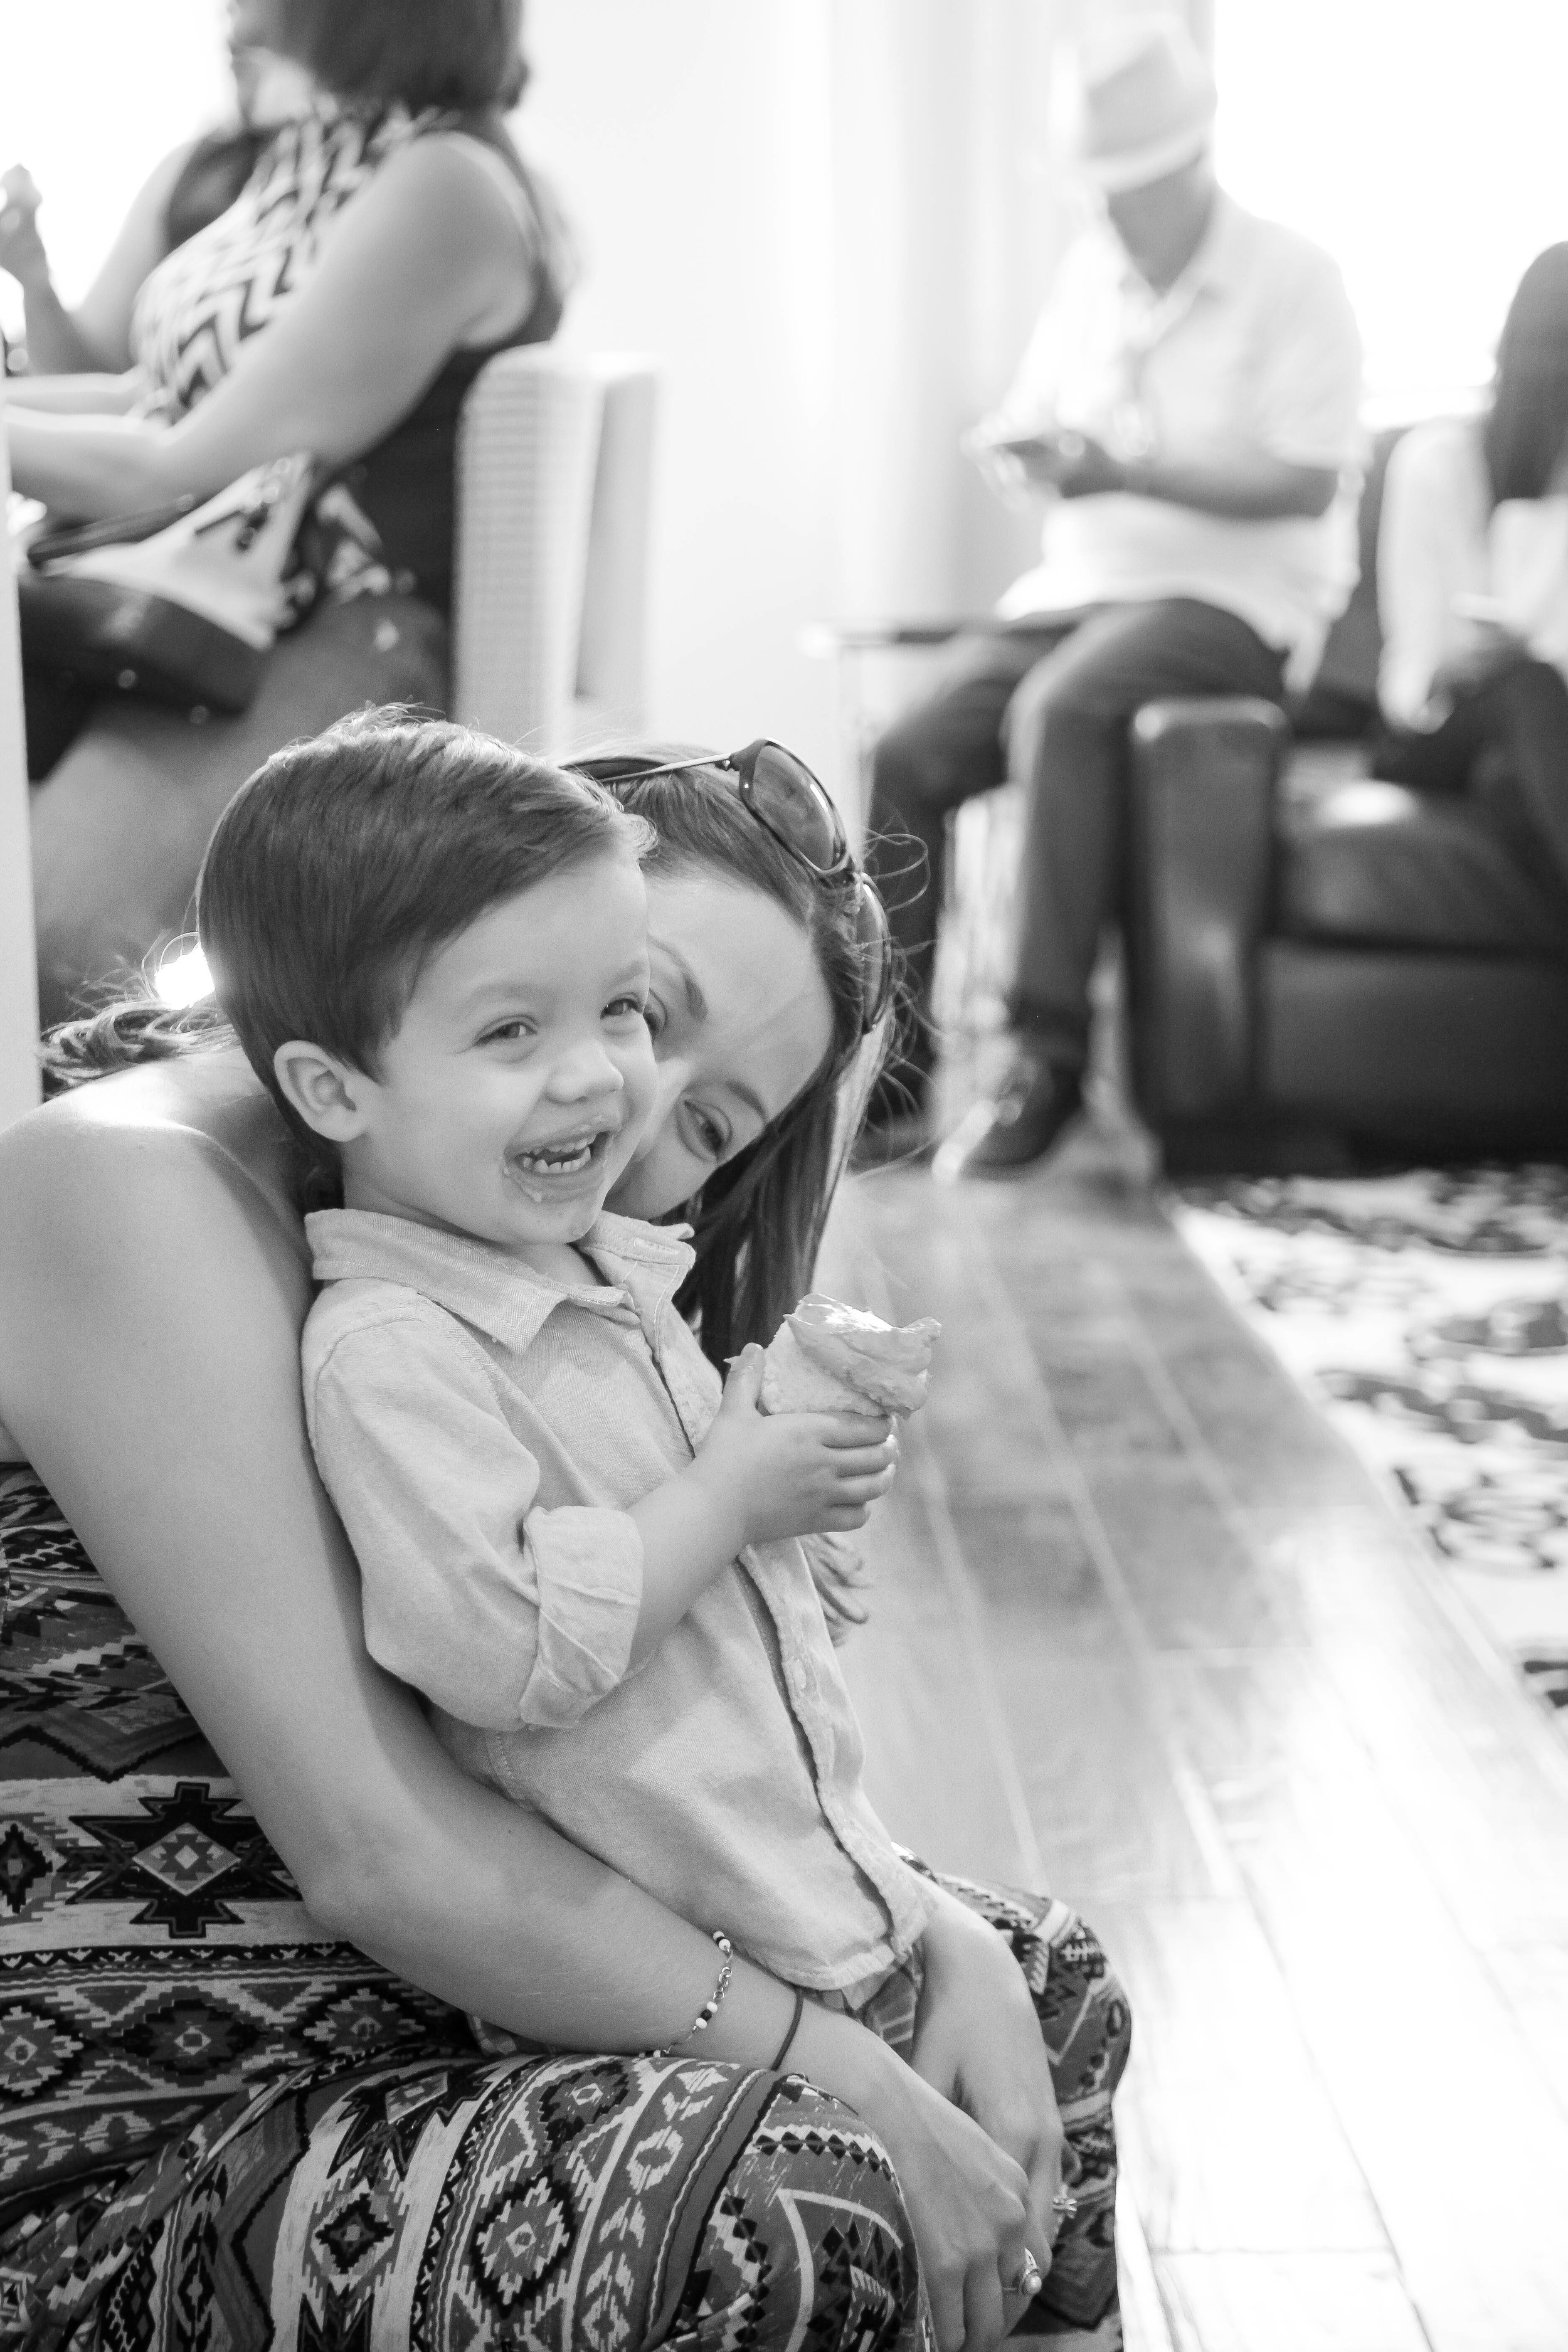
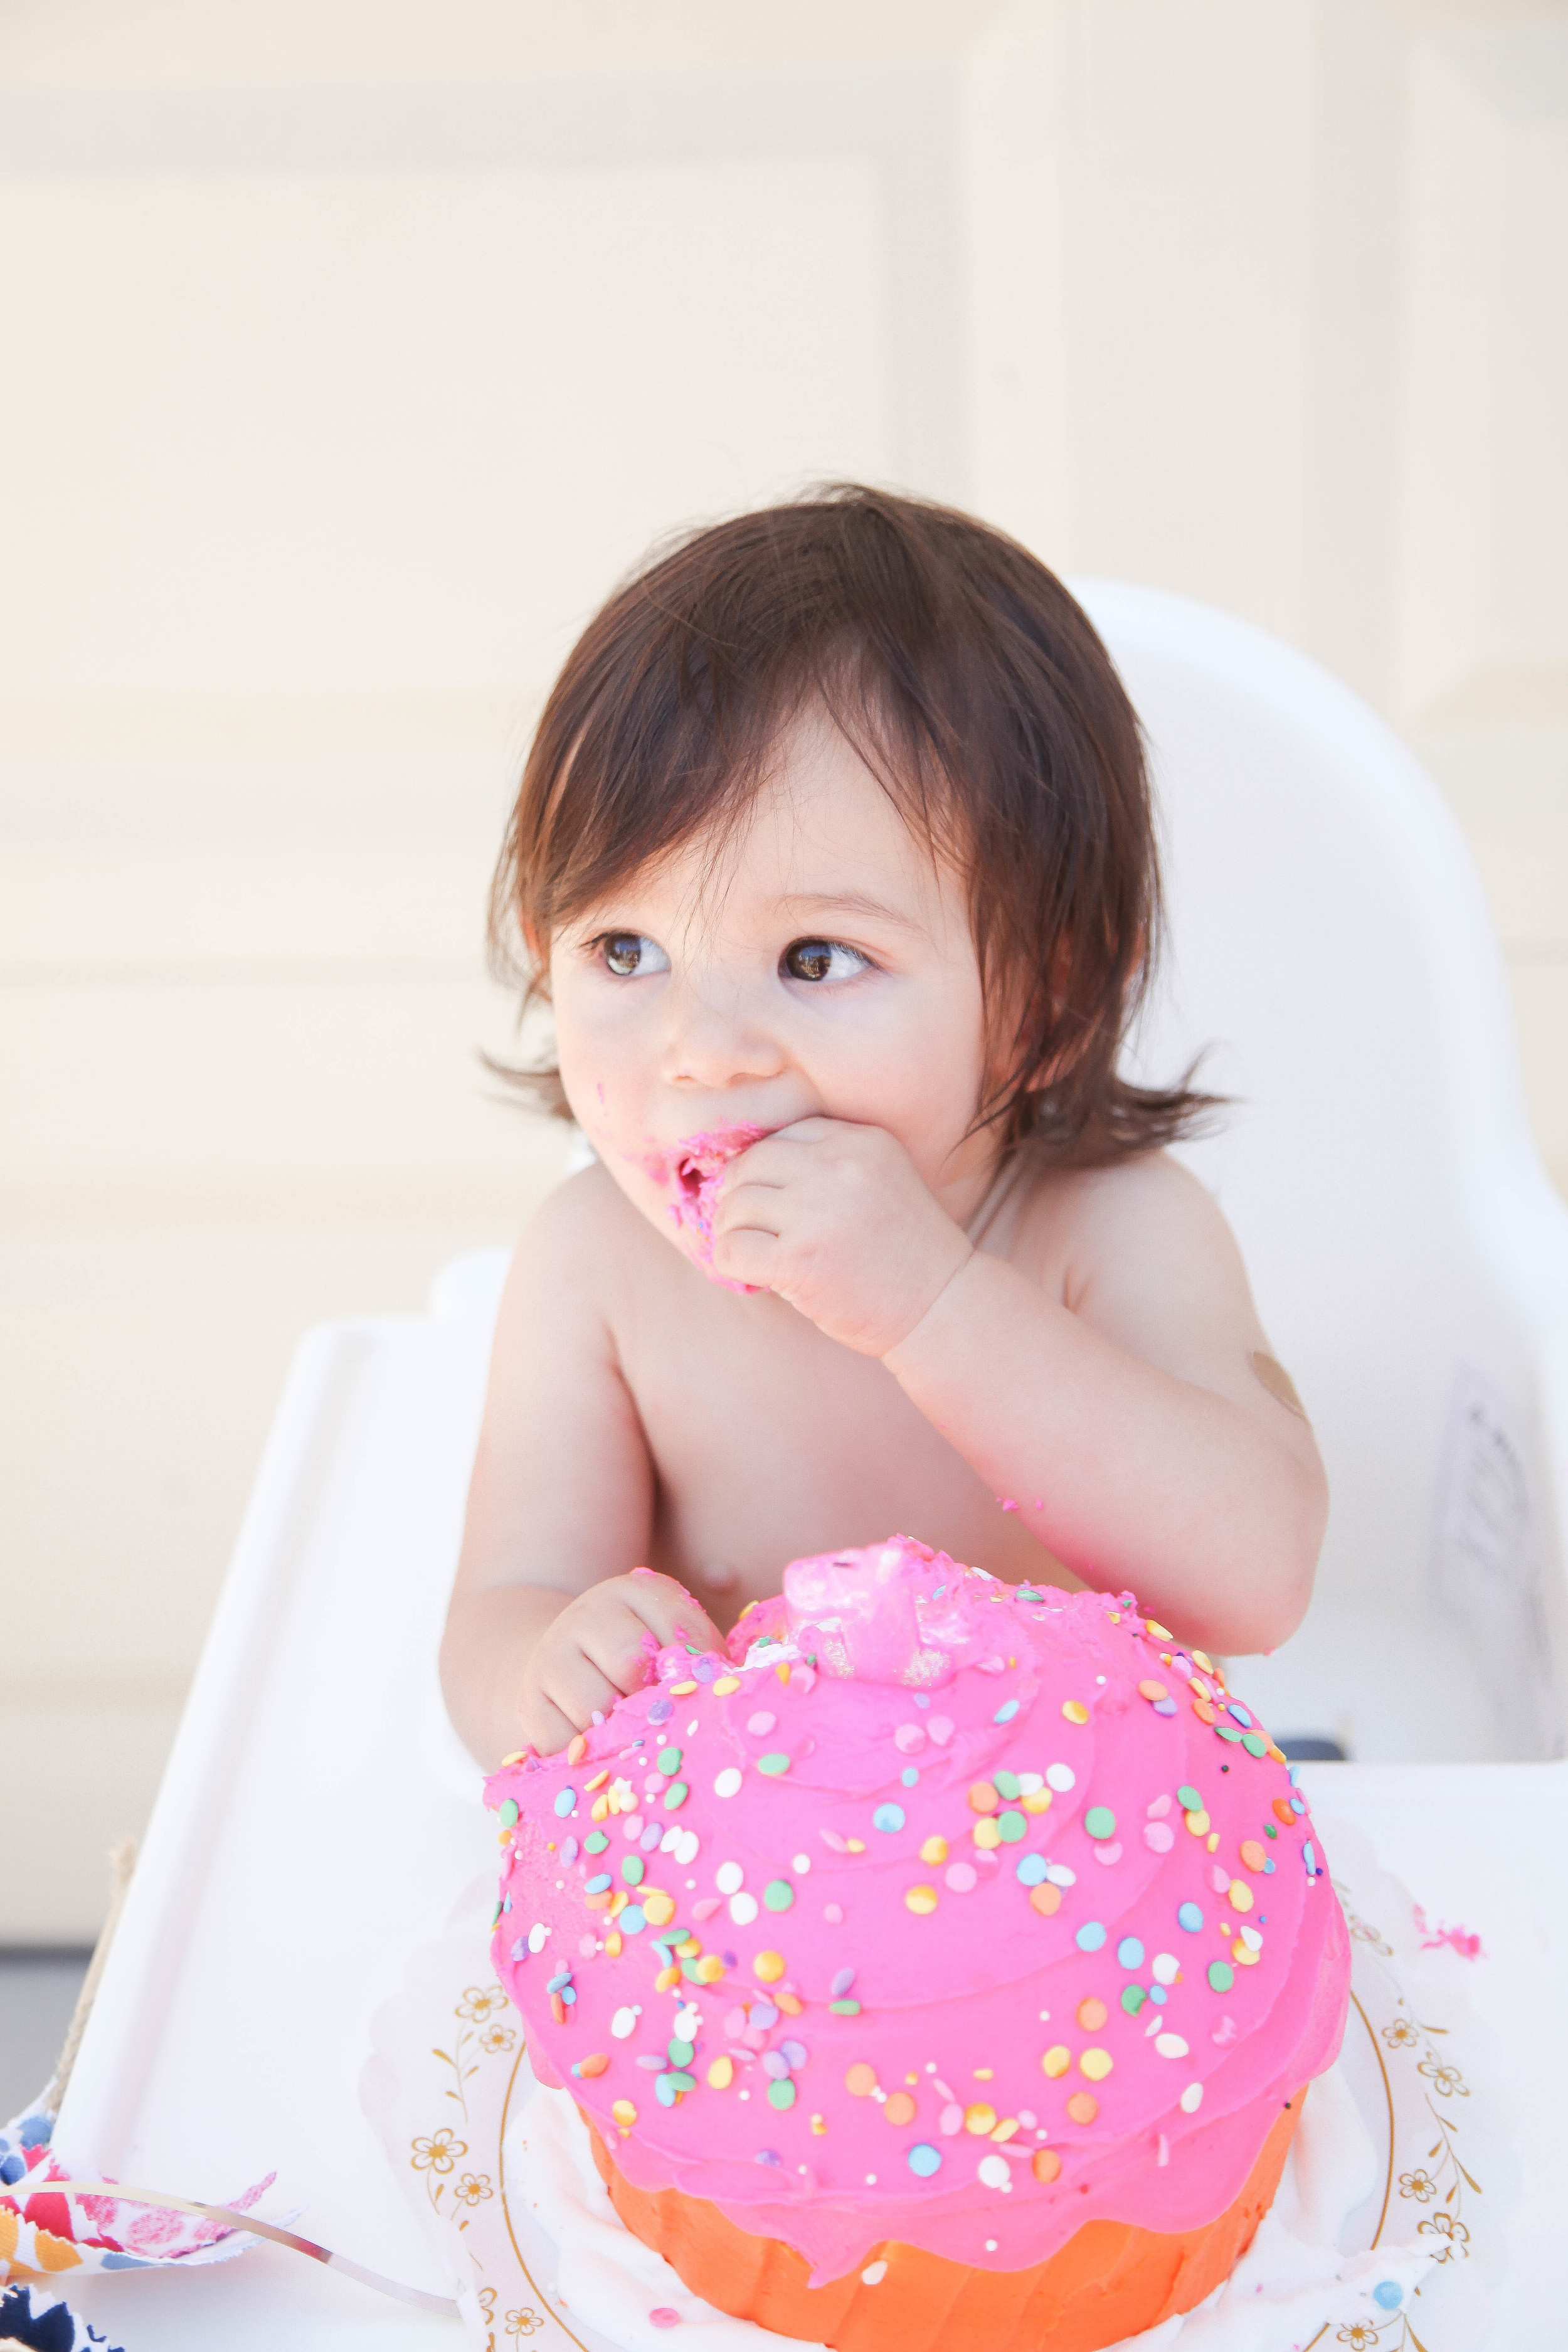
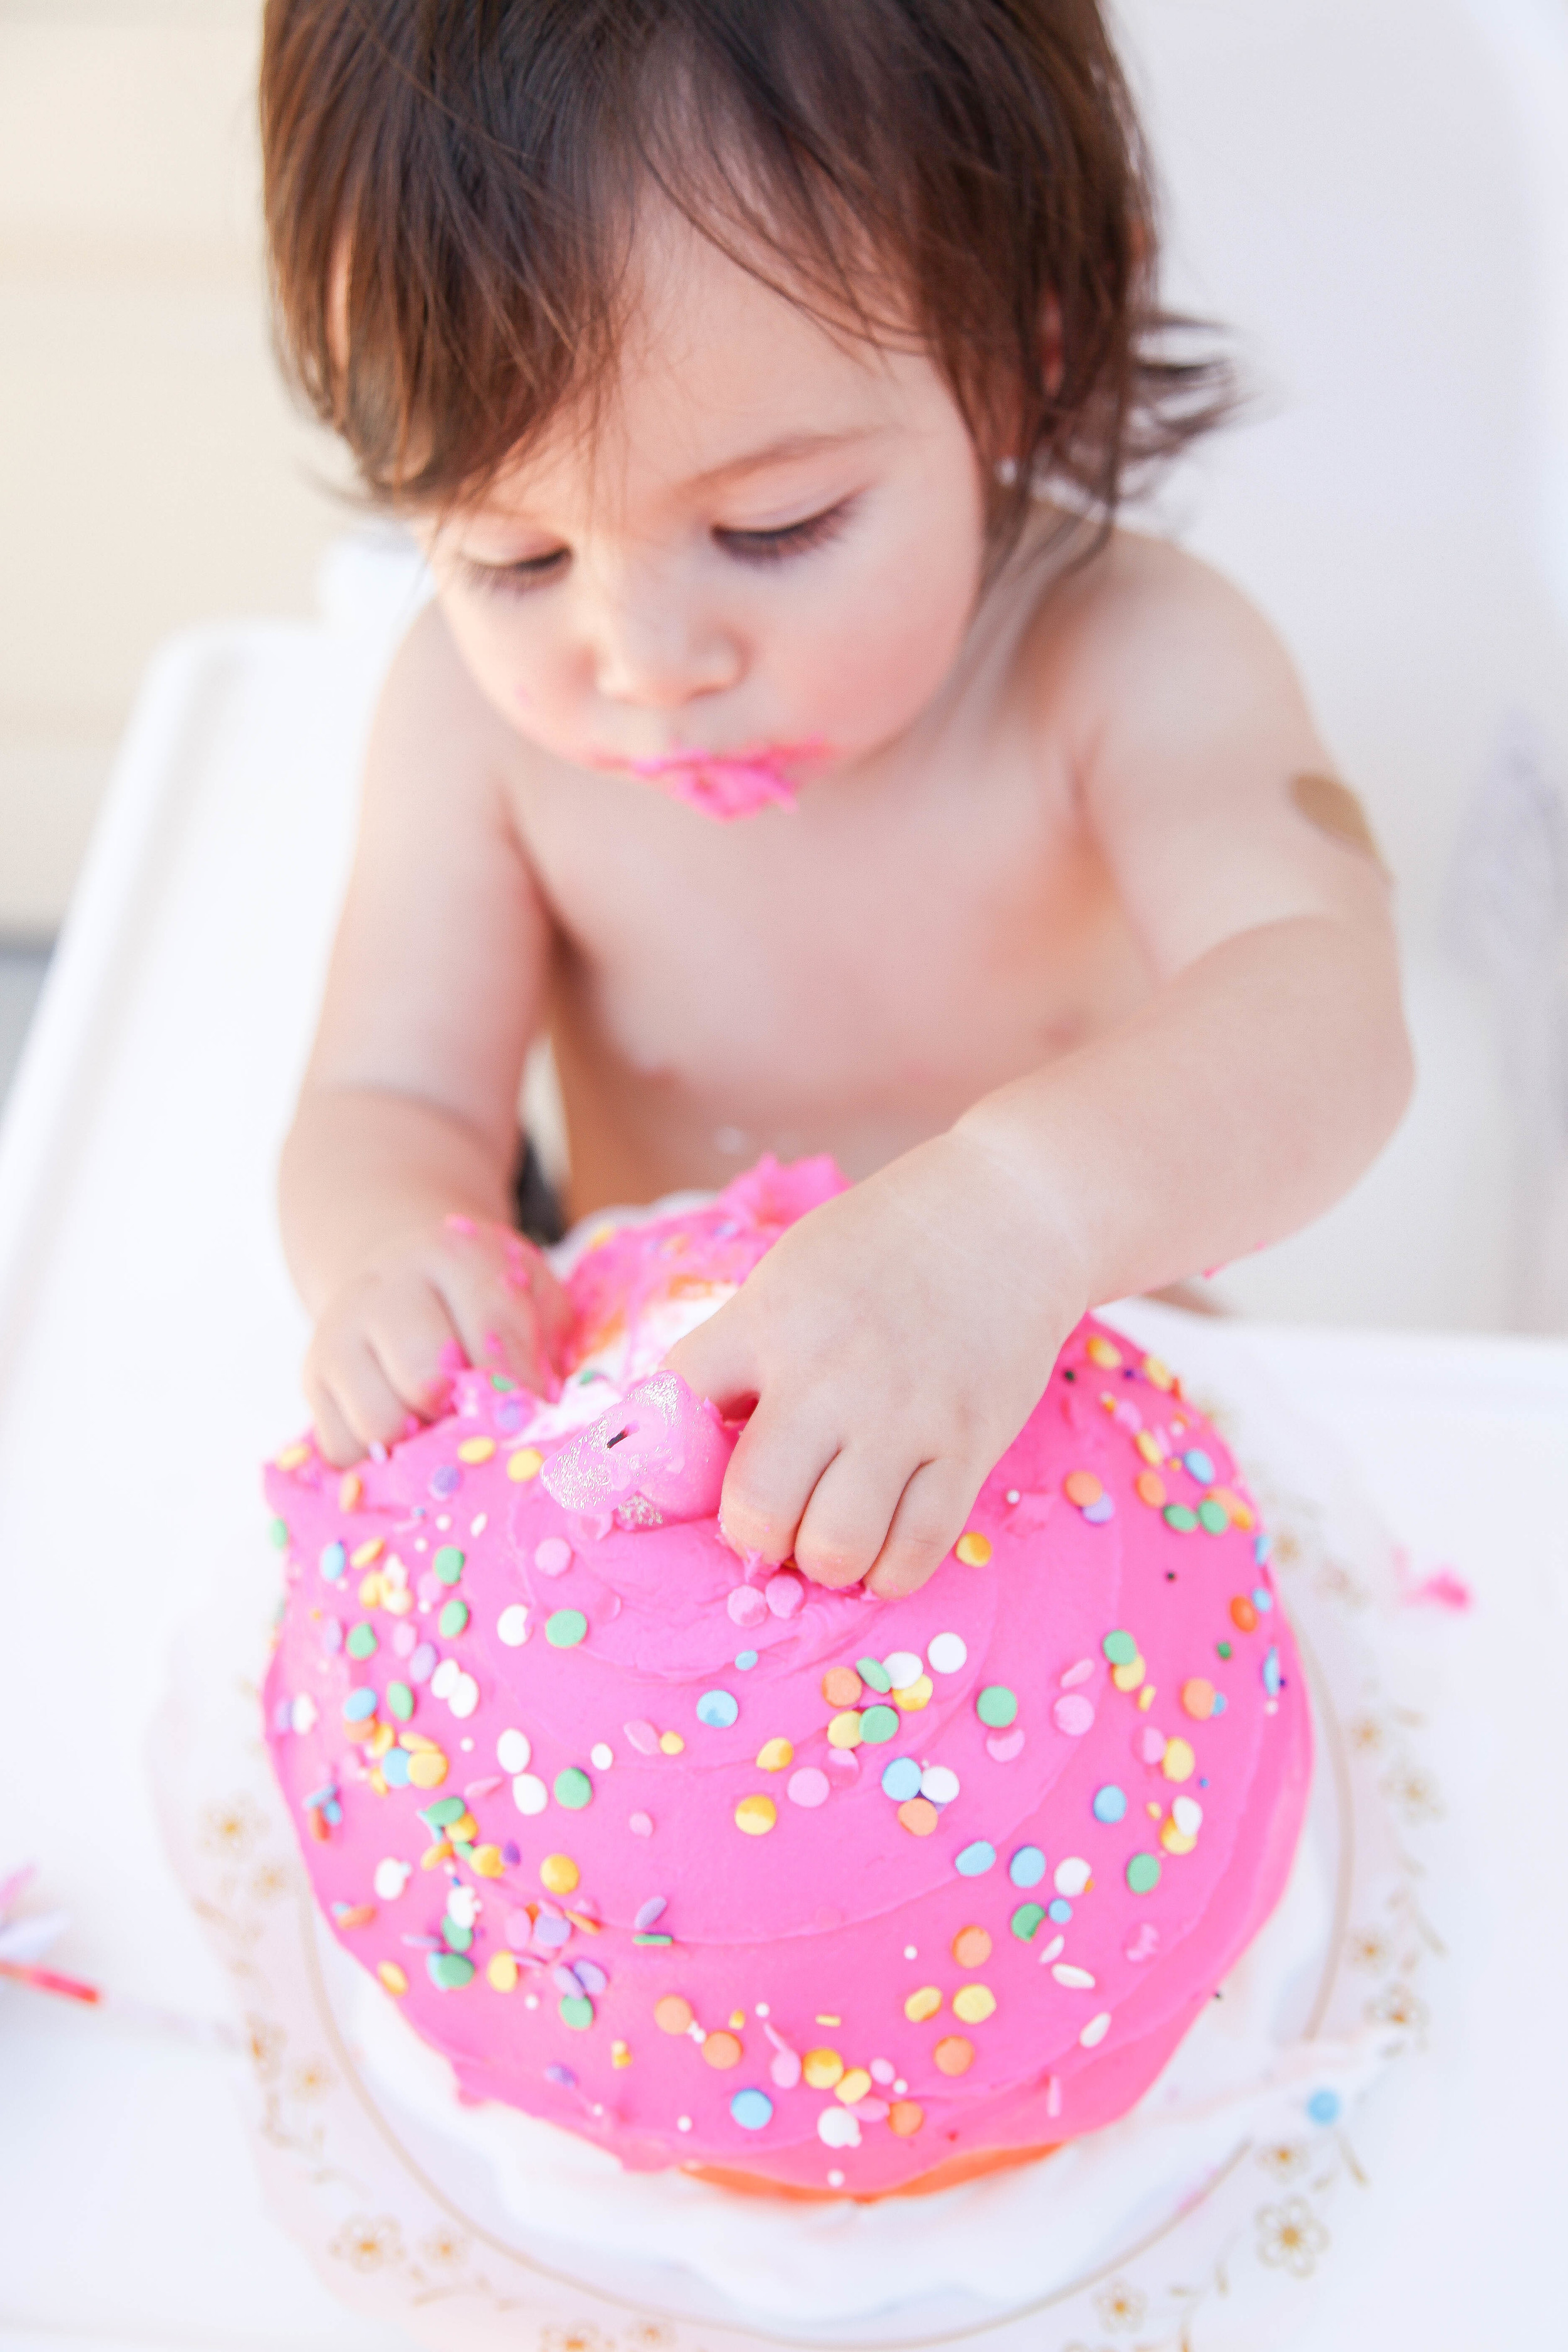
This little Navajo themed first birthday was a blast and mommy literally did EVERY detail you see! She hand-crafted everything from the cake toppers to the chalkboard signs to the feathered hats! This DIY NAVAJO themed party was incredible when it came down to details , this mamma didn't miss a single thing and put her entire heart into every piece of decor! Not to mention Lucas had a blast digging into his first birthday cake! Love you little mister Lucas! <3
*LIST OF VENDORS + DIY DETAILS AT BOTTOM OF THIS BLOG*
Vendors:
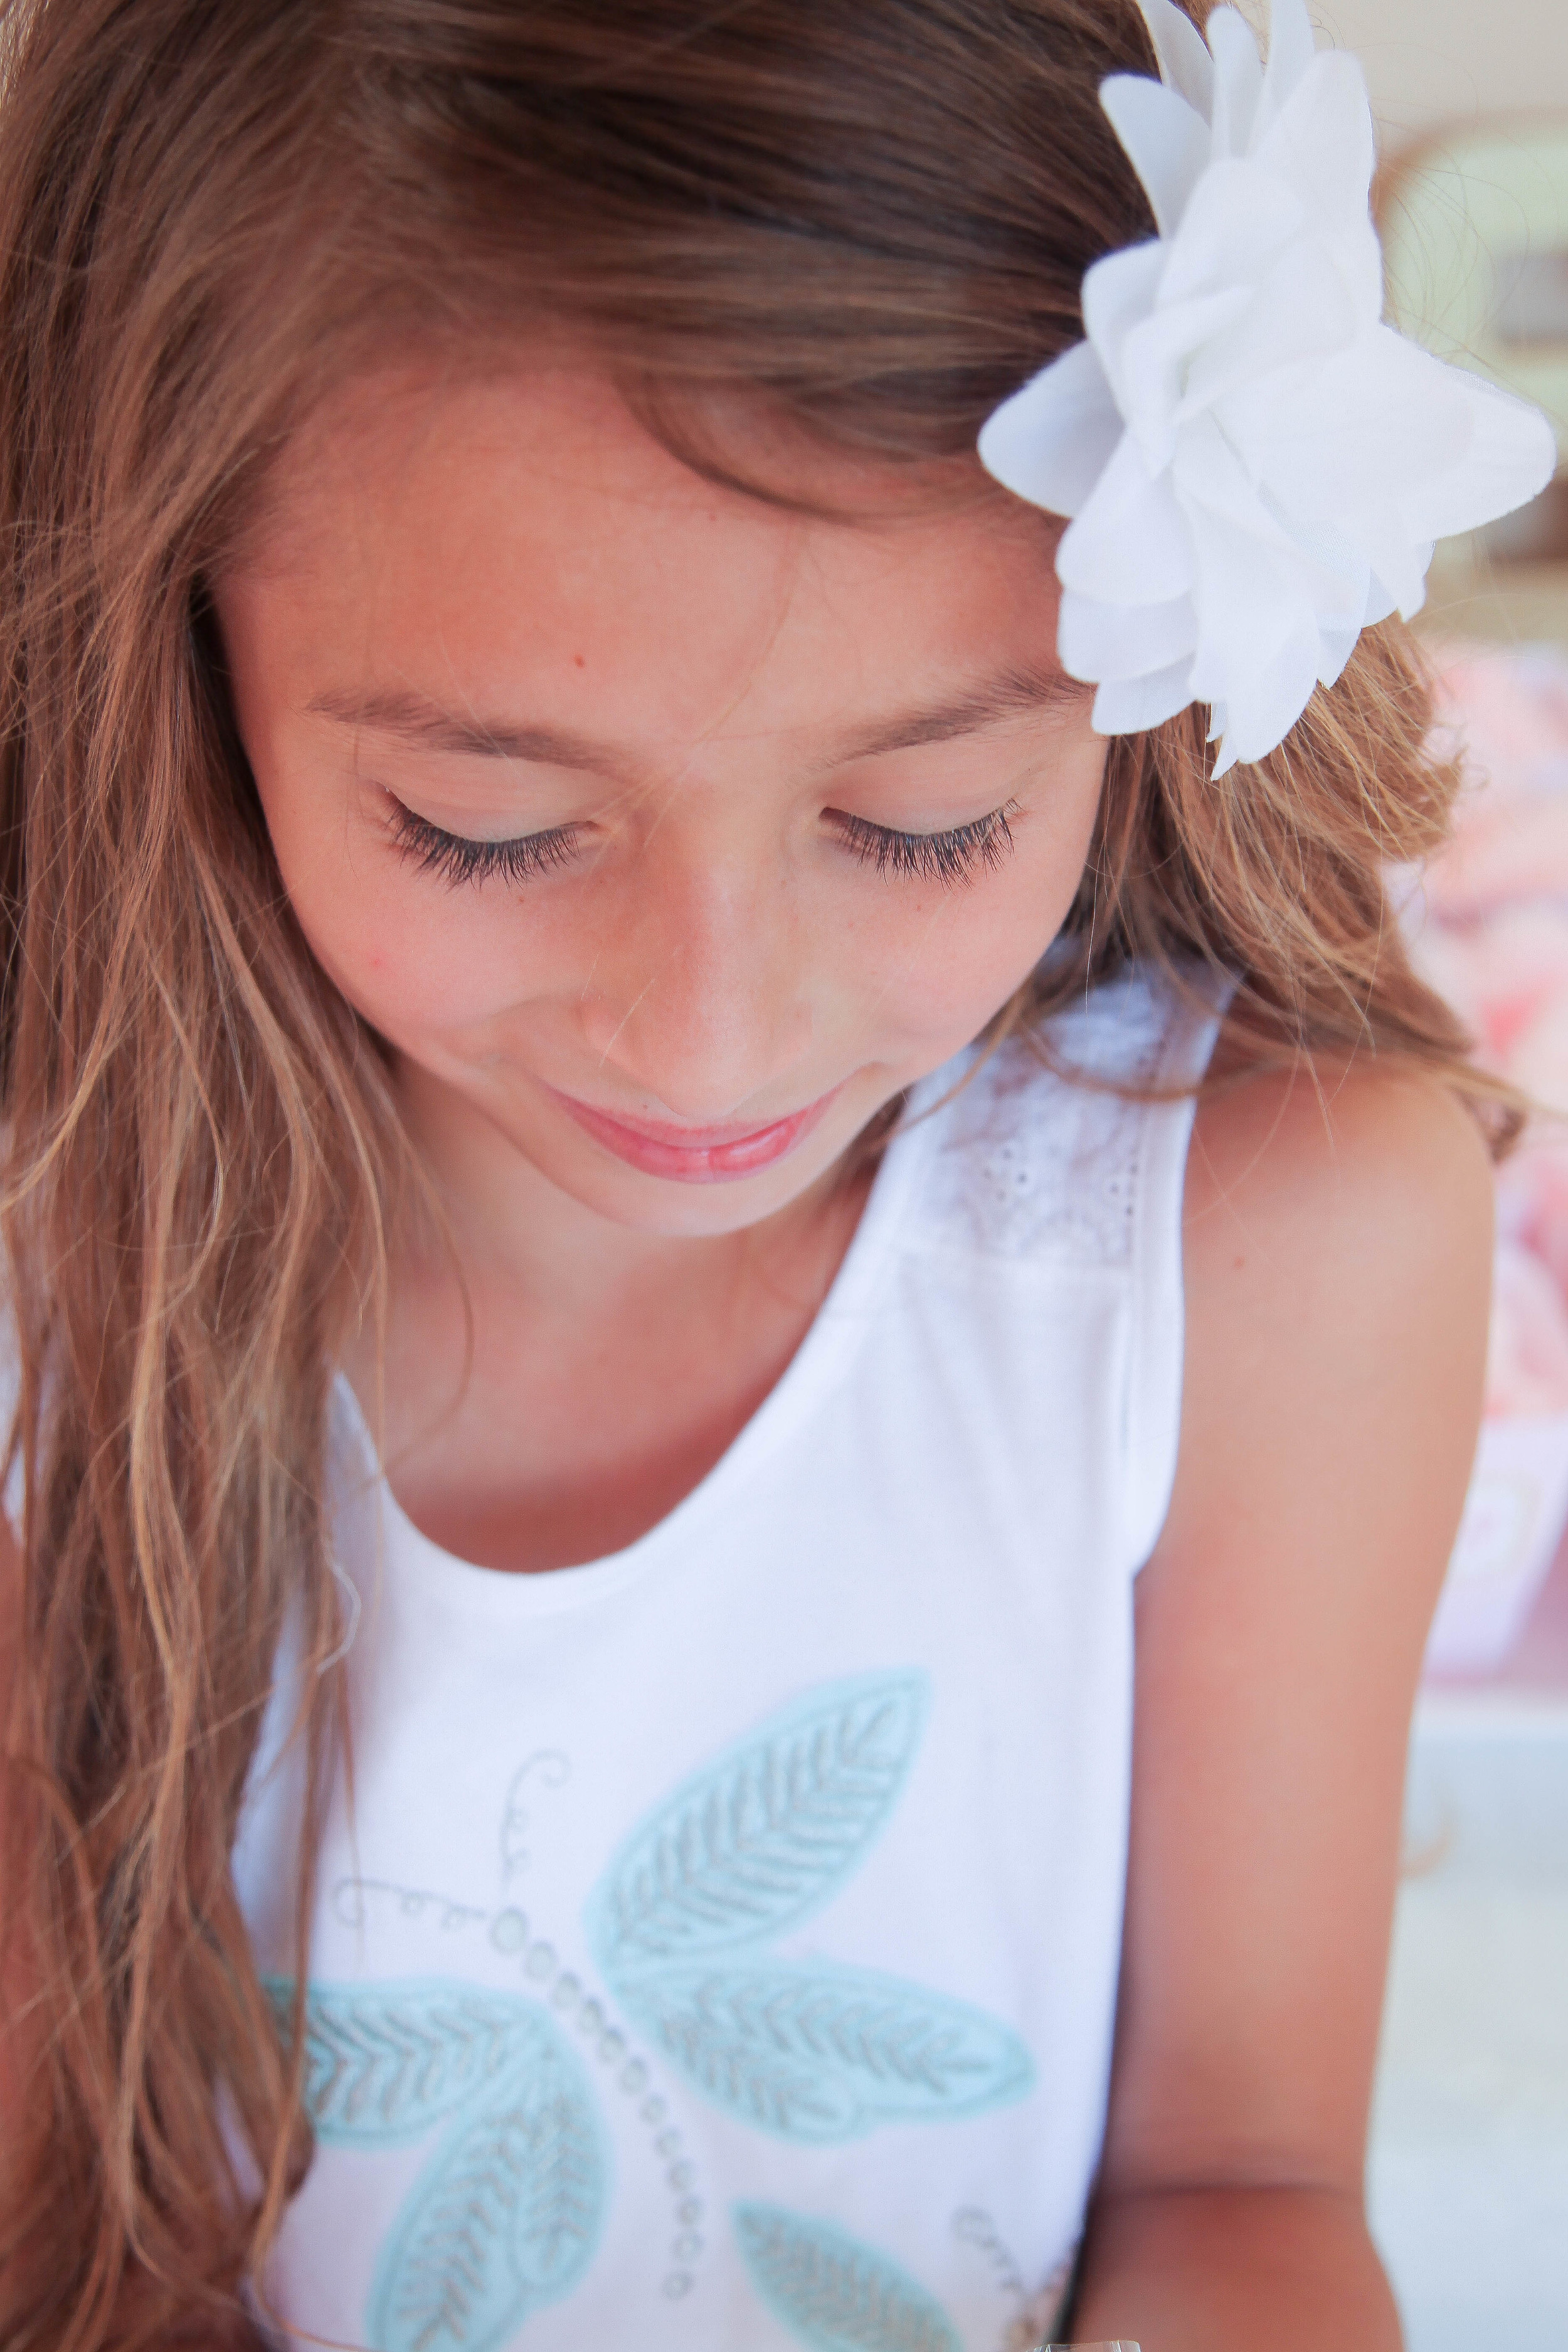
Cakes: MegPie Pastries https://megpiepastries.squarespace.com/ Shirt: Etsy shop: RusteriorThreads
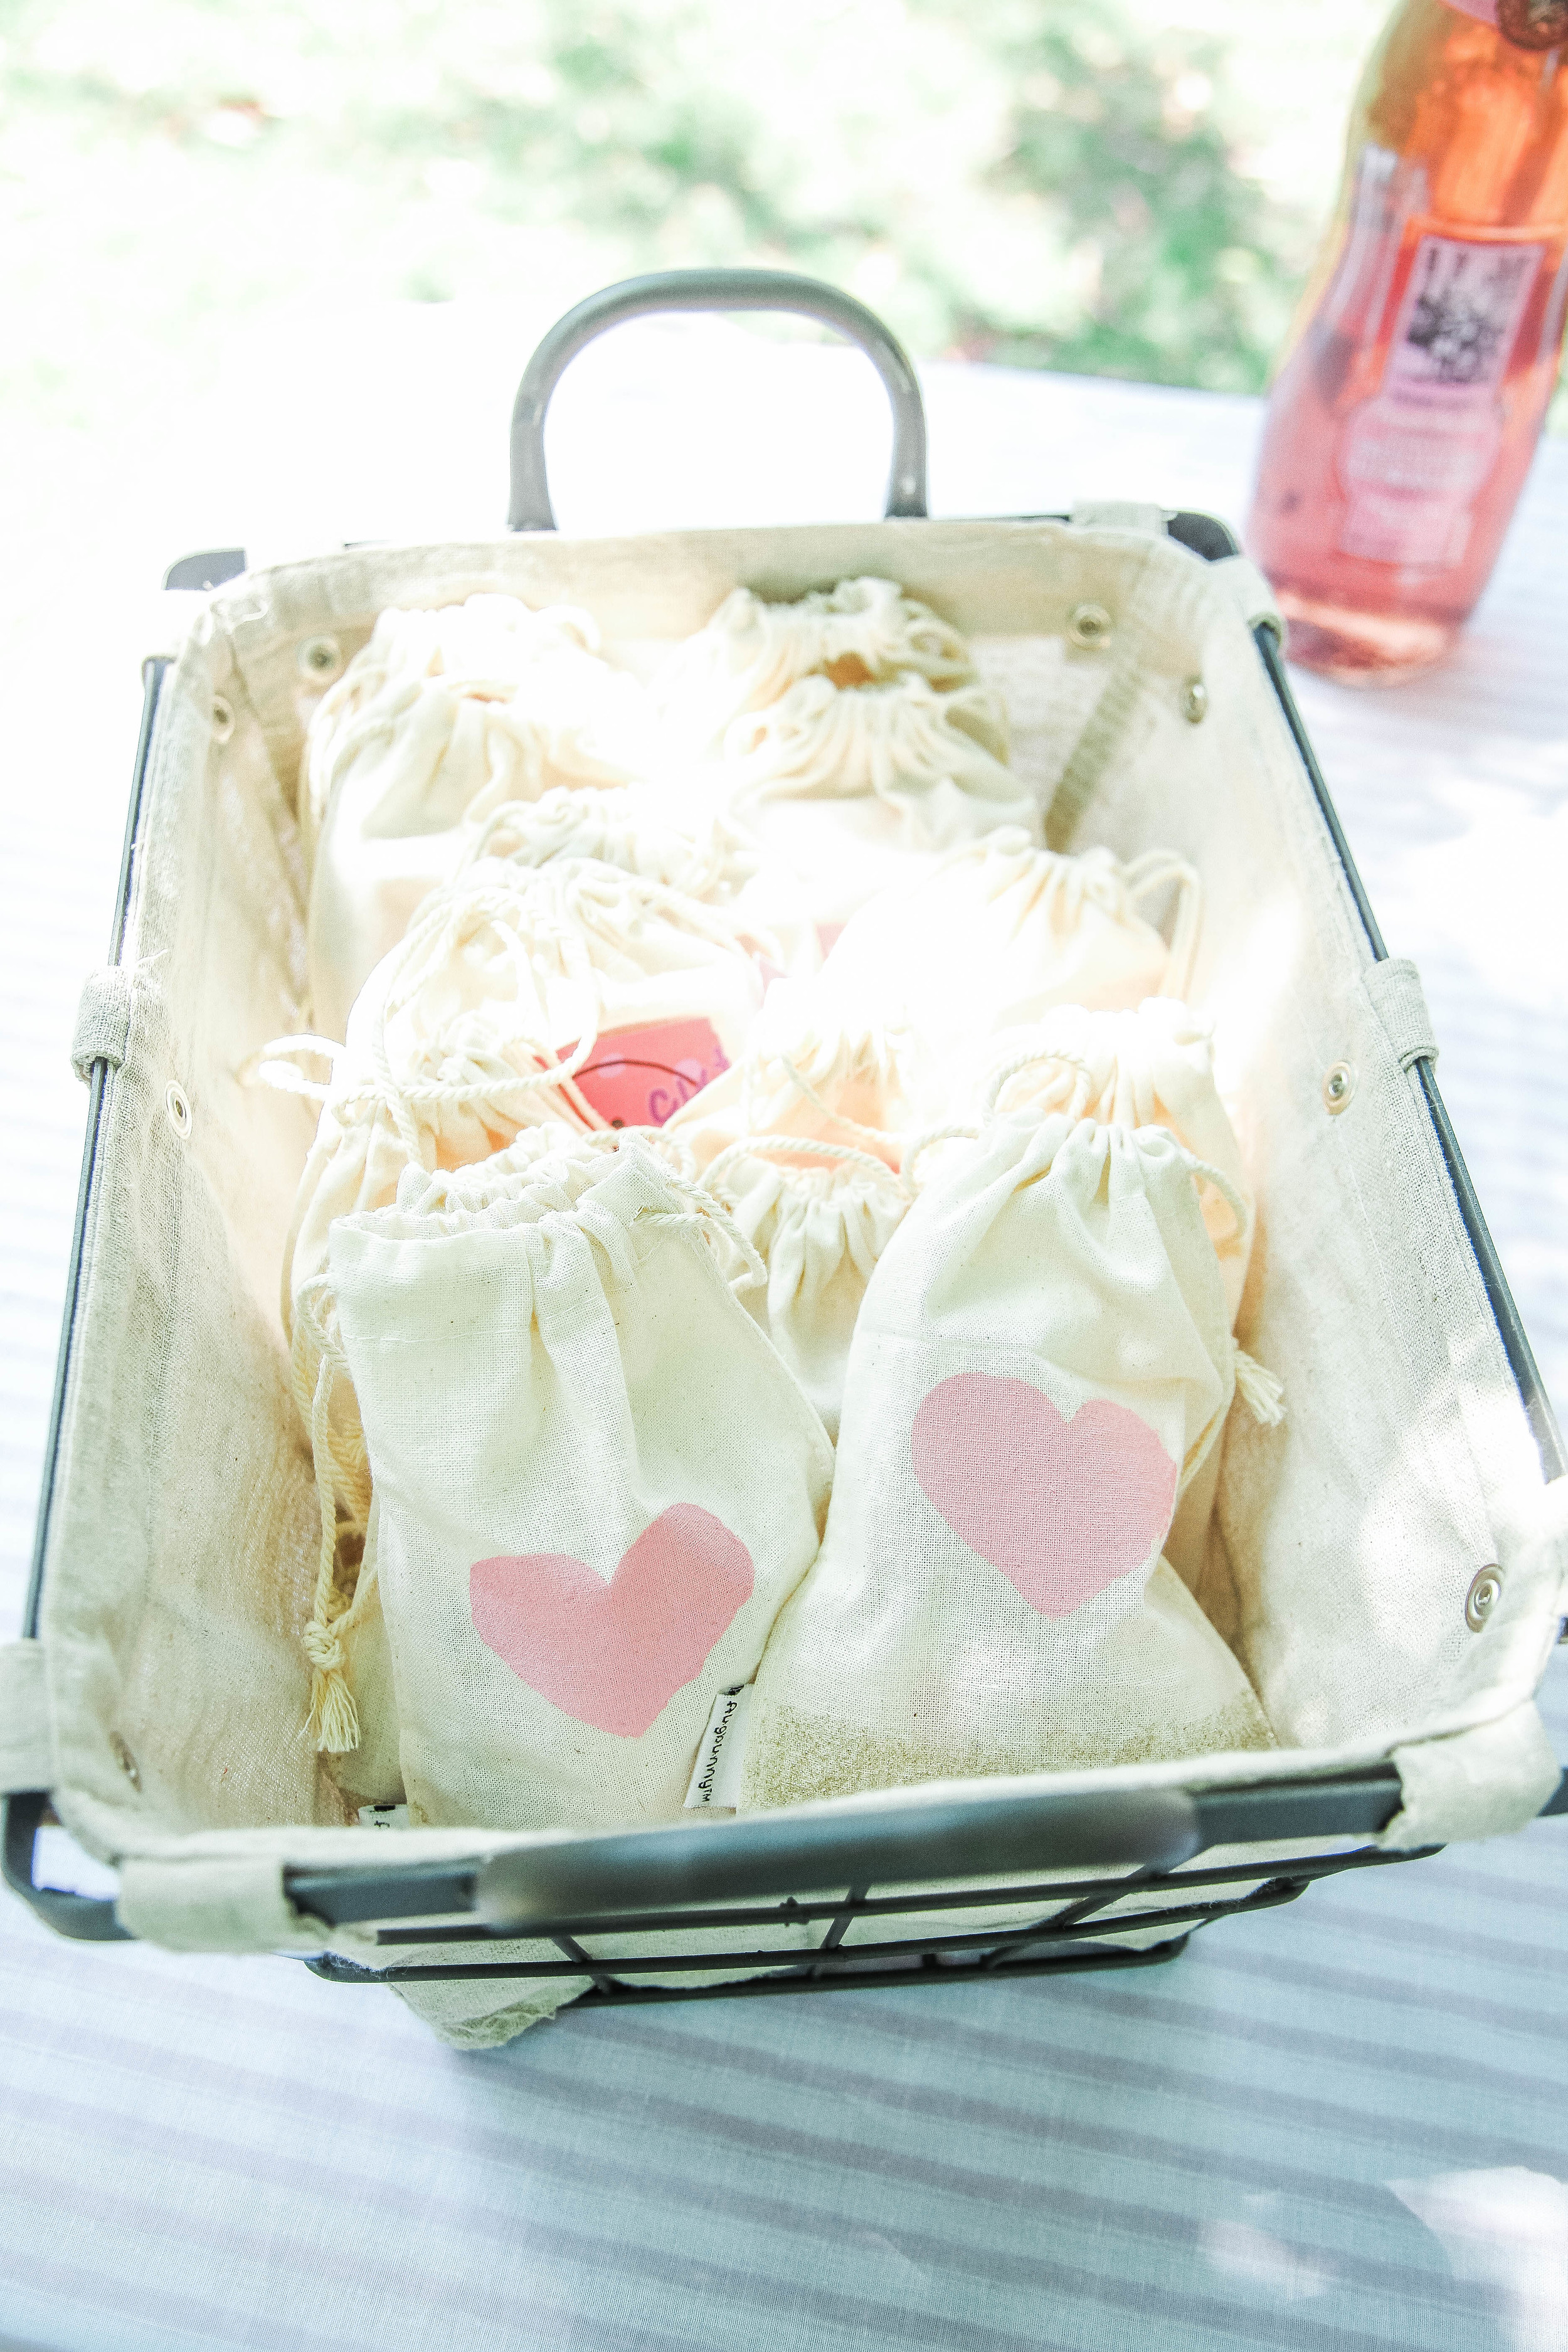
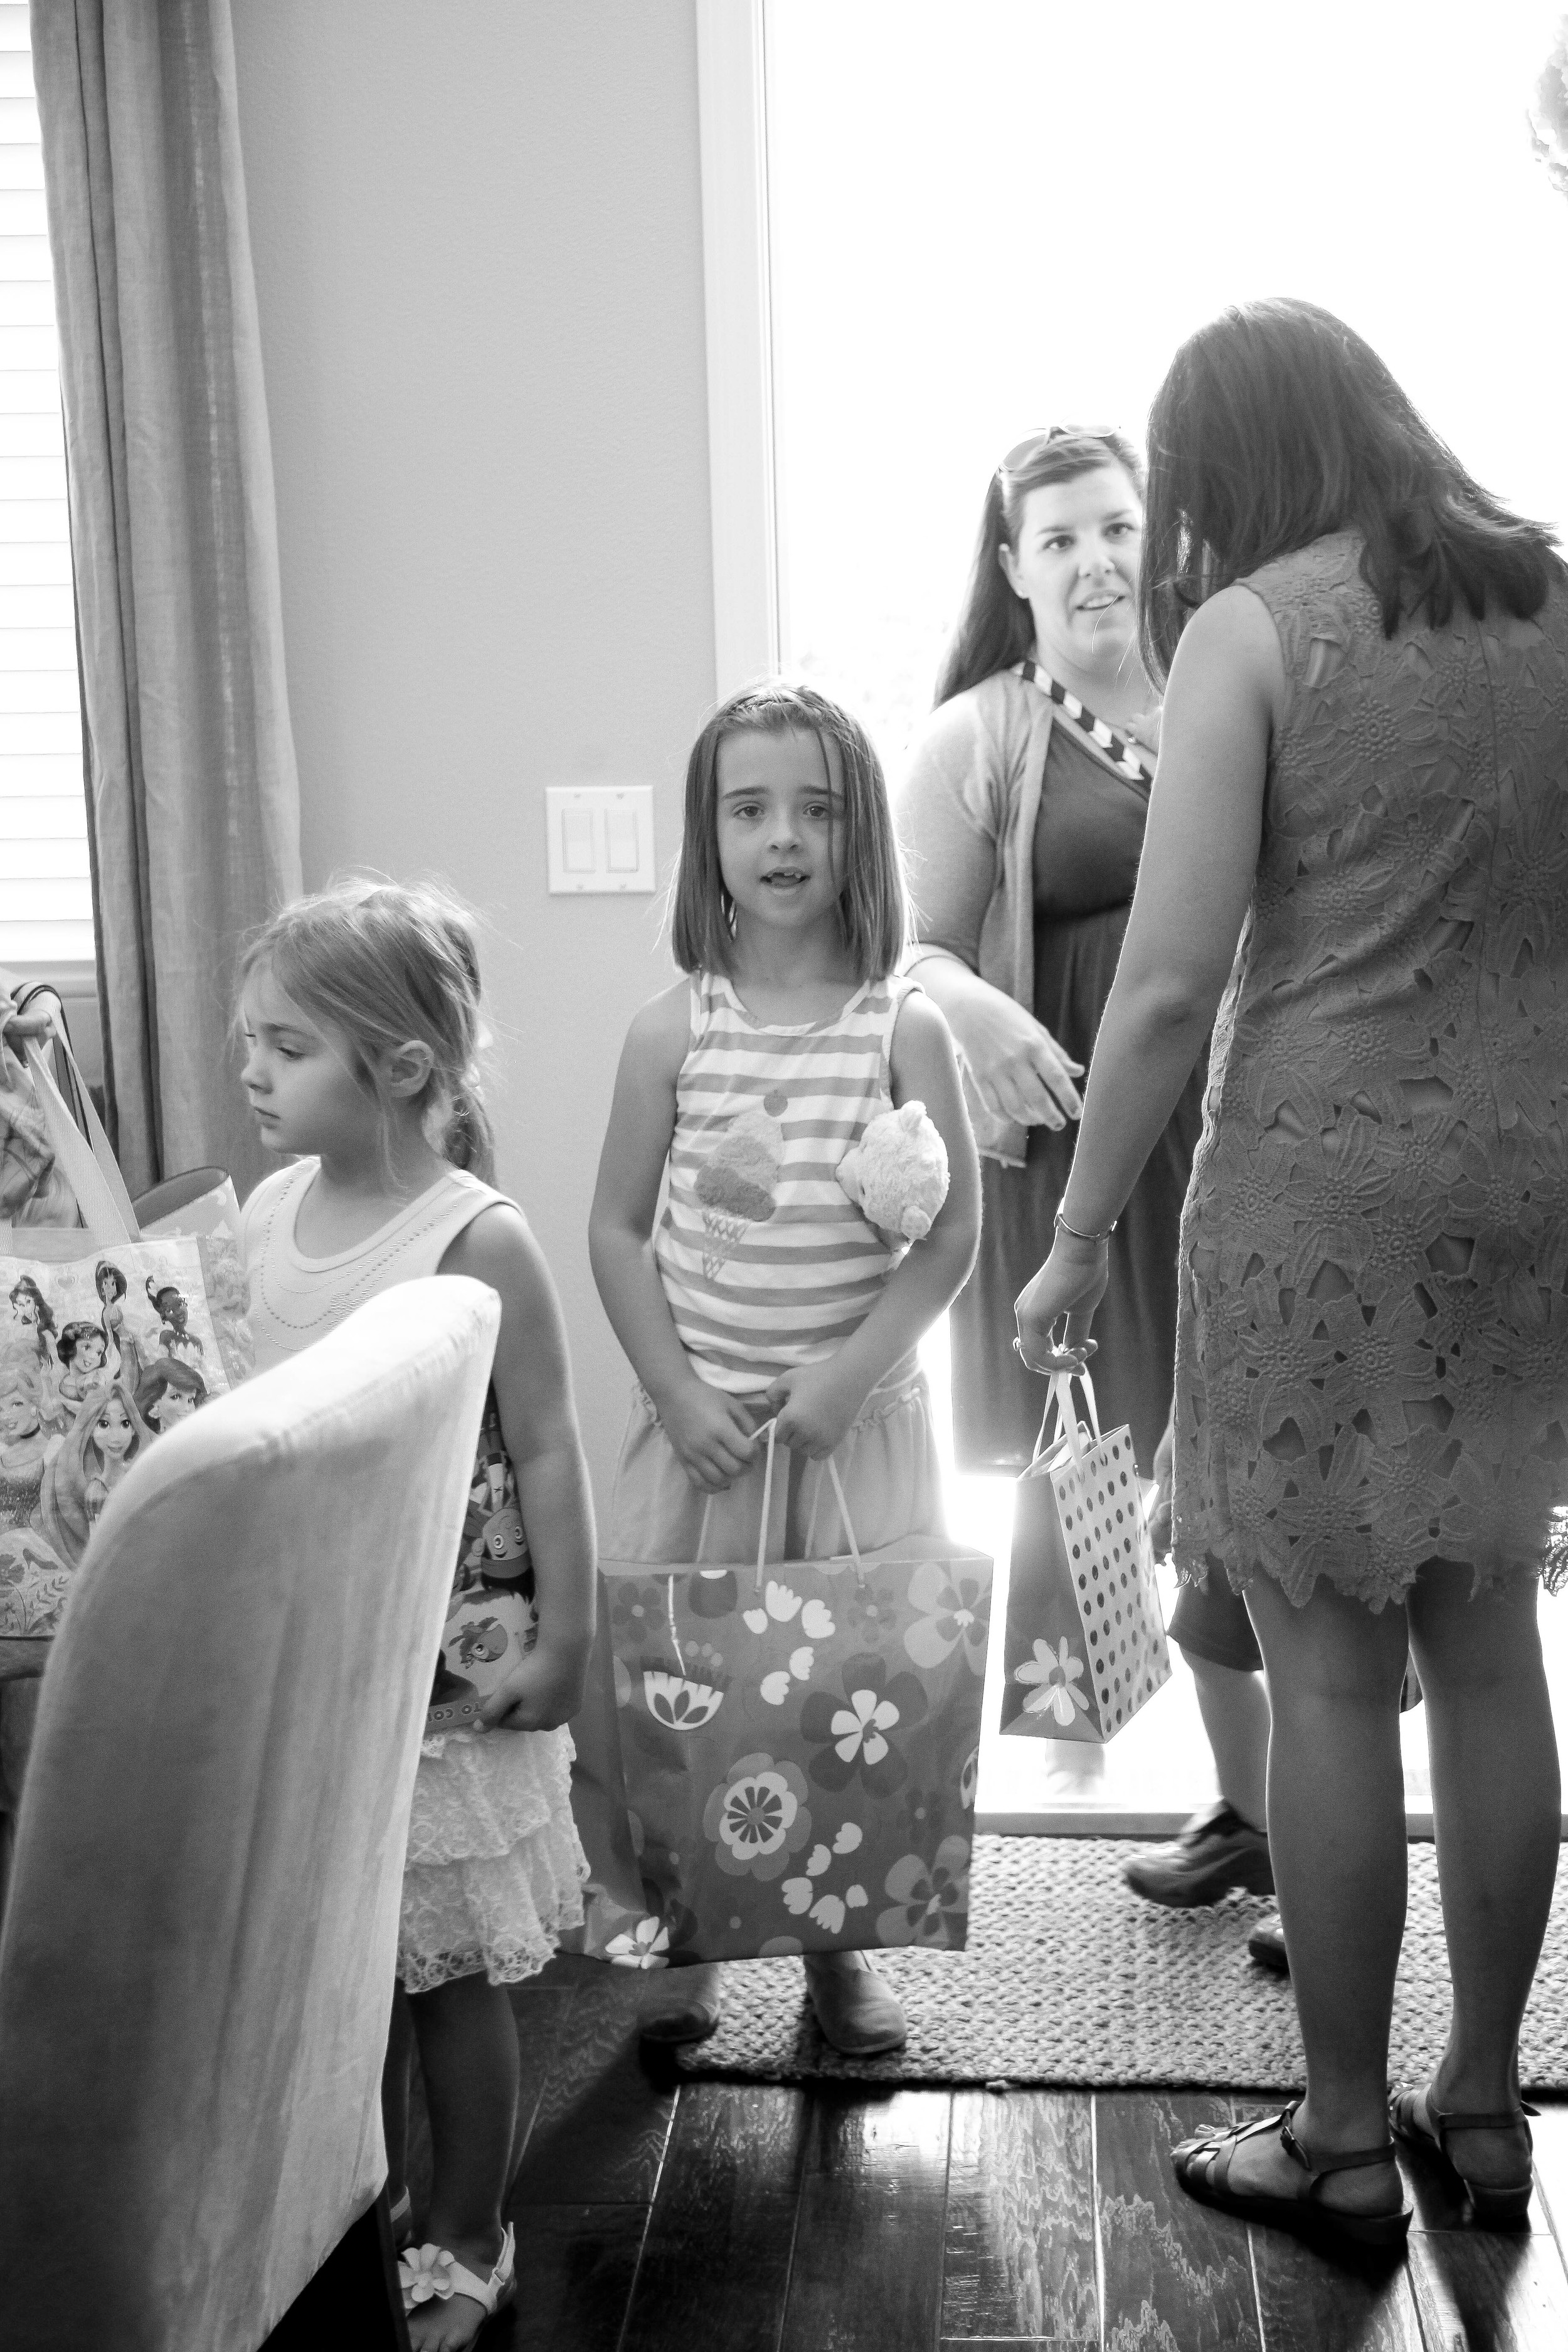
Sweet Table: Oreo cookies: DIY dipped chocolate covered oreos S’more pops: DIY (pinterest) -straws from Joann’s (cut in half) -trays (purchased from Michaels (stained & added a card stock liner) “Thank You” bags : purchased from Joann’s, “Thank you” stickers from Joann’s, used a mixture of scrap booking paper and my arrow punch.
HBD Sign: Created on a word document and individually cut, added card stock at the tips to make it look like wood, whole punched the tips and added the twine.
Pin wheels: DIY youtube/pinterest
Arrow garland: DIY individually cut and glued on to twine
#1 block: DIY wrapped in ribbon, added twine at the top with feathers to give it that indian feel.
#1 photo display: DIY traced a “1” then cut from cardboard, created a stand for the back for balance, glued various pictures and trimmed along the sides.
“Camp Lucas” arrow: DIY traced and cut the arrow. Used stencils for the writing and free styled the teepee ( reword this one differently, i couldn’t think of a better way to say free styled ha!)
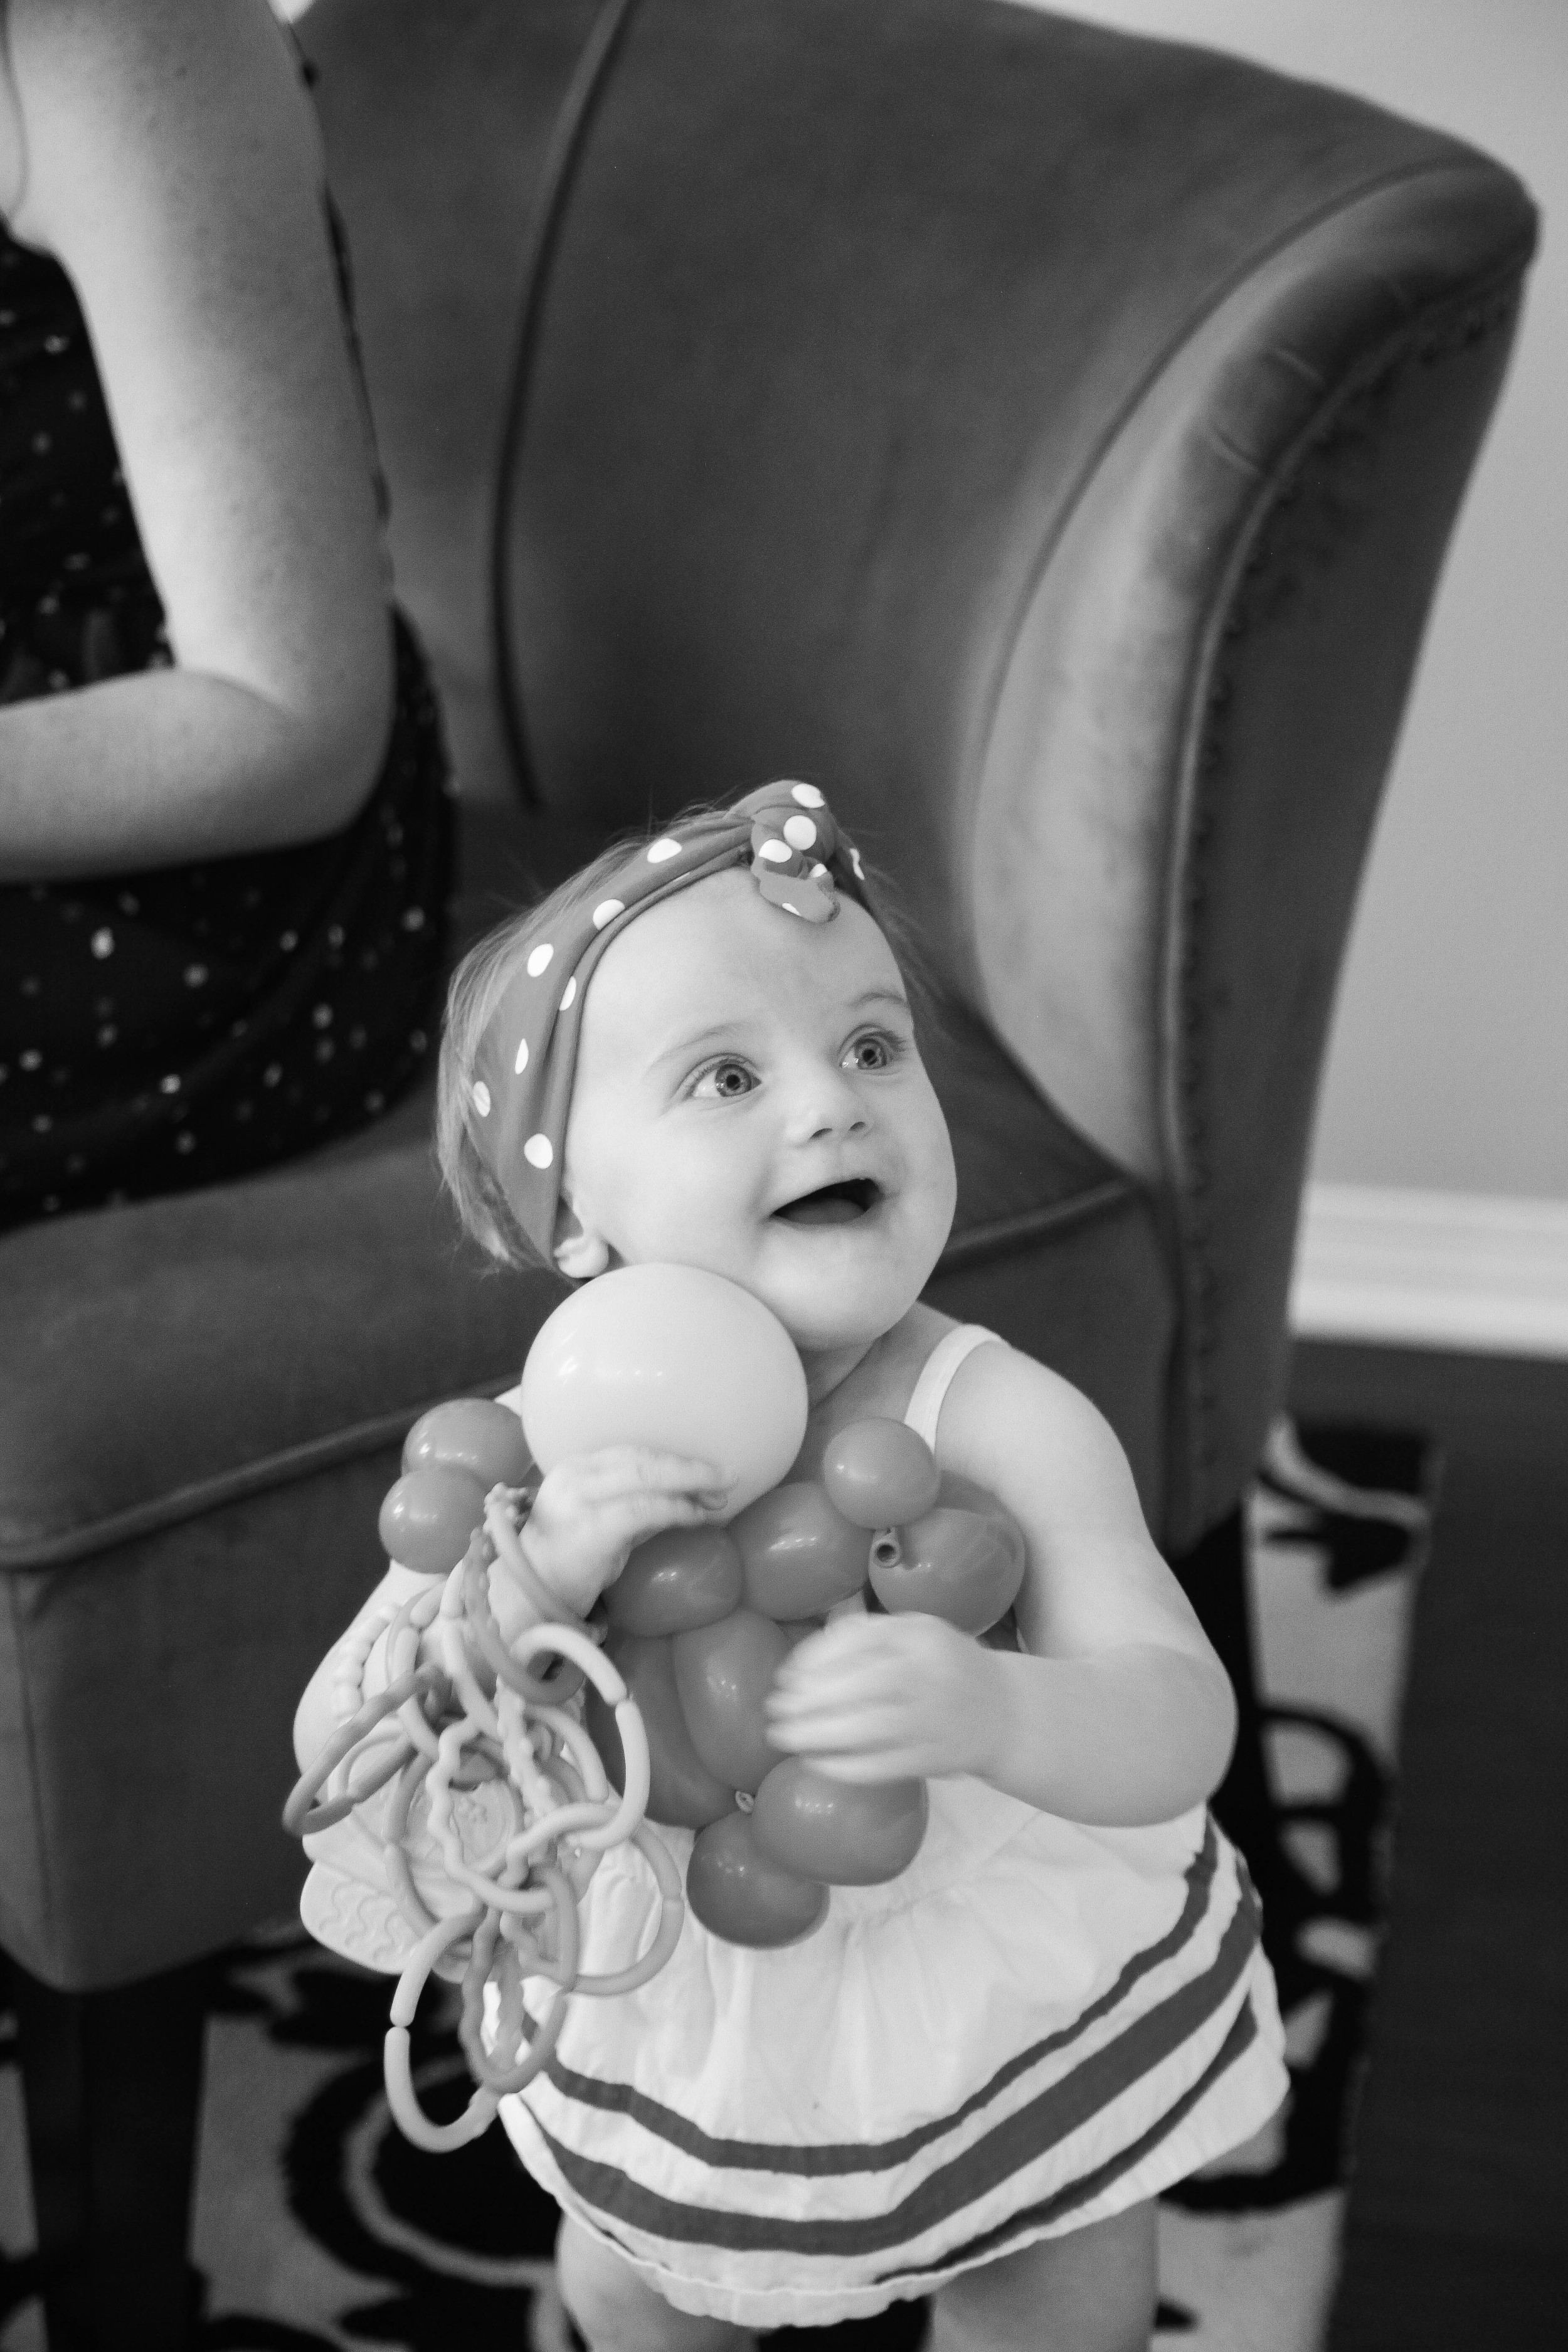
Headbands: DIY headbands,
What you will need: -Leather ribbon: purchased from Joann’s (SCORE!), about $1.77 a yard, depending on how big you want the leather to wrap around the head will determine your cost on this project. -Feathers: available at most your local craft stores -ribbon: to tie around the headband -hot glue gun
Cut the leather ribbon (I did 7”) Cut ribbon to glue on each end (I did 10” on each side, this length should accommodate the majority of your guest) Glue each end with a piece of ribbon Cut the tips of the feathers & glue feathers where desired (i decided to glue them in the middle) fold the leather strap in half so that the tips of the feathers are’t exposed & it seals the feathers and ribbon nicely
Fabric Banners: Fabric purchased from hobby lobby
Succulents: DIY containers were thrifted from various thrift stores. Succulents purchased from flea markets.
Teepee centerpieces: (pinterest) Materials: -Party hat -paper of your choice -sticks -twine -glue gun
Open up a party hat (this will be your stencil) Trace it onto the paper Glue it onto one of the party hats still in tact Add sticks in the center of the teepee, cut accordingly. Add twine at the tip to tighten the sticks & give it the “rope” effect Cut an opening for the teepee entry
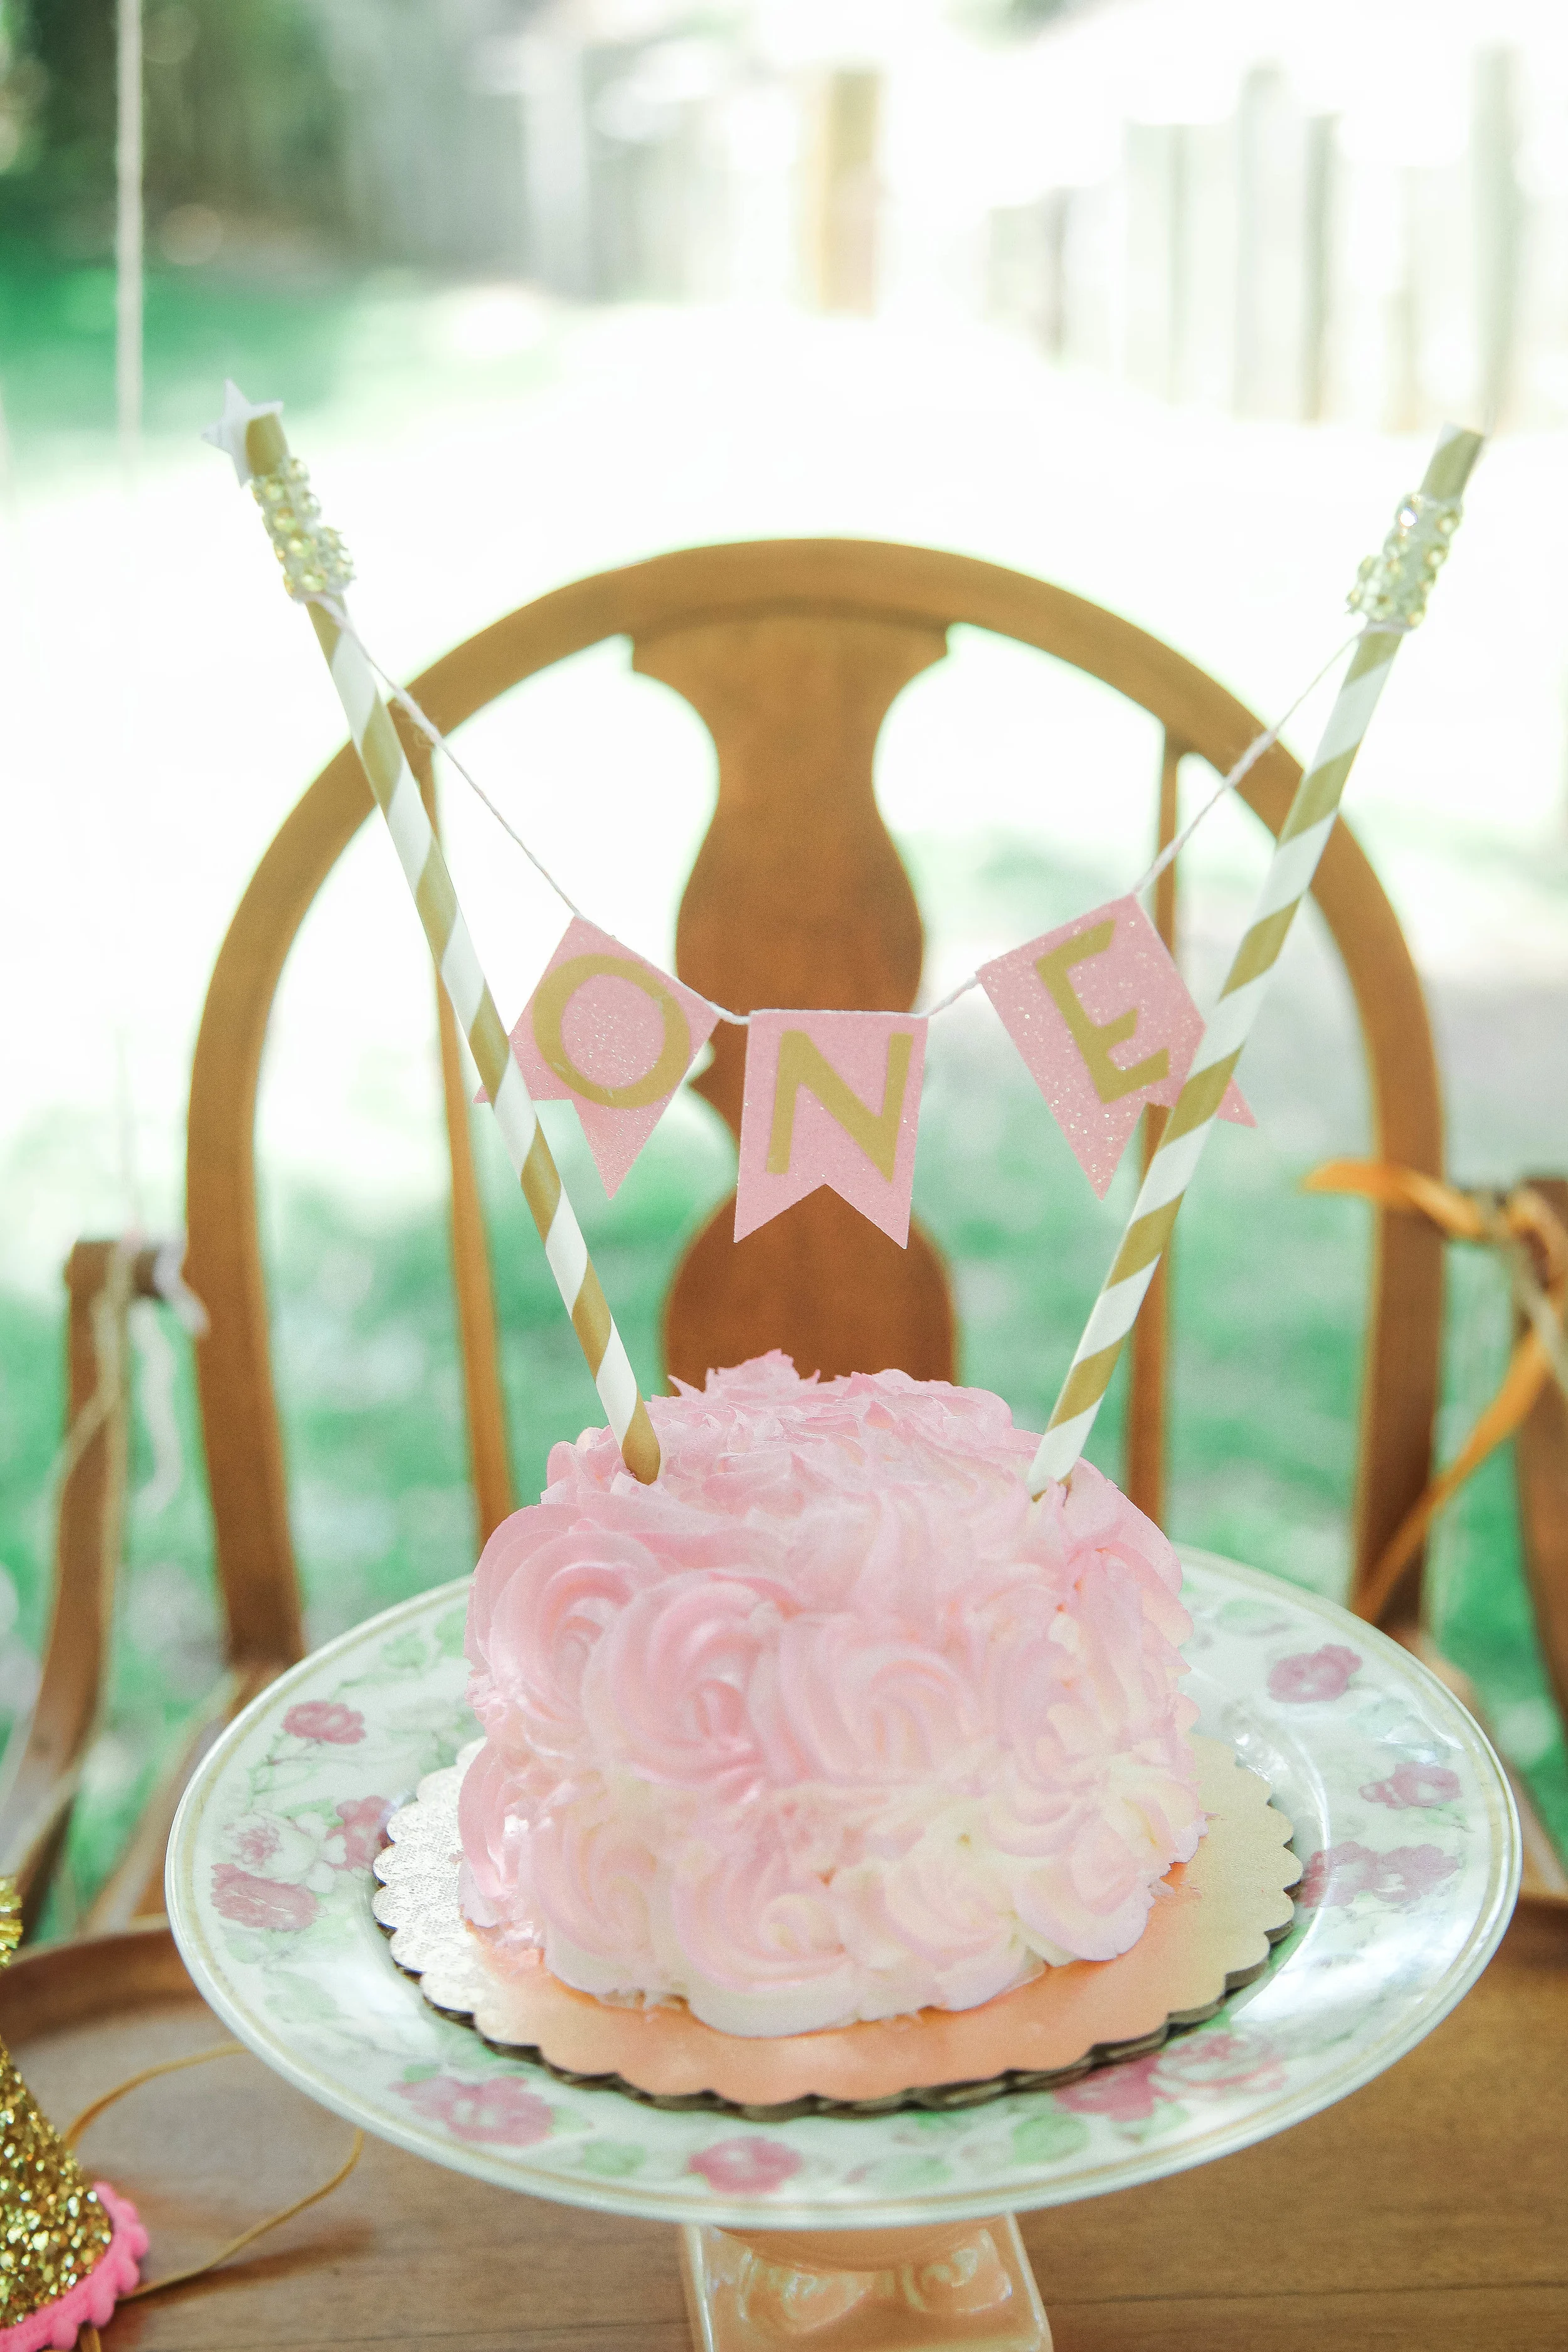
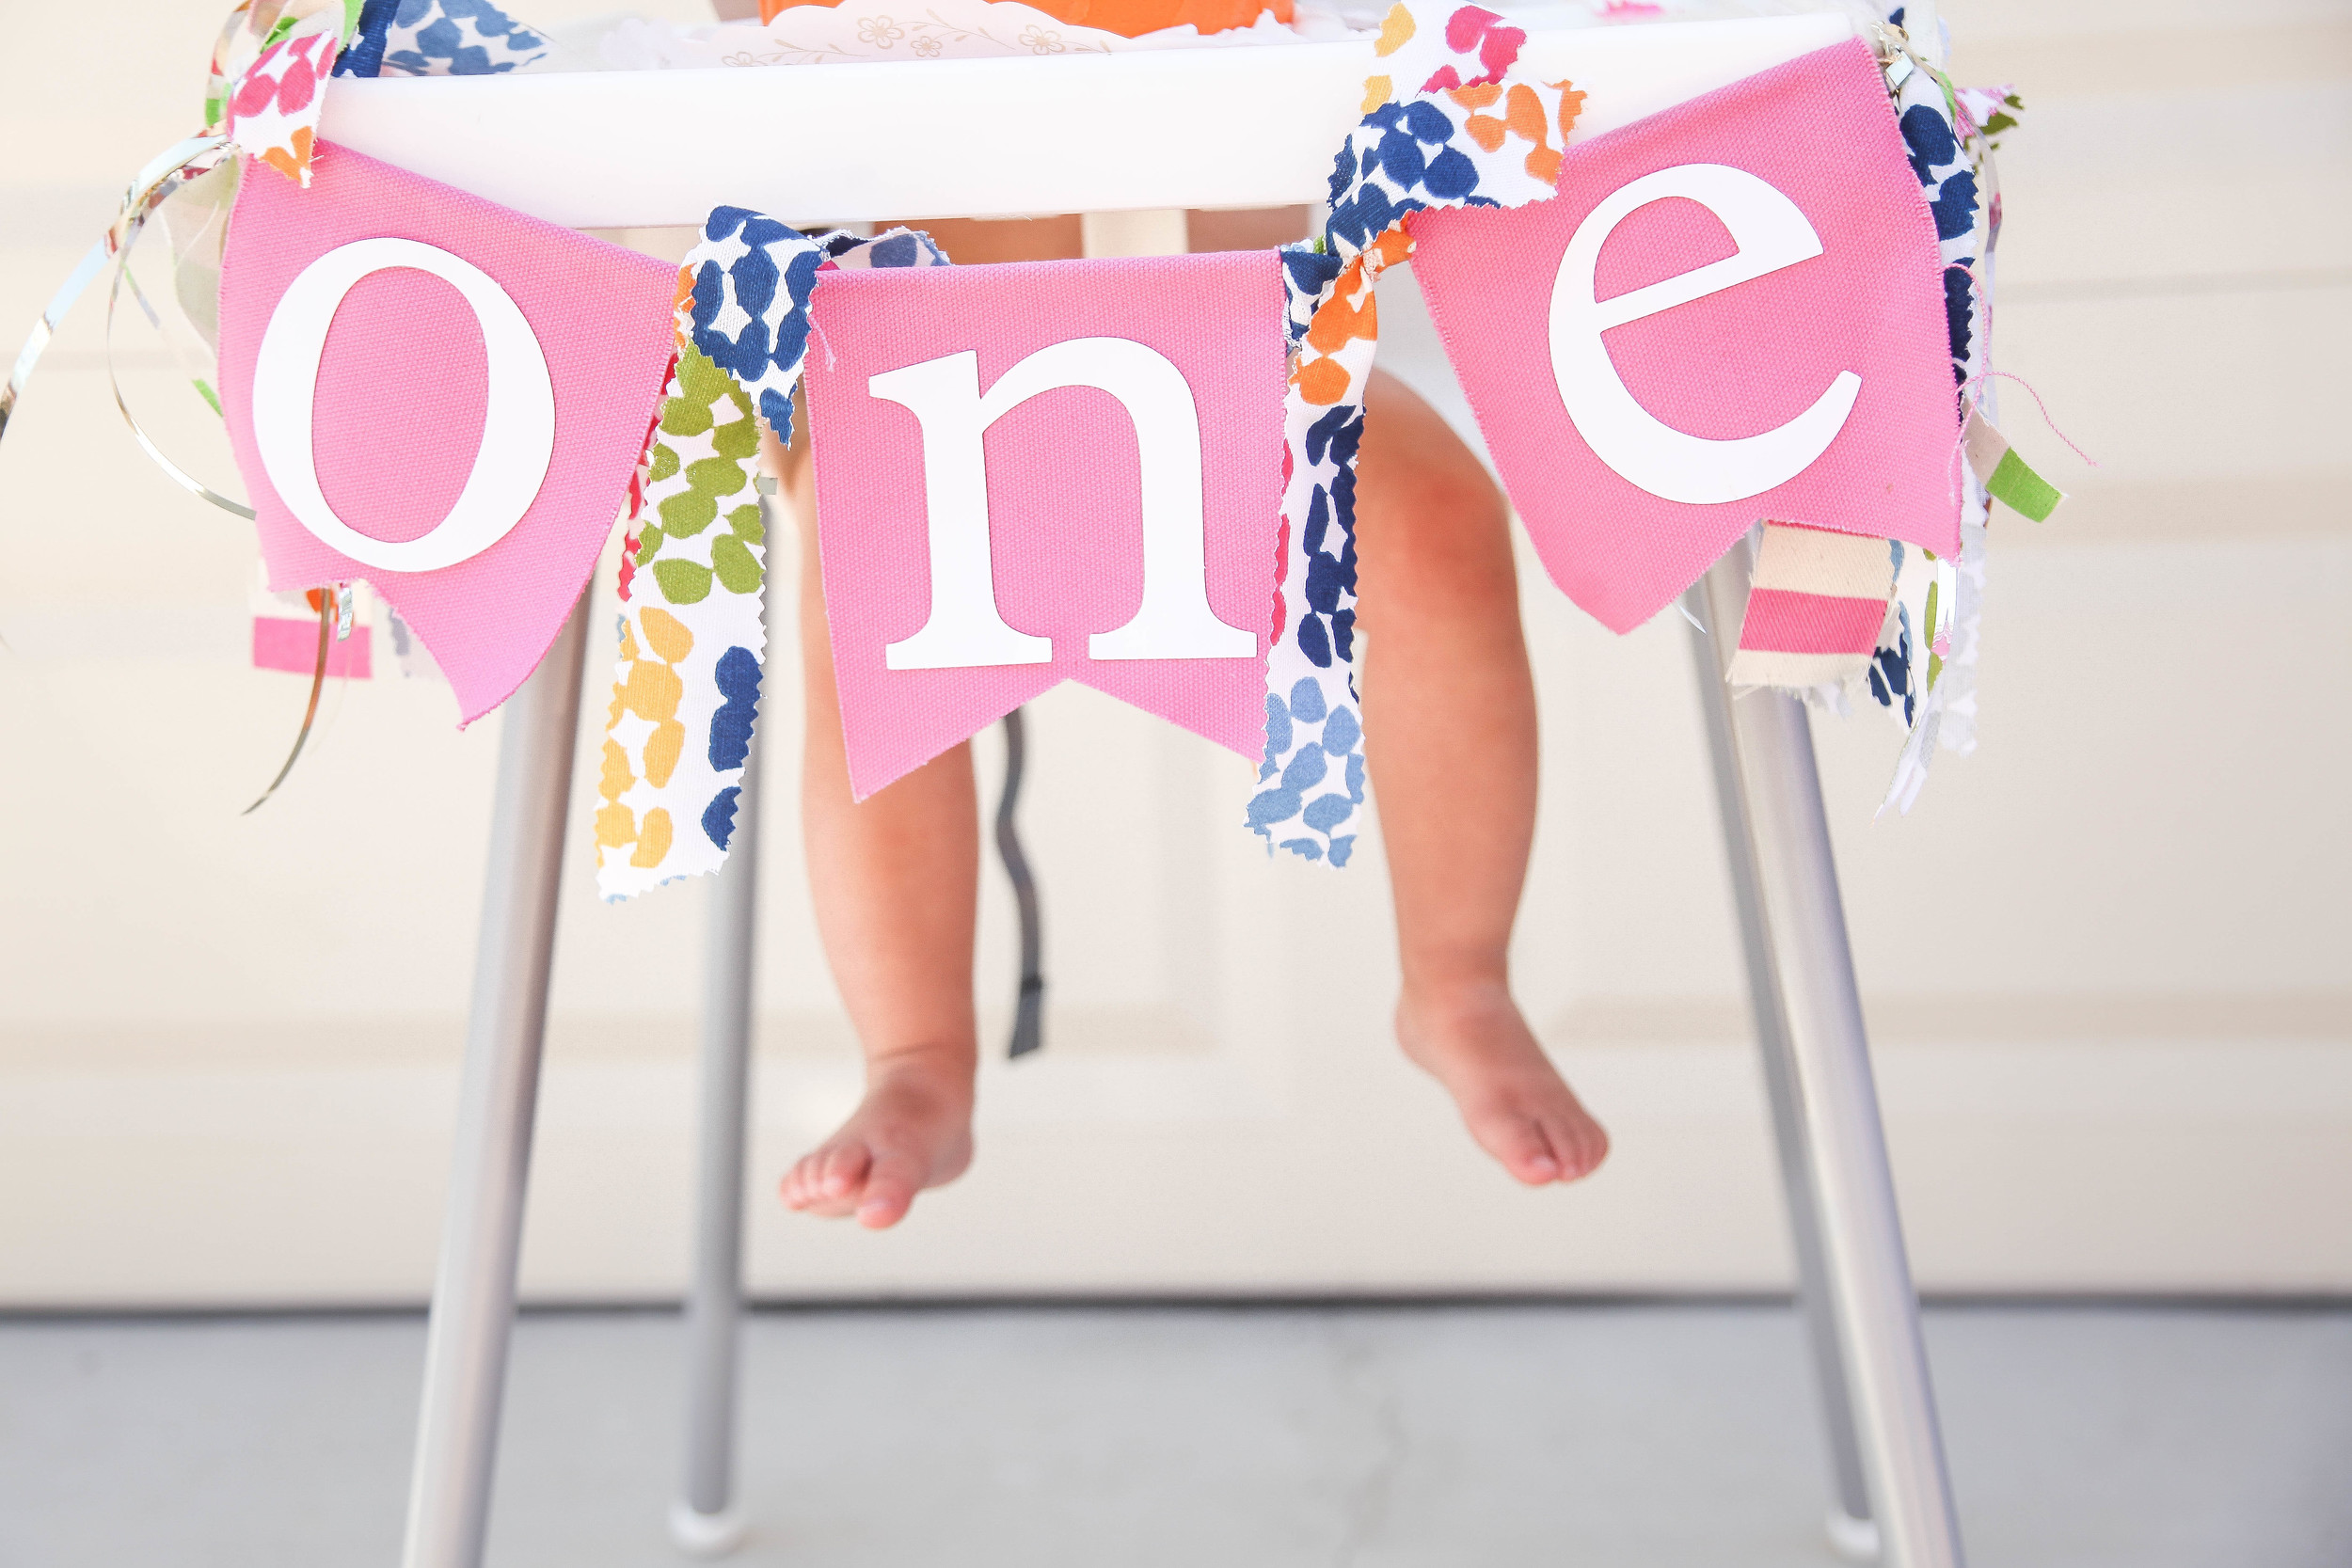
Cake bunting: DIY purchased mini wood banner shaped chips from Michaels, stained them, used a chalk marker to write “ONE”, glued it onto twine and added some arrows
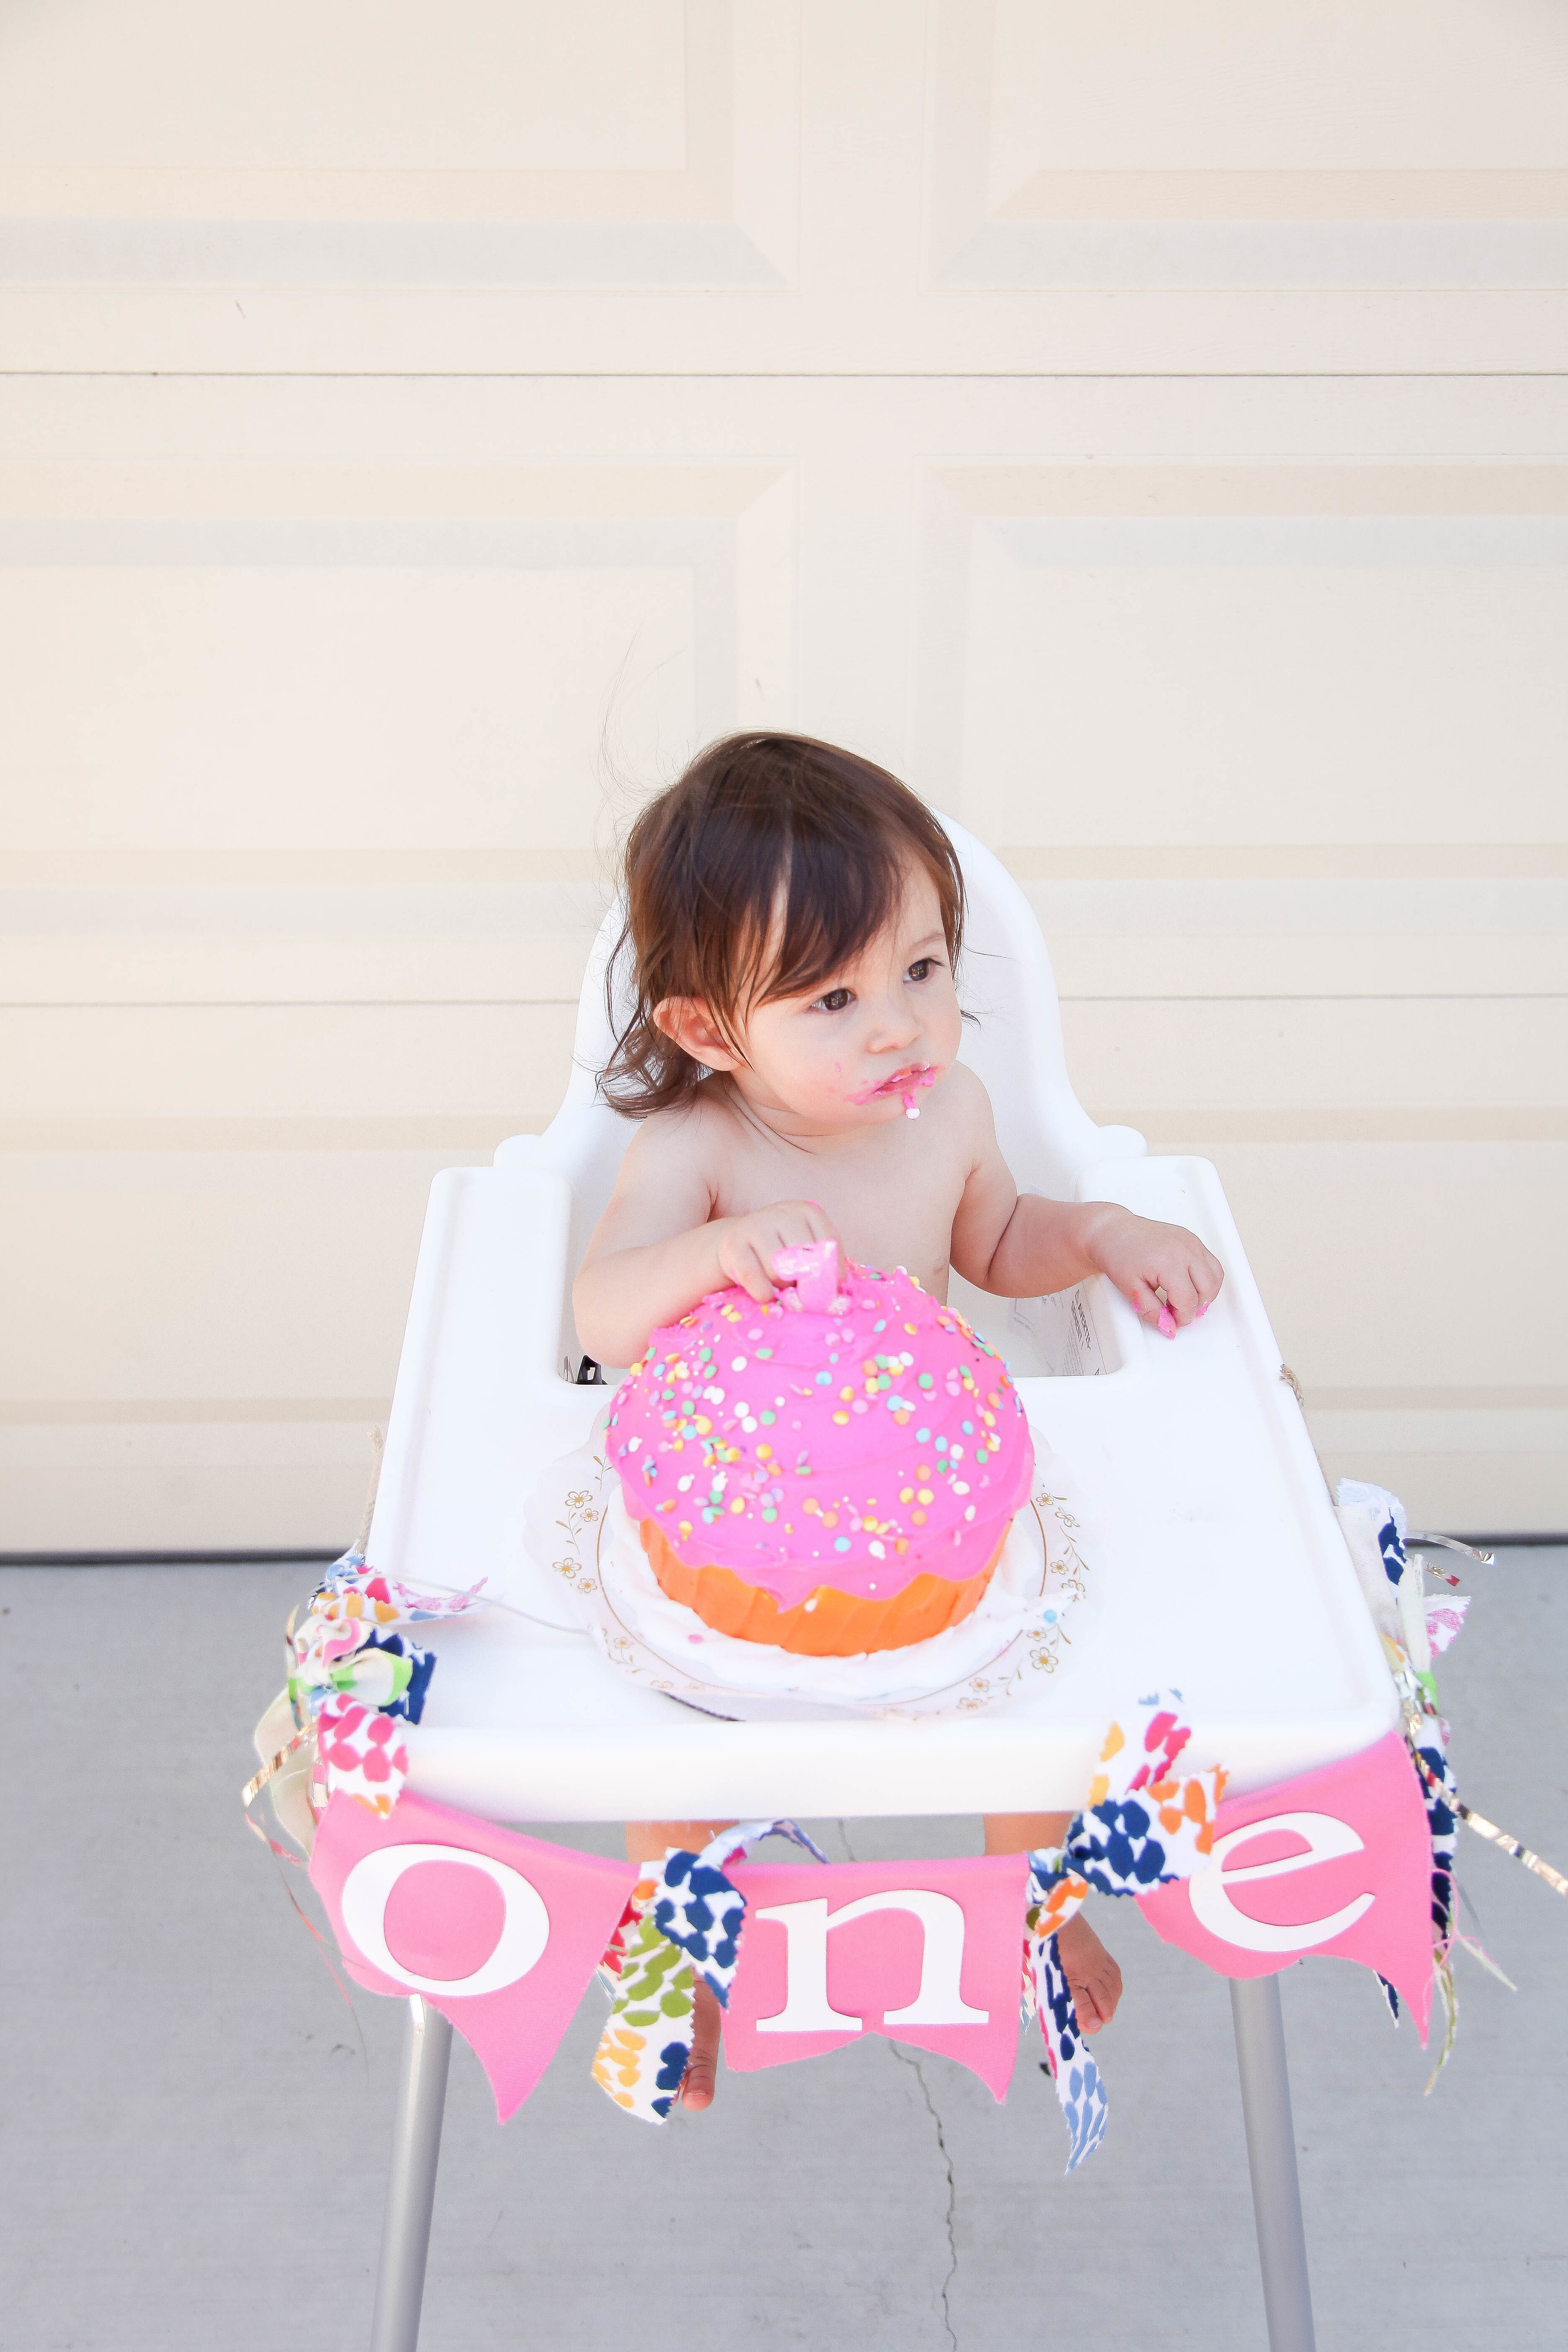
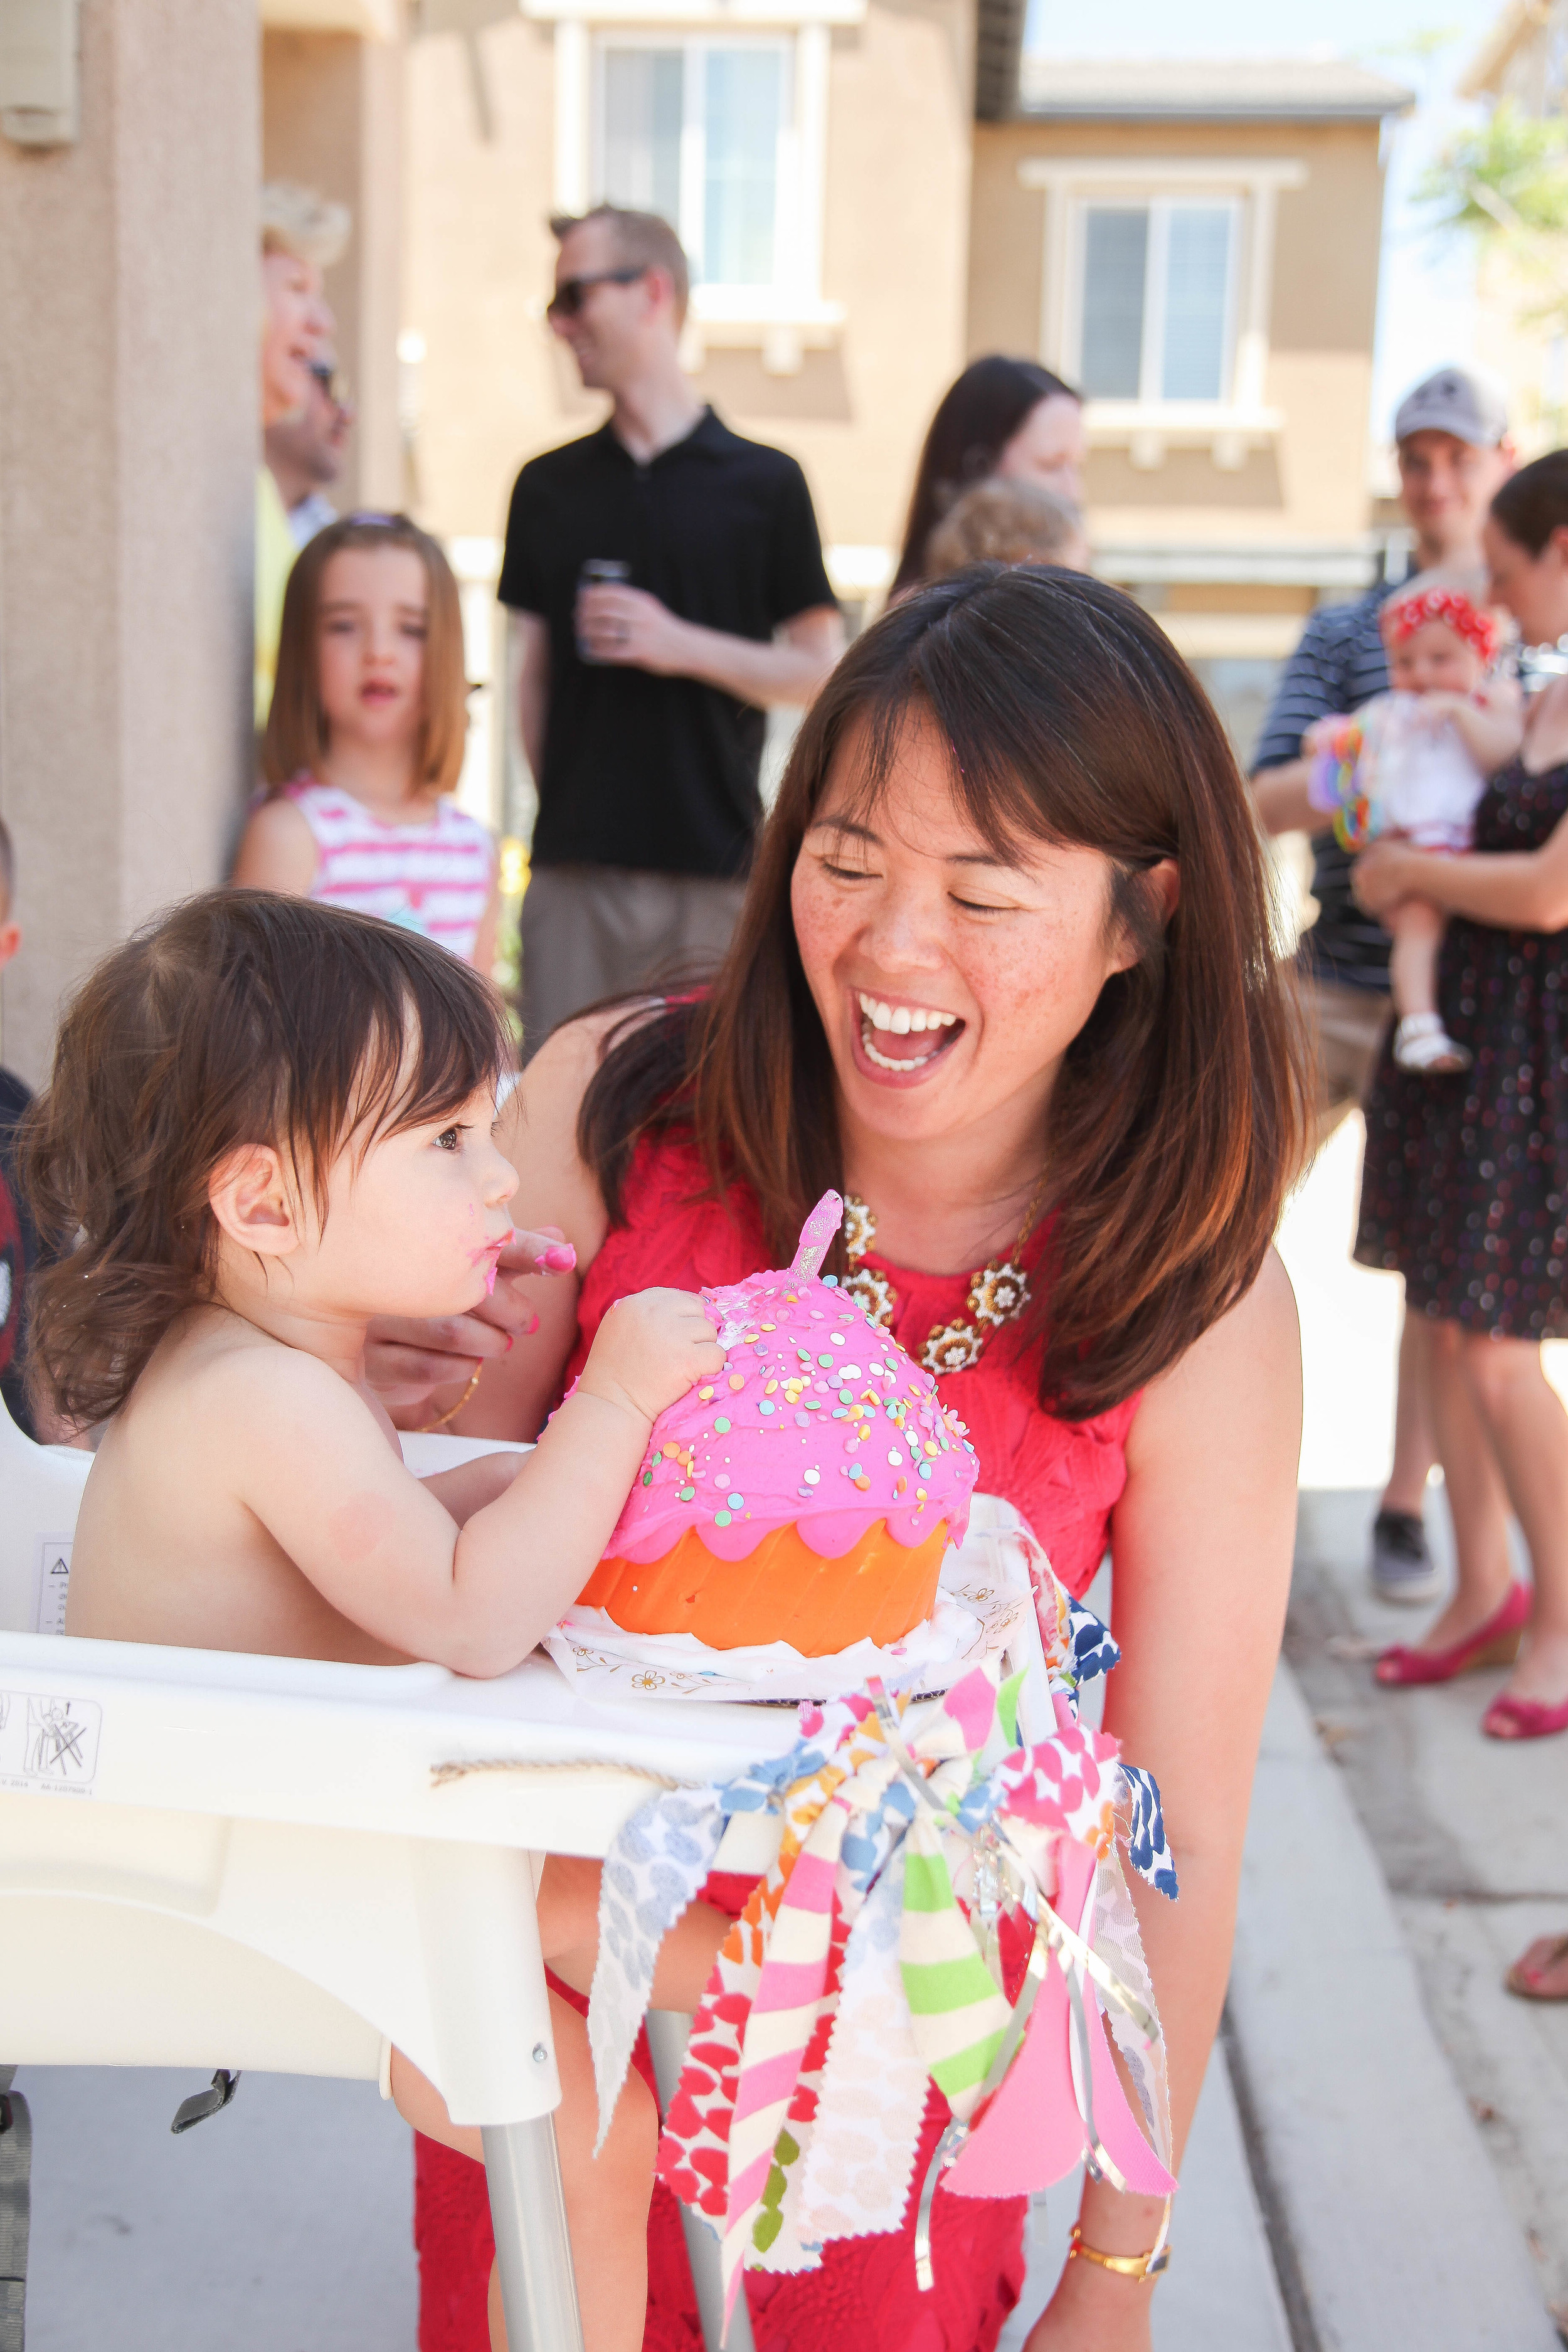
High chair banner: DIY Burlap purchased from walmart, used stencil for the letters, added twine & feathers at the ends to give it that indian look.
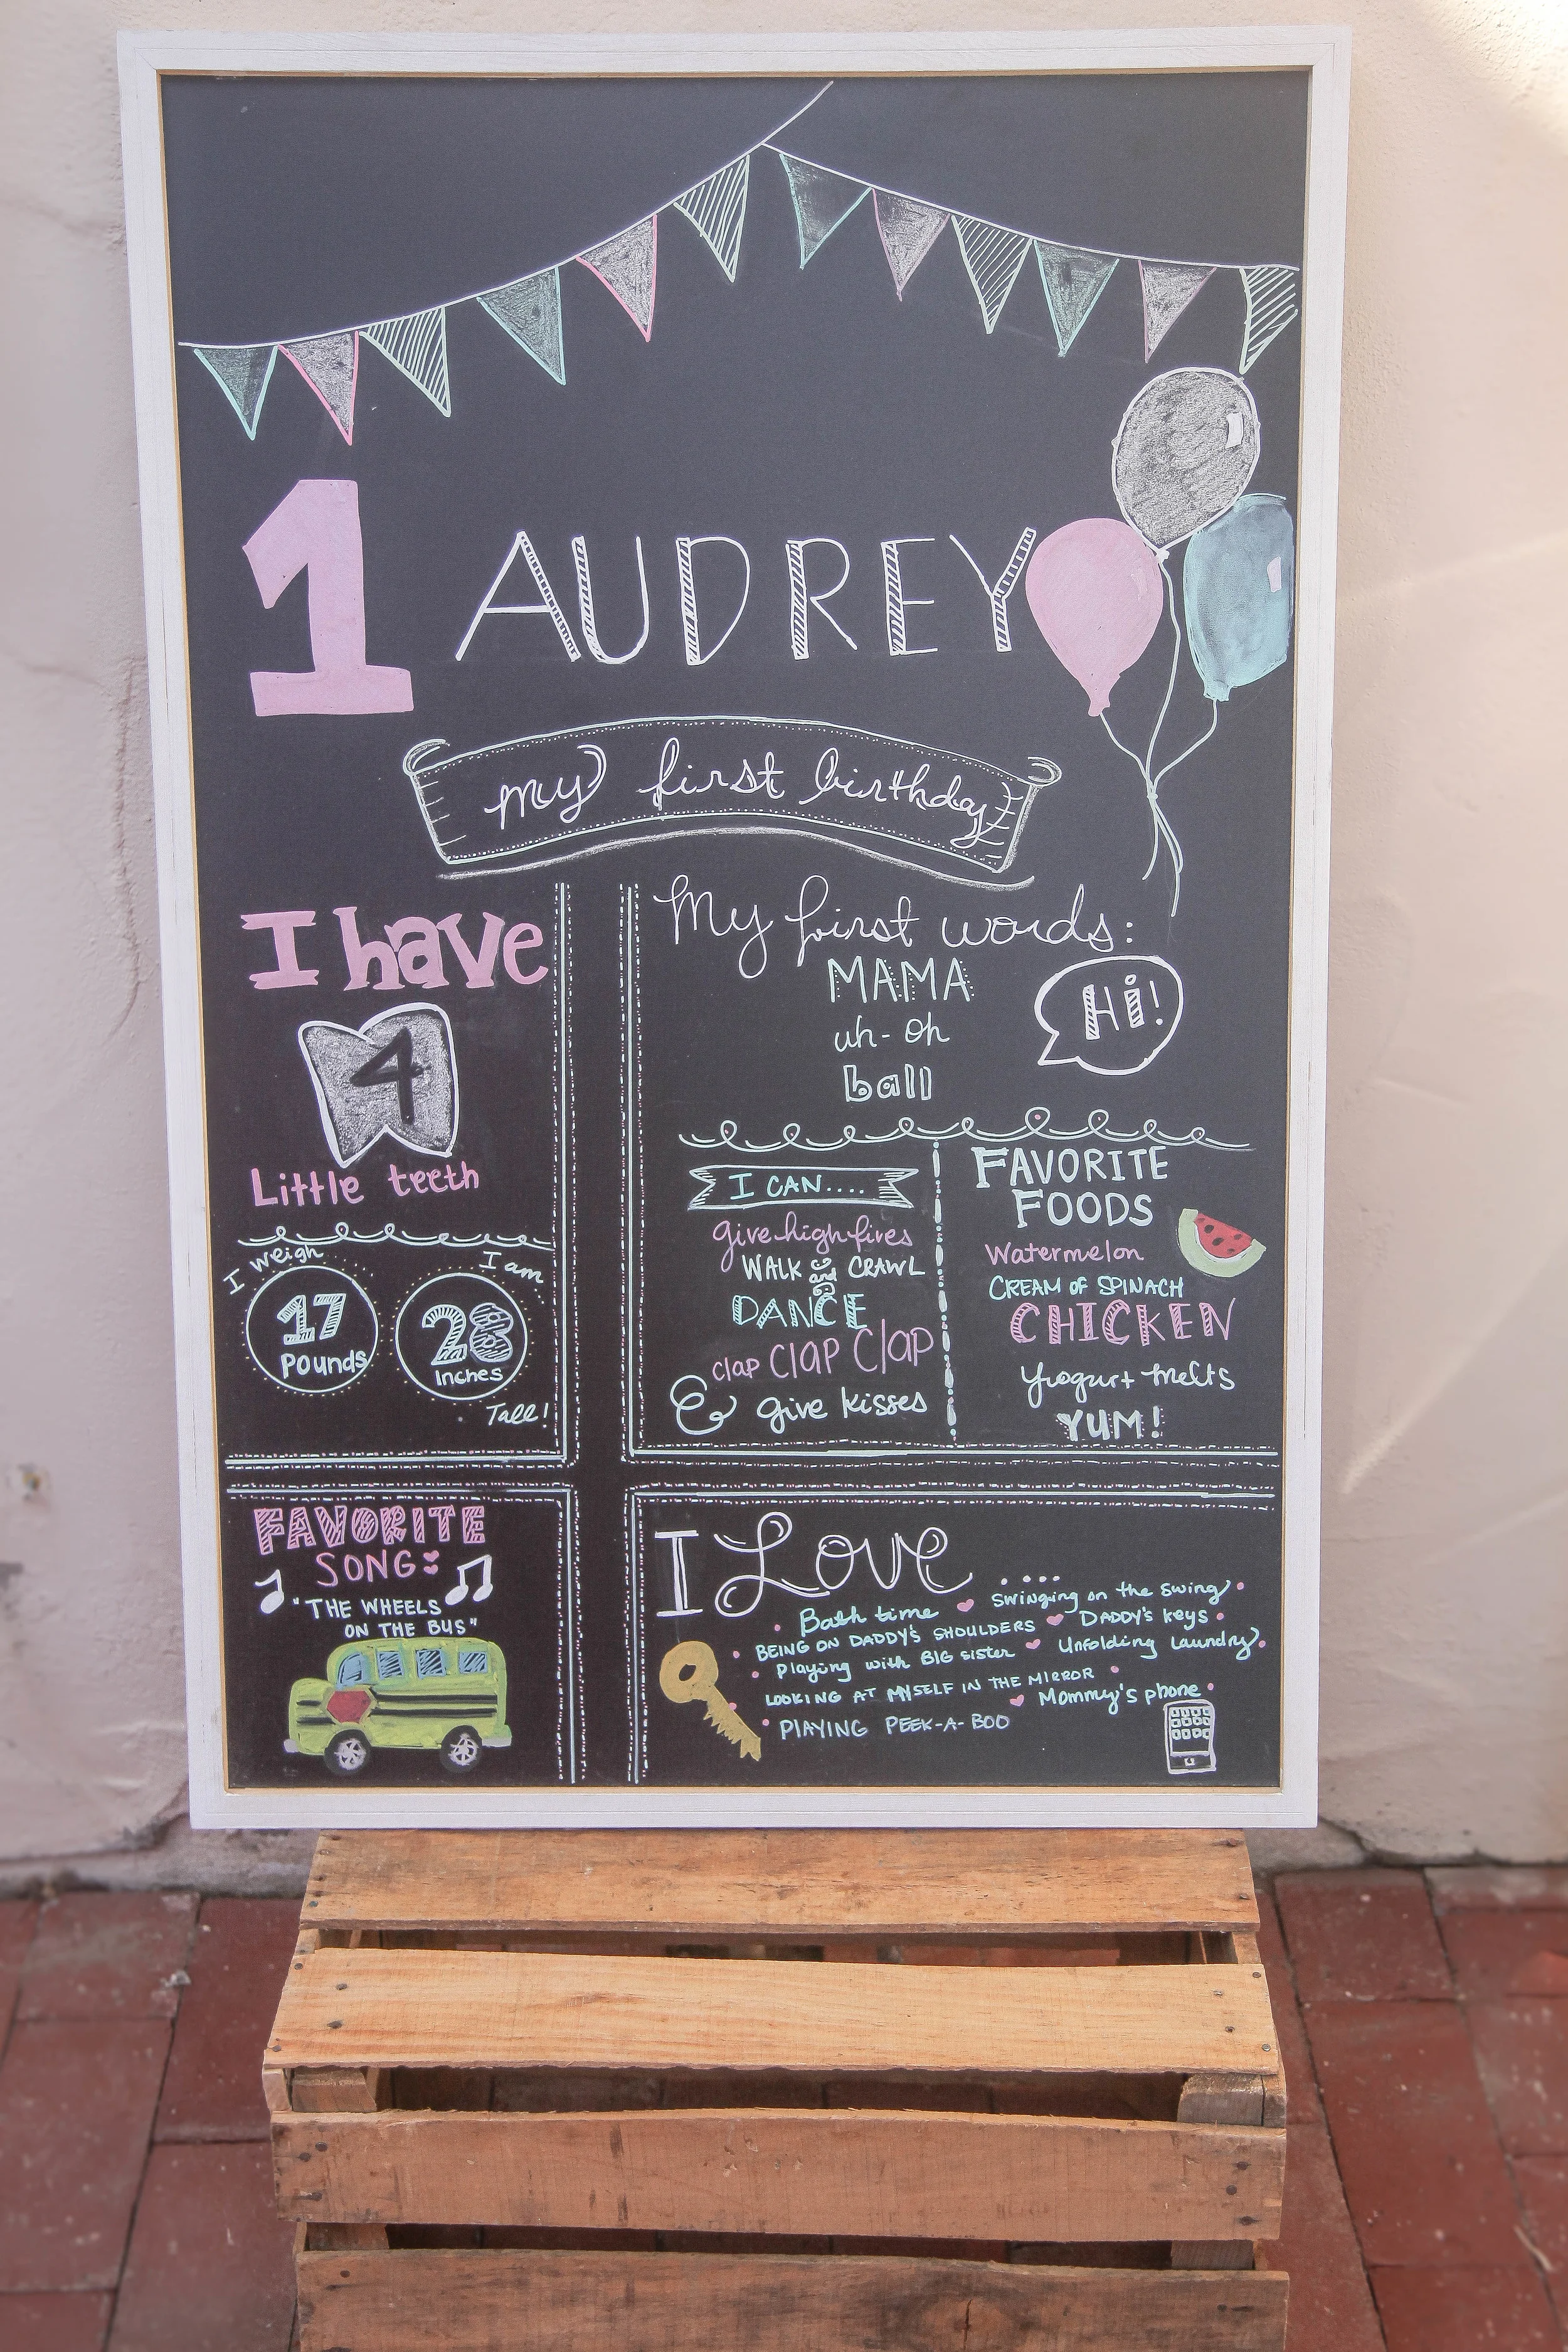
Chalkboard: DIY stained purchased from Hobby Lobby
Arrows: DIY (pinterest) -Used decorative tape on some parts, then painted in the between. I added feathers to the top and used brown card stock to create an arrow tip at the bottom.

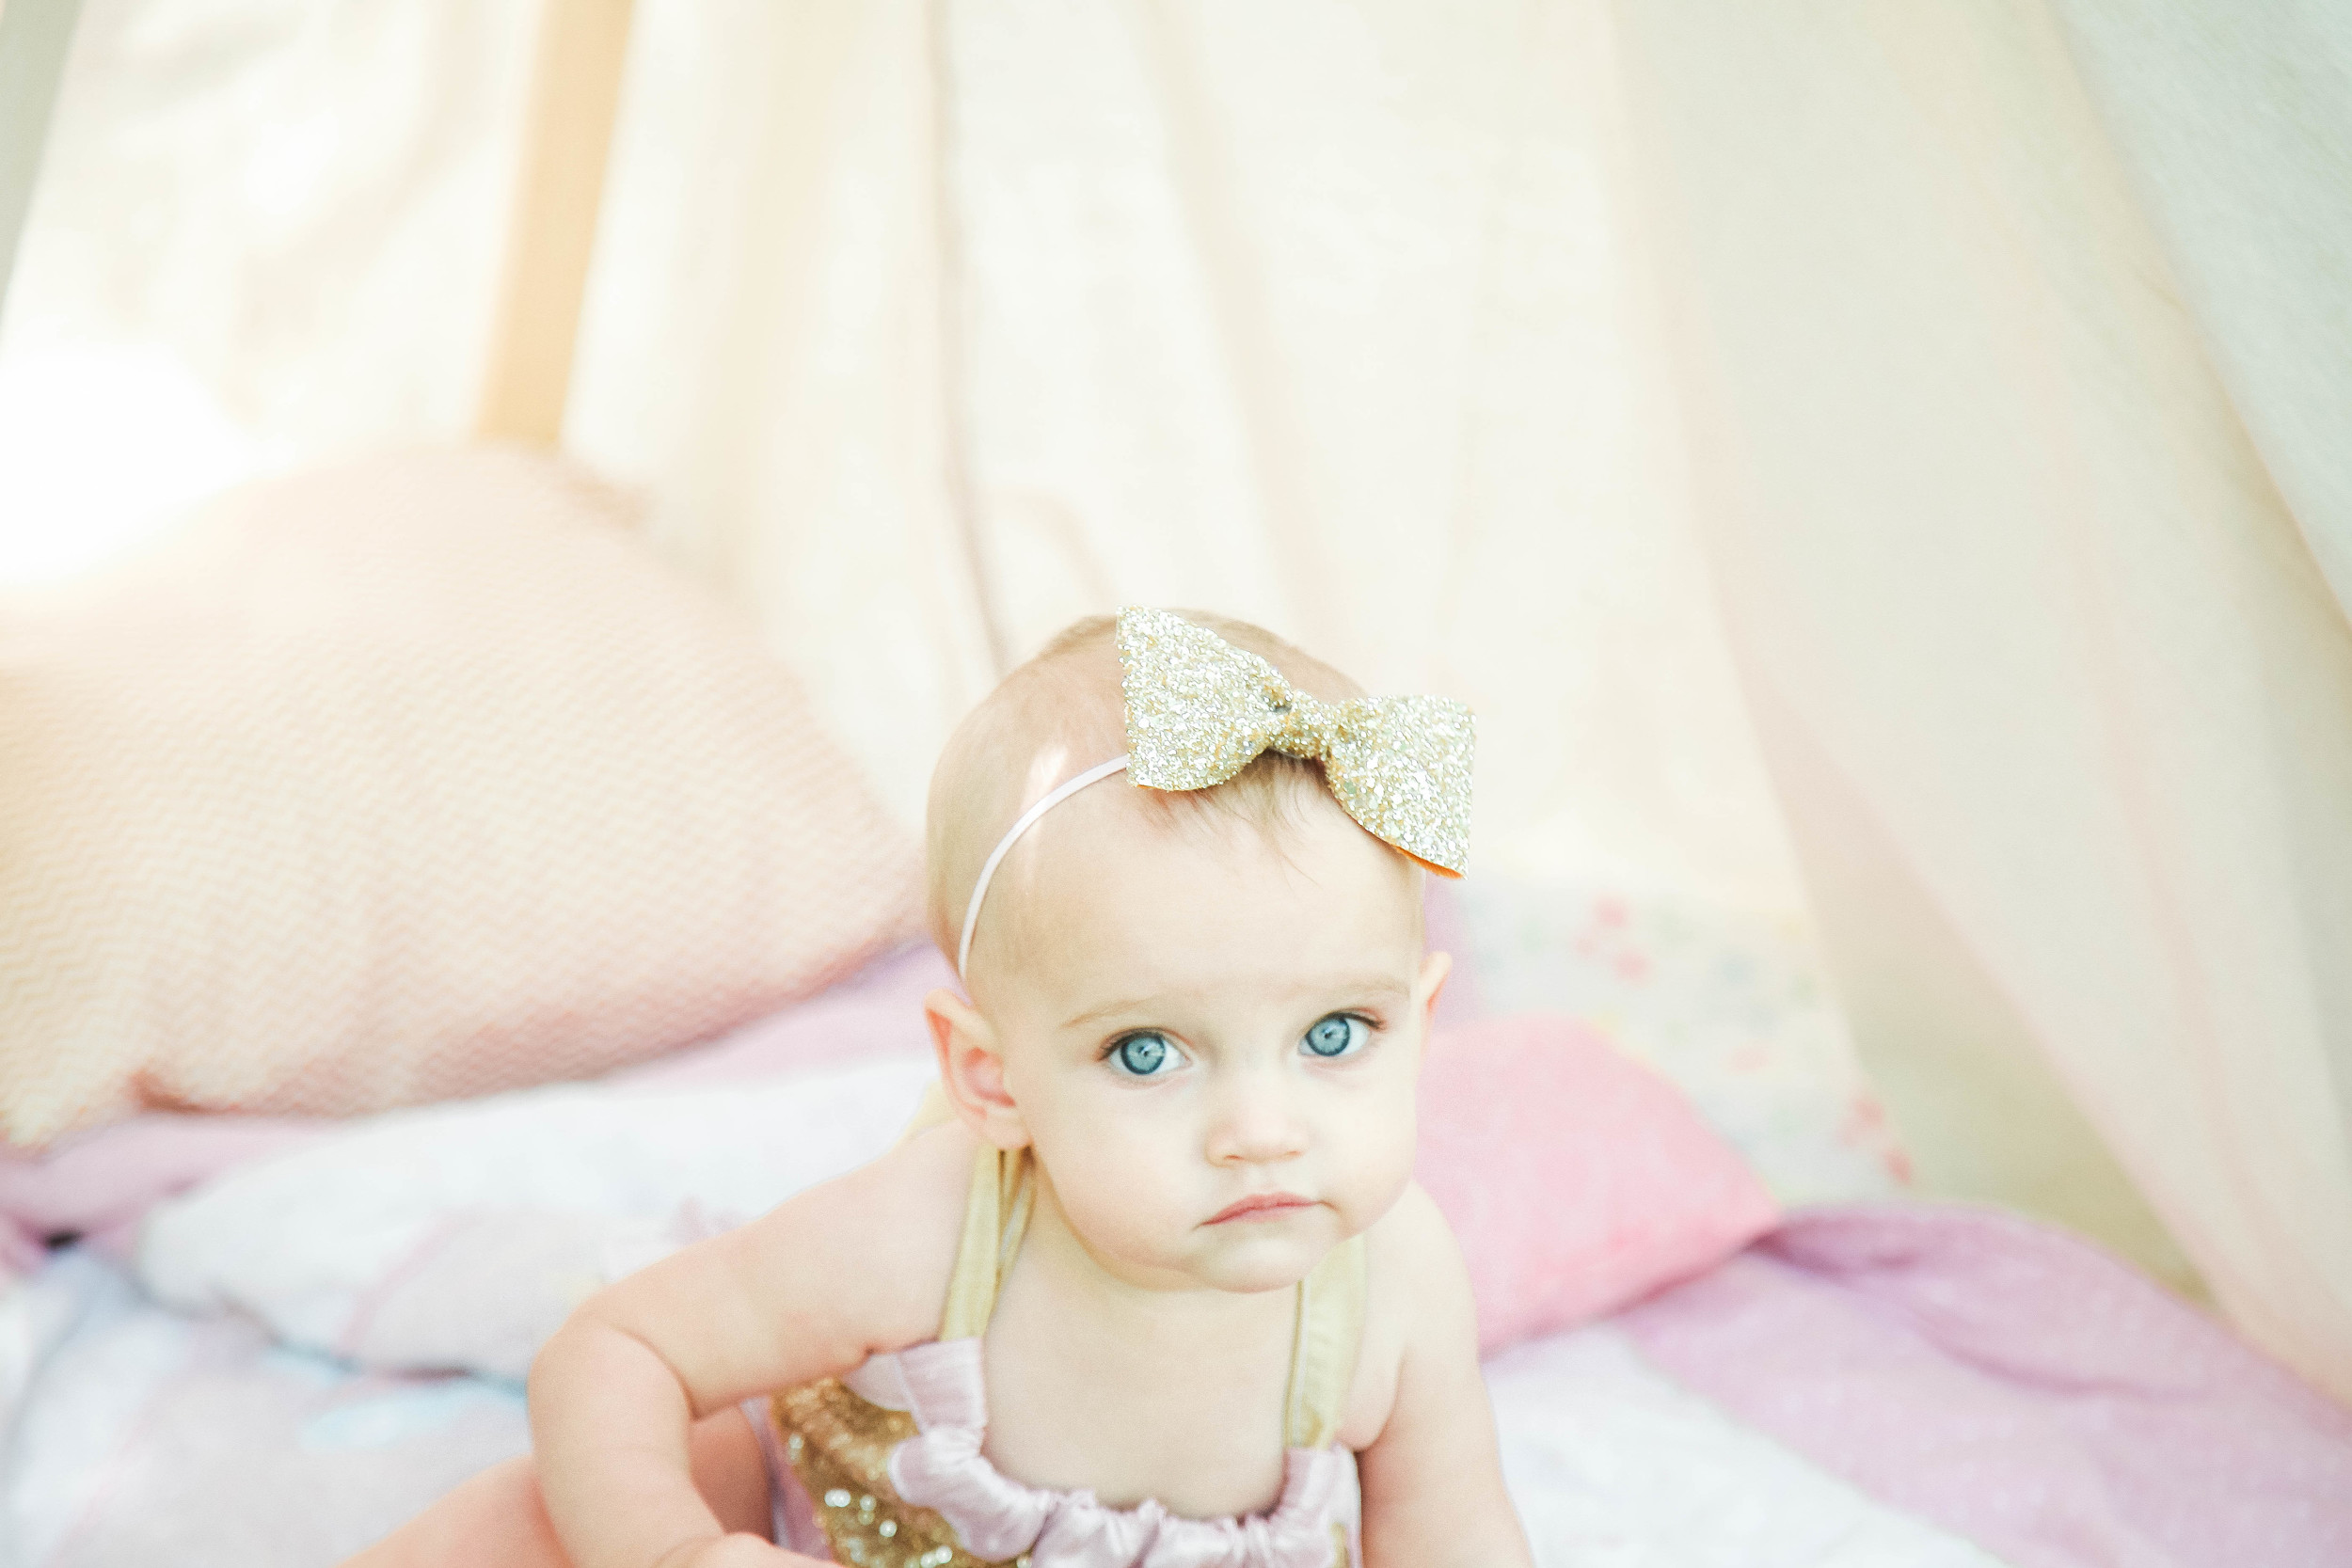
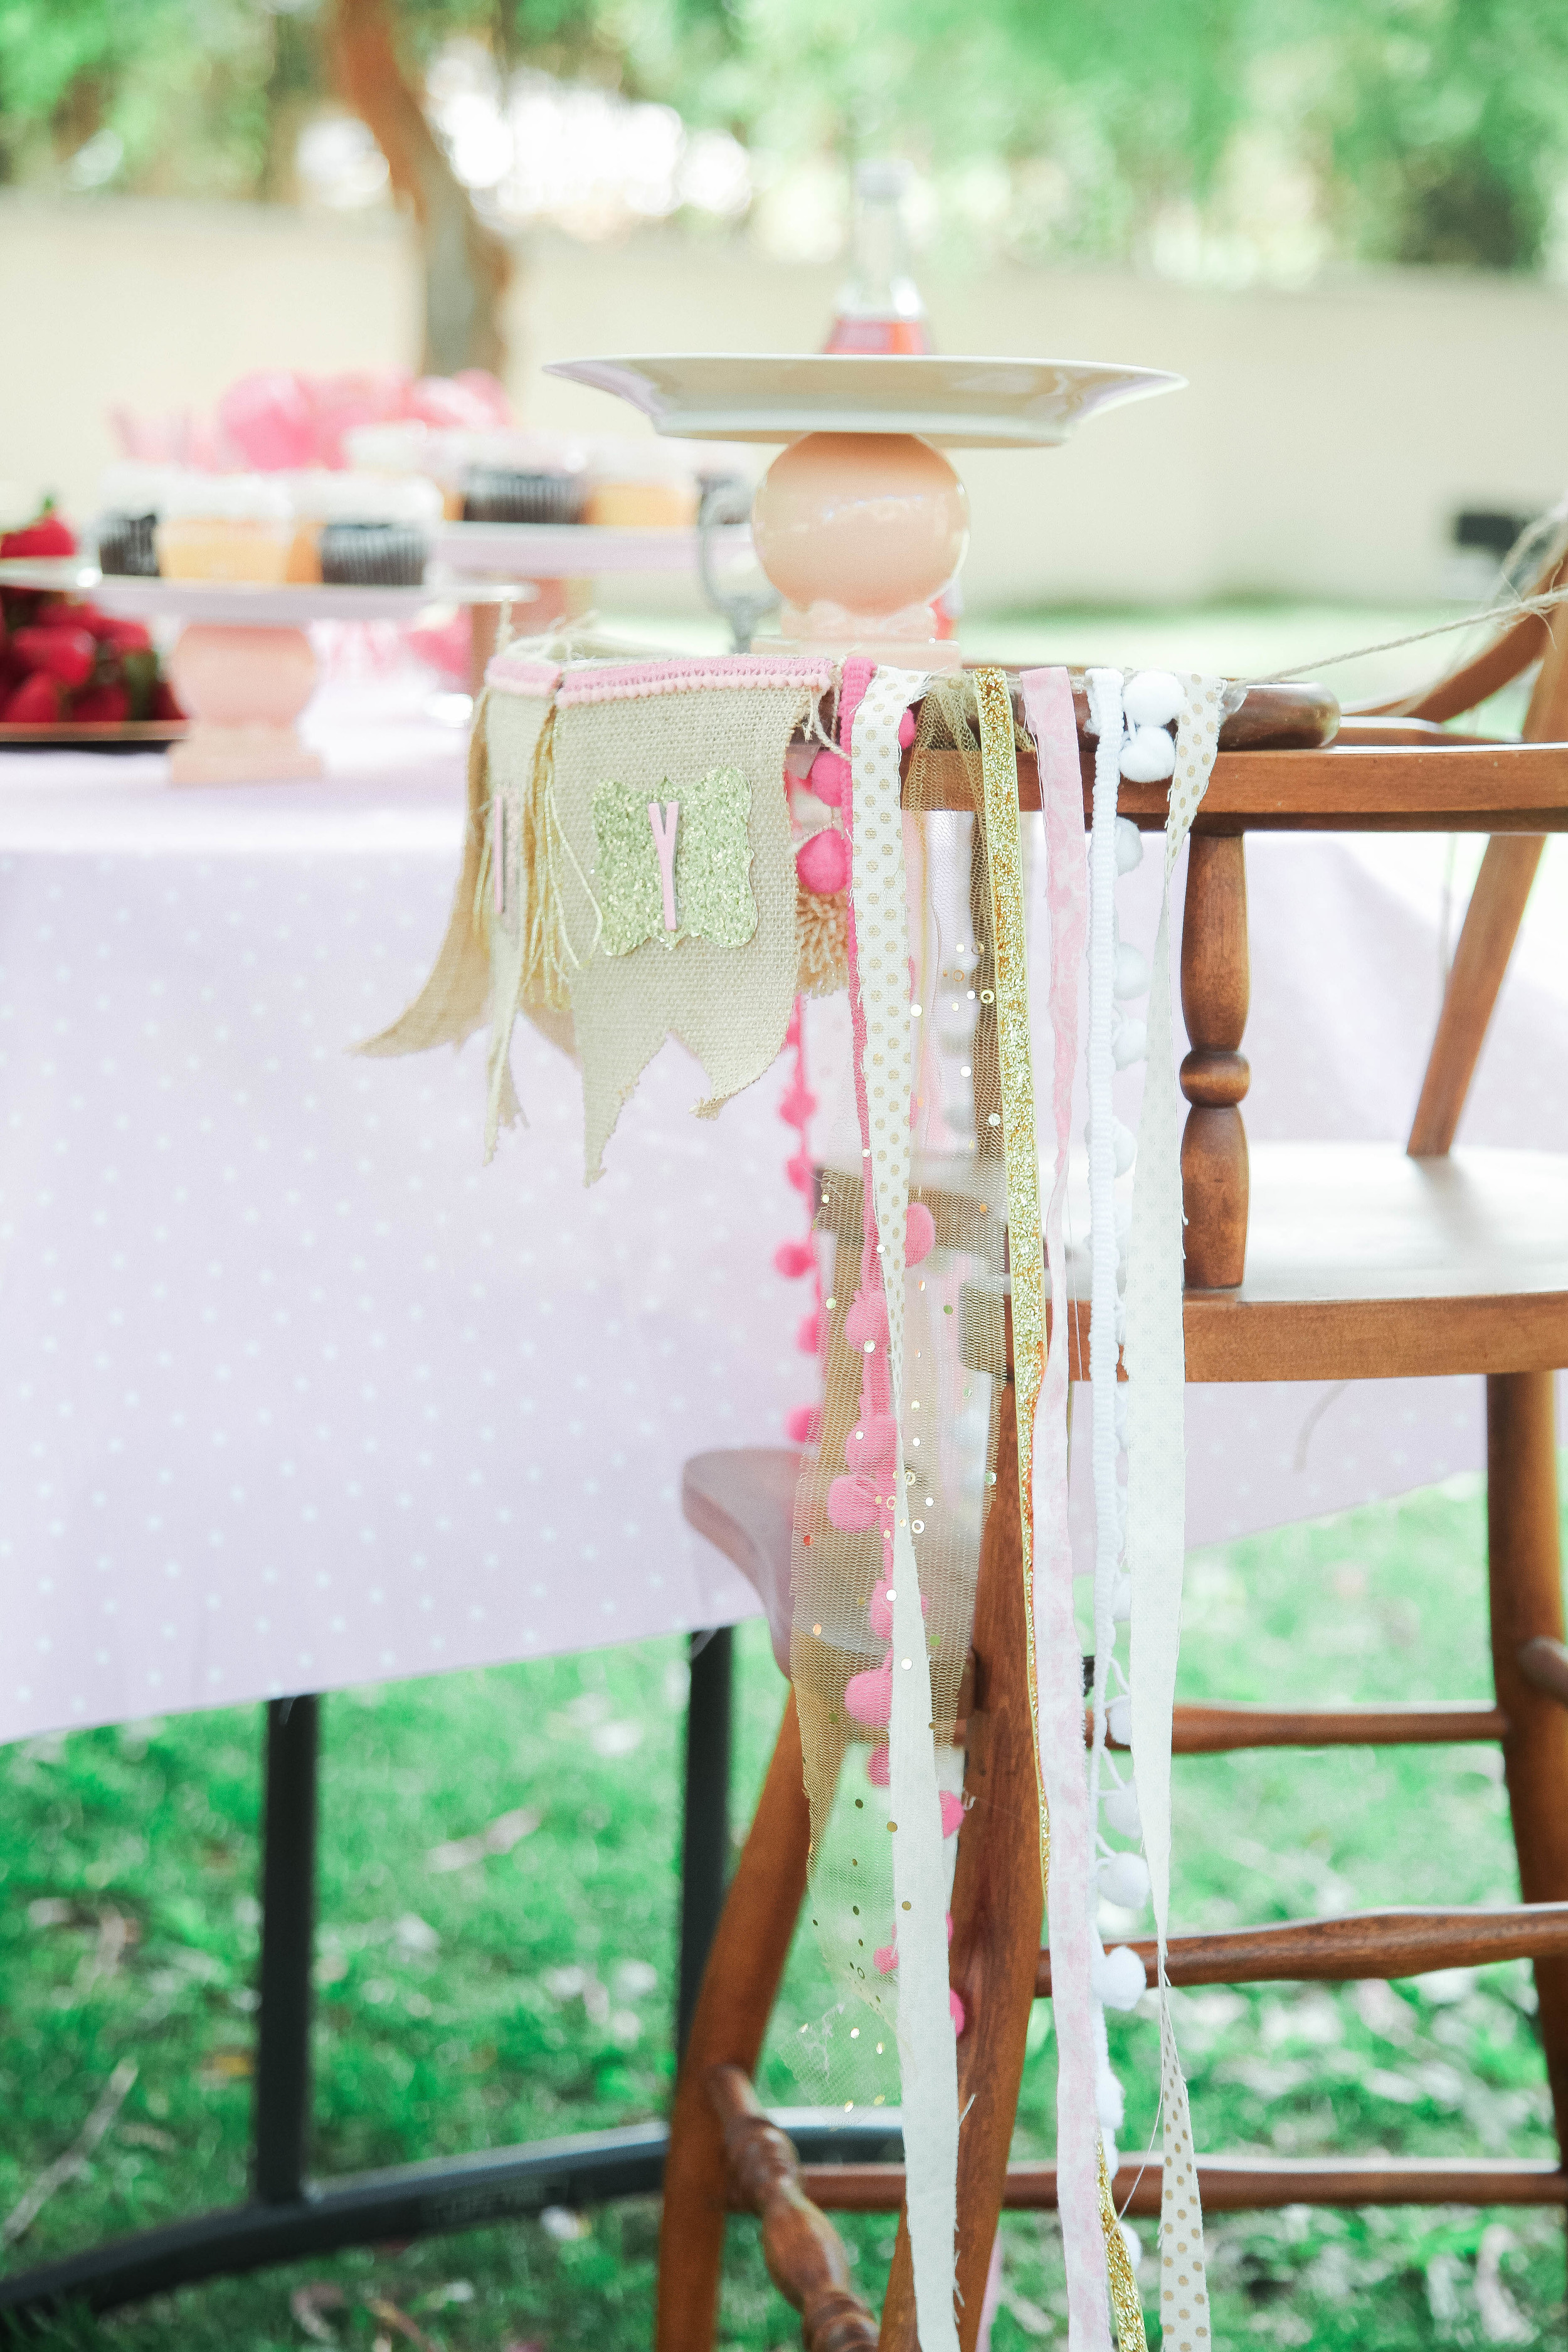
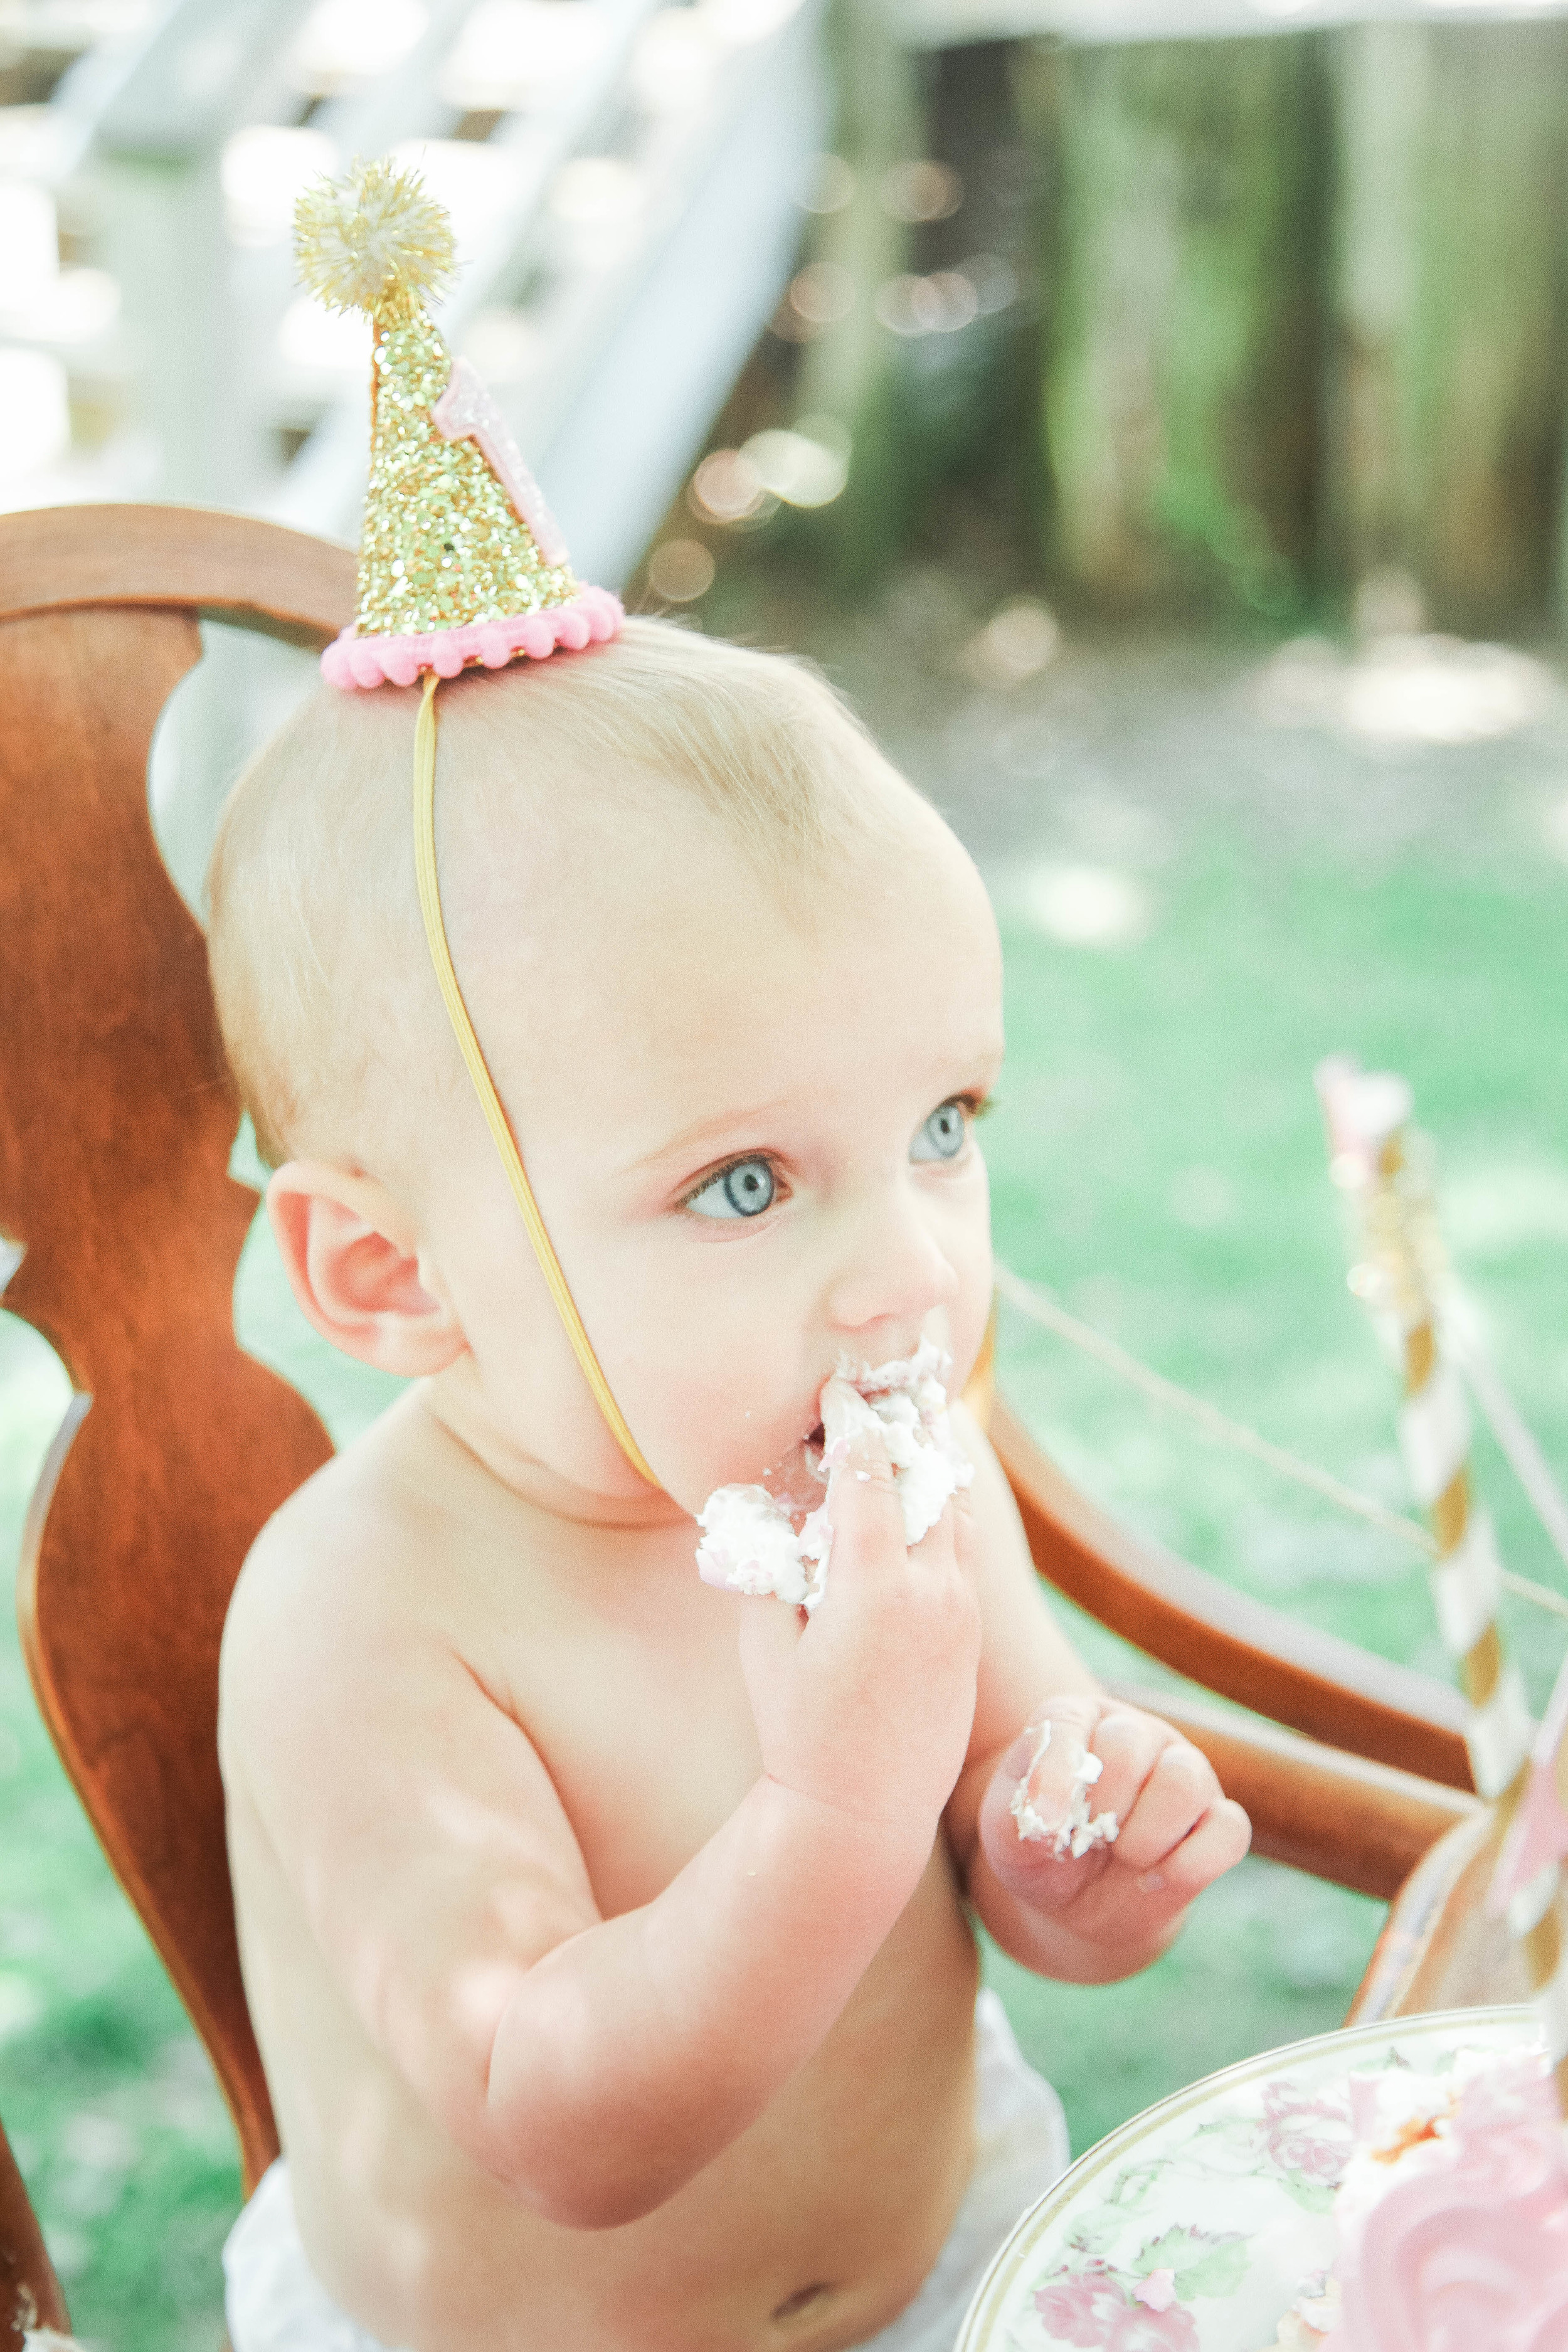
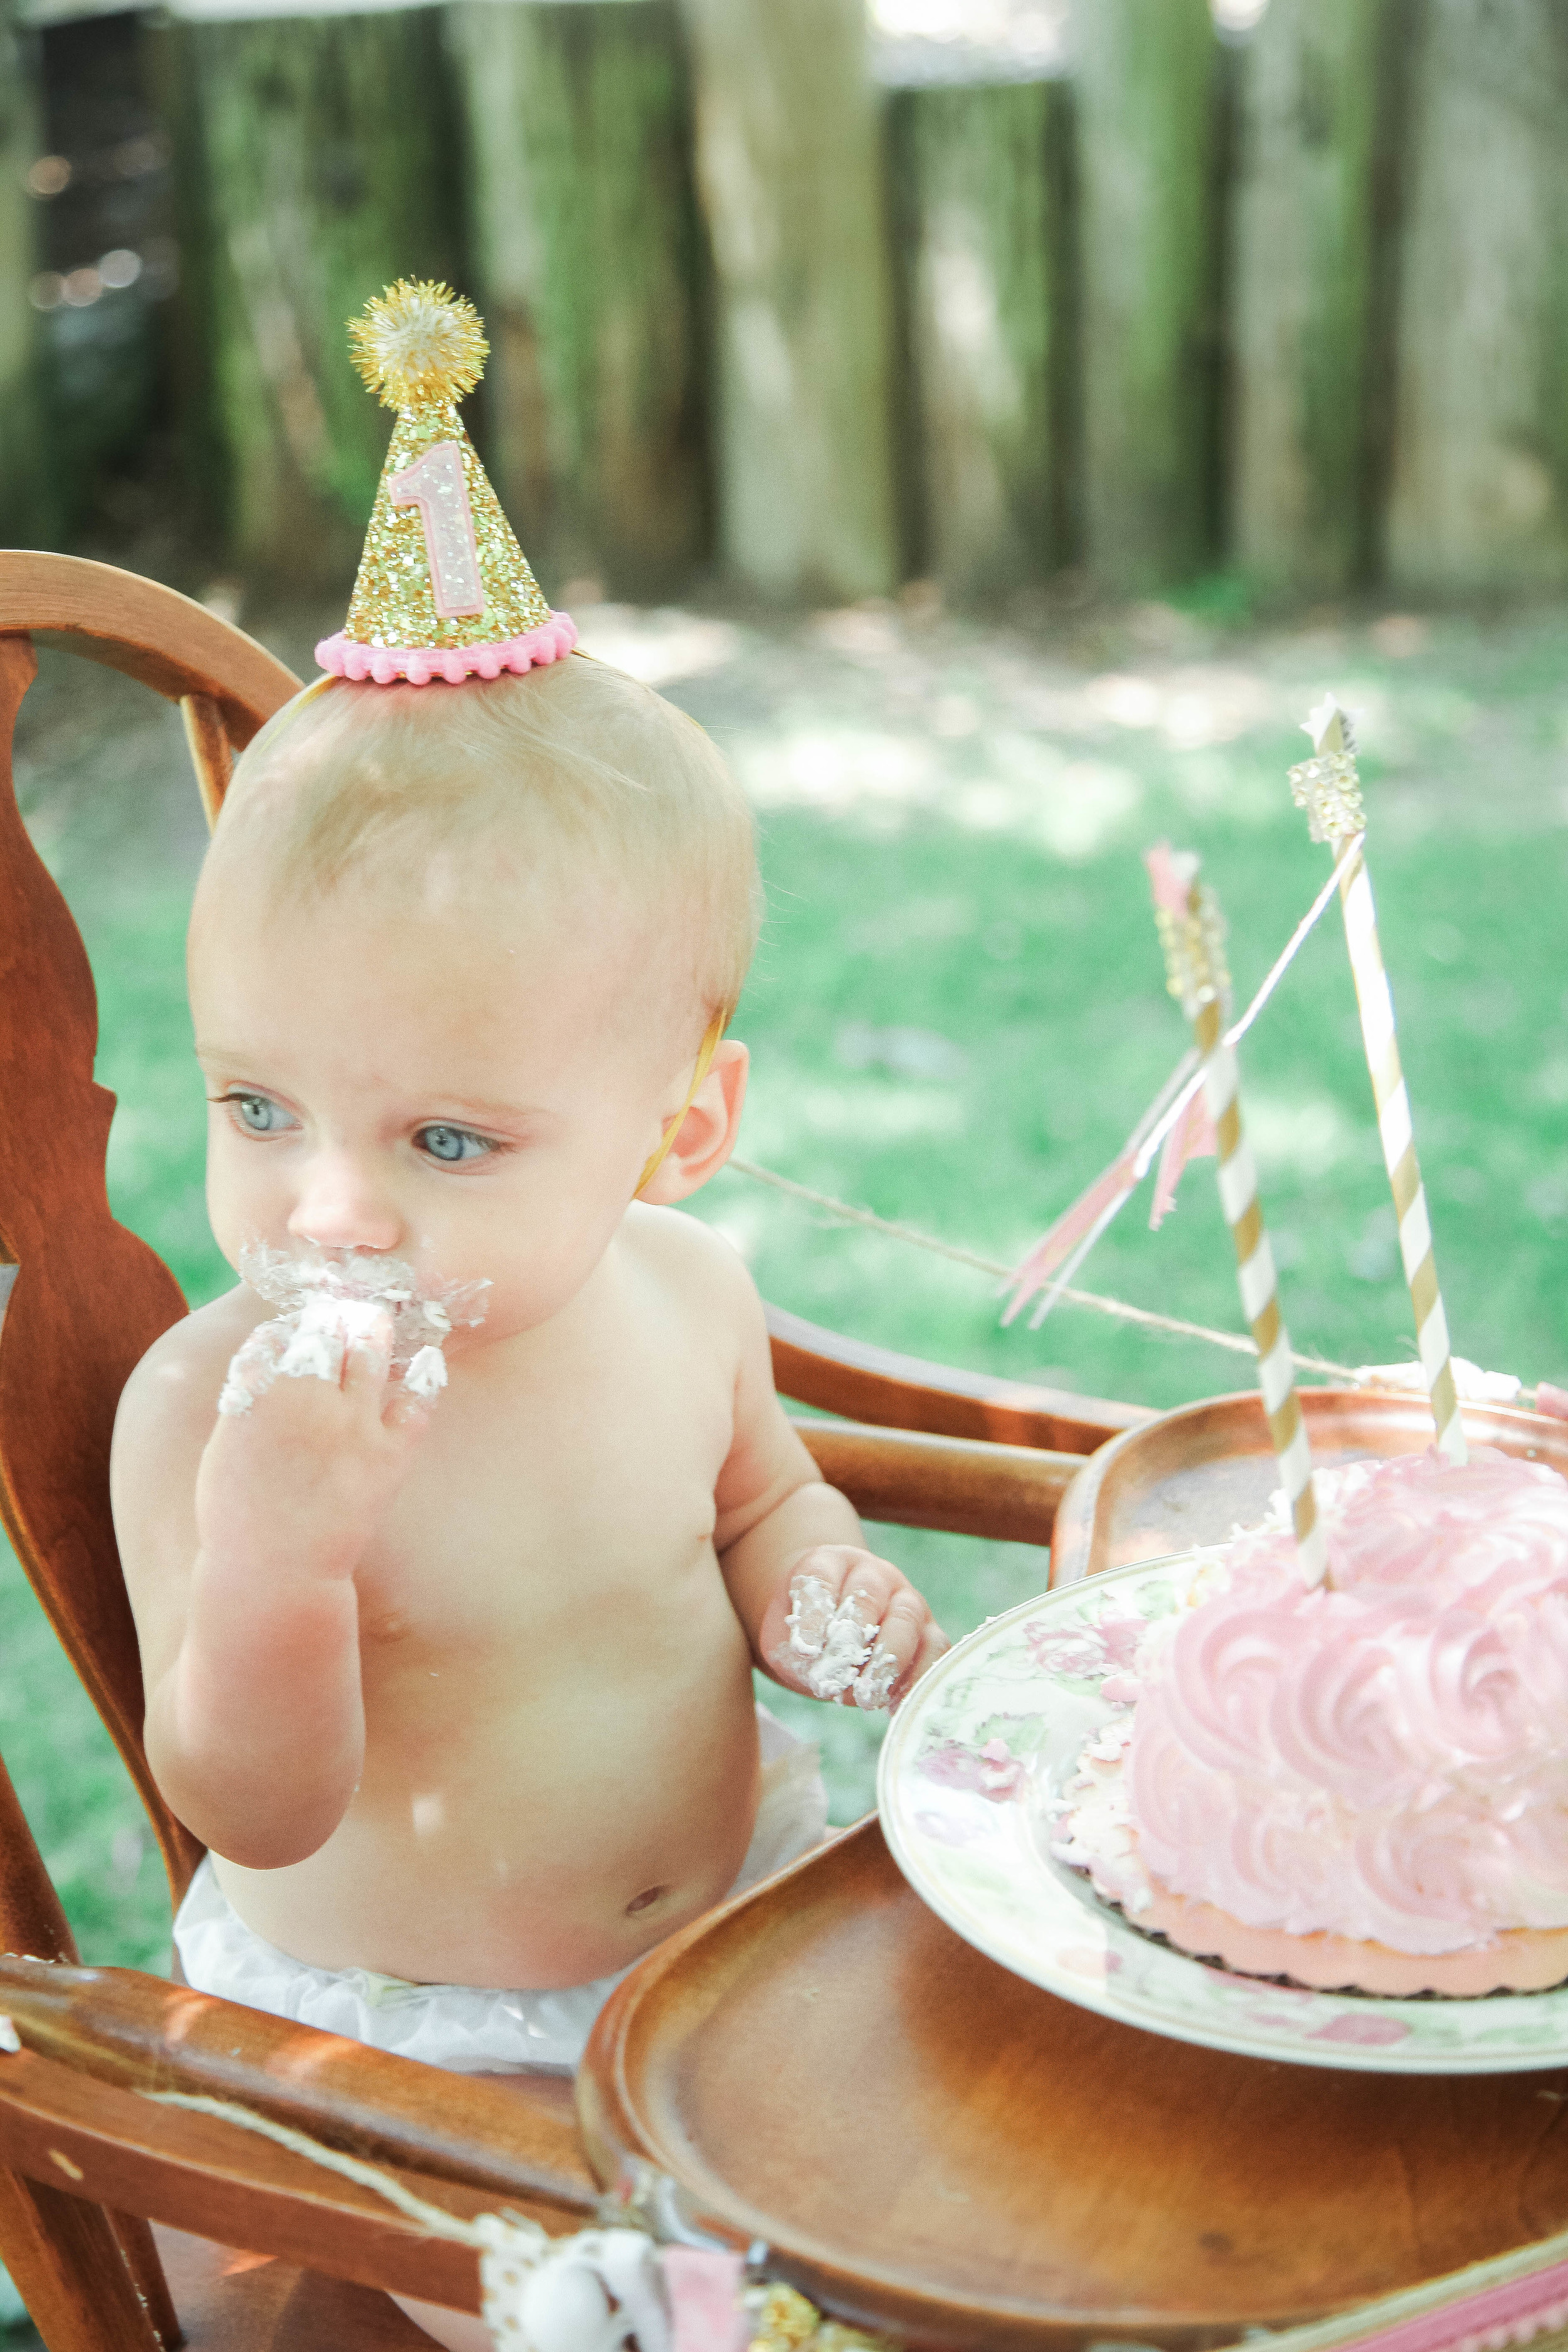
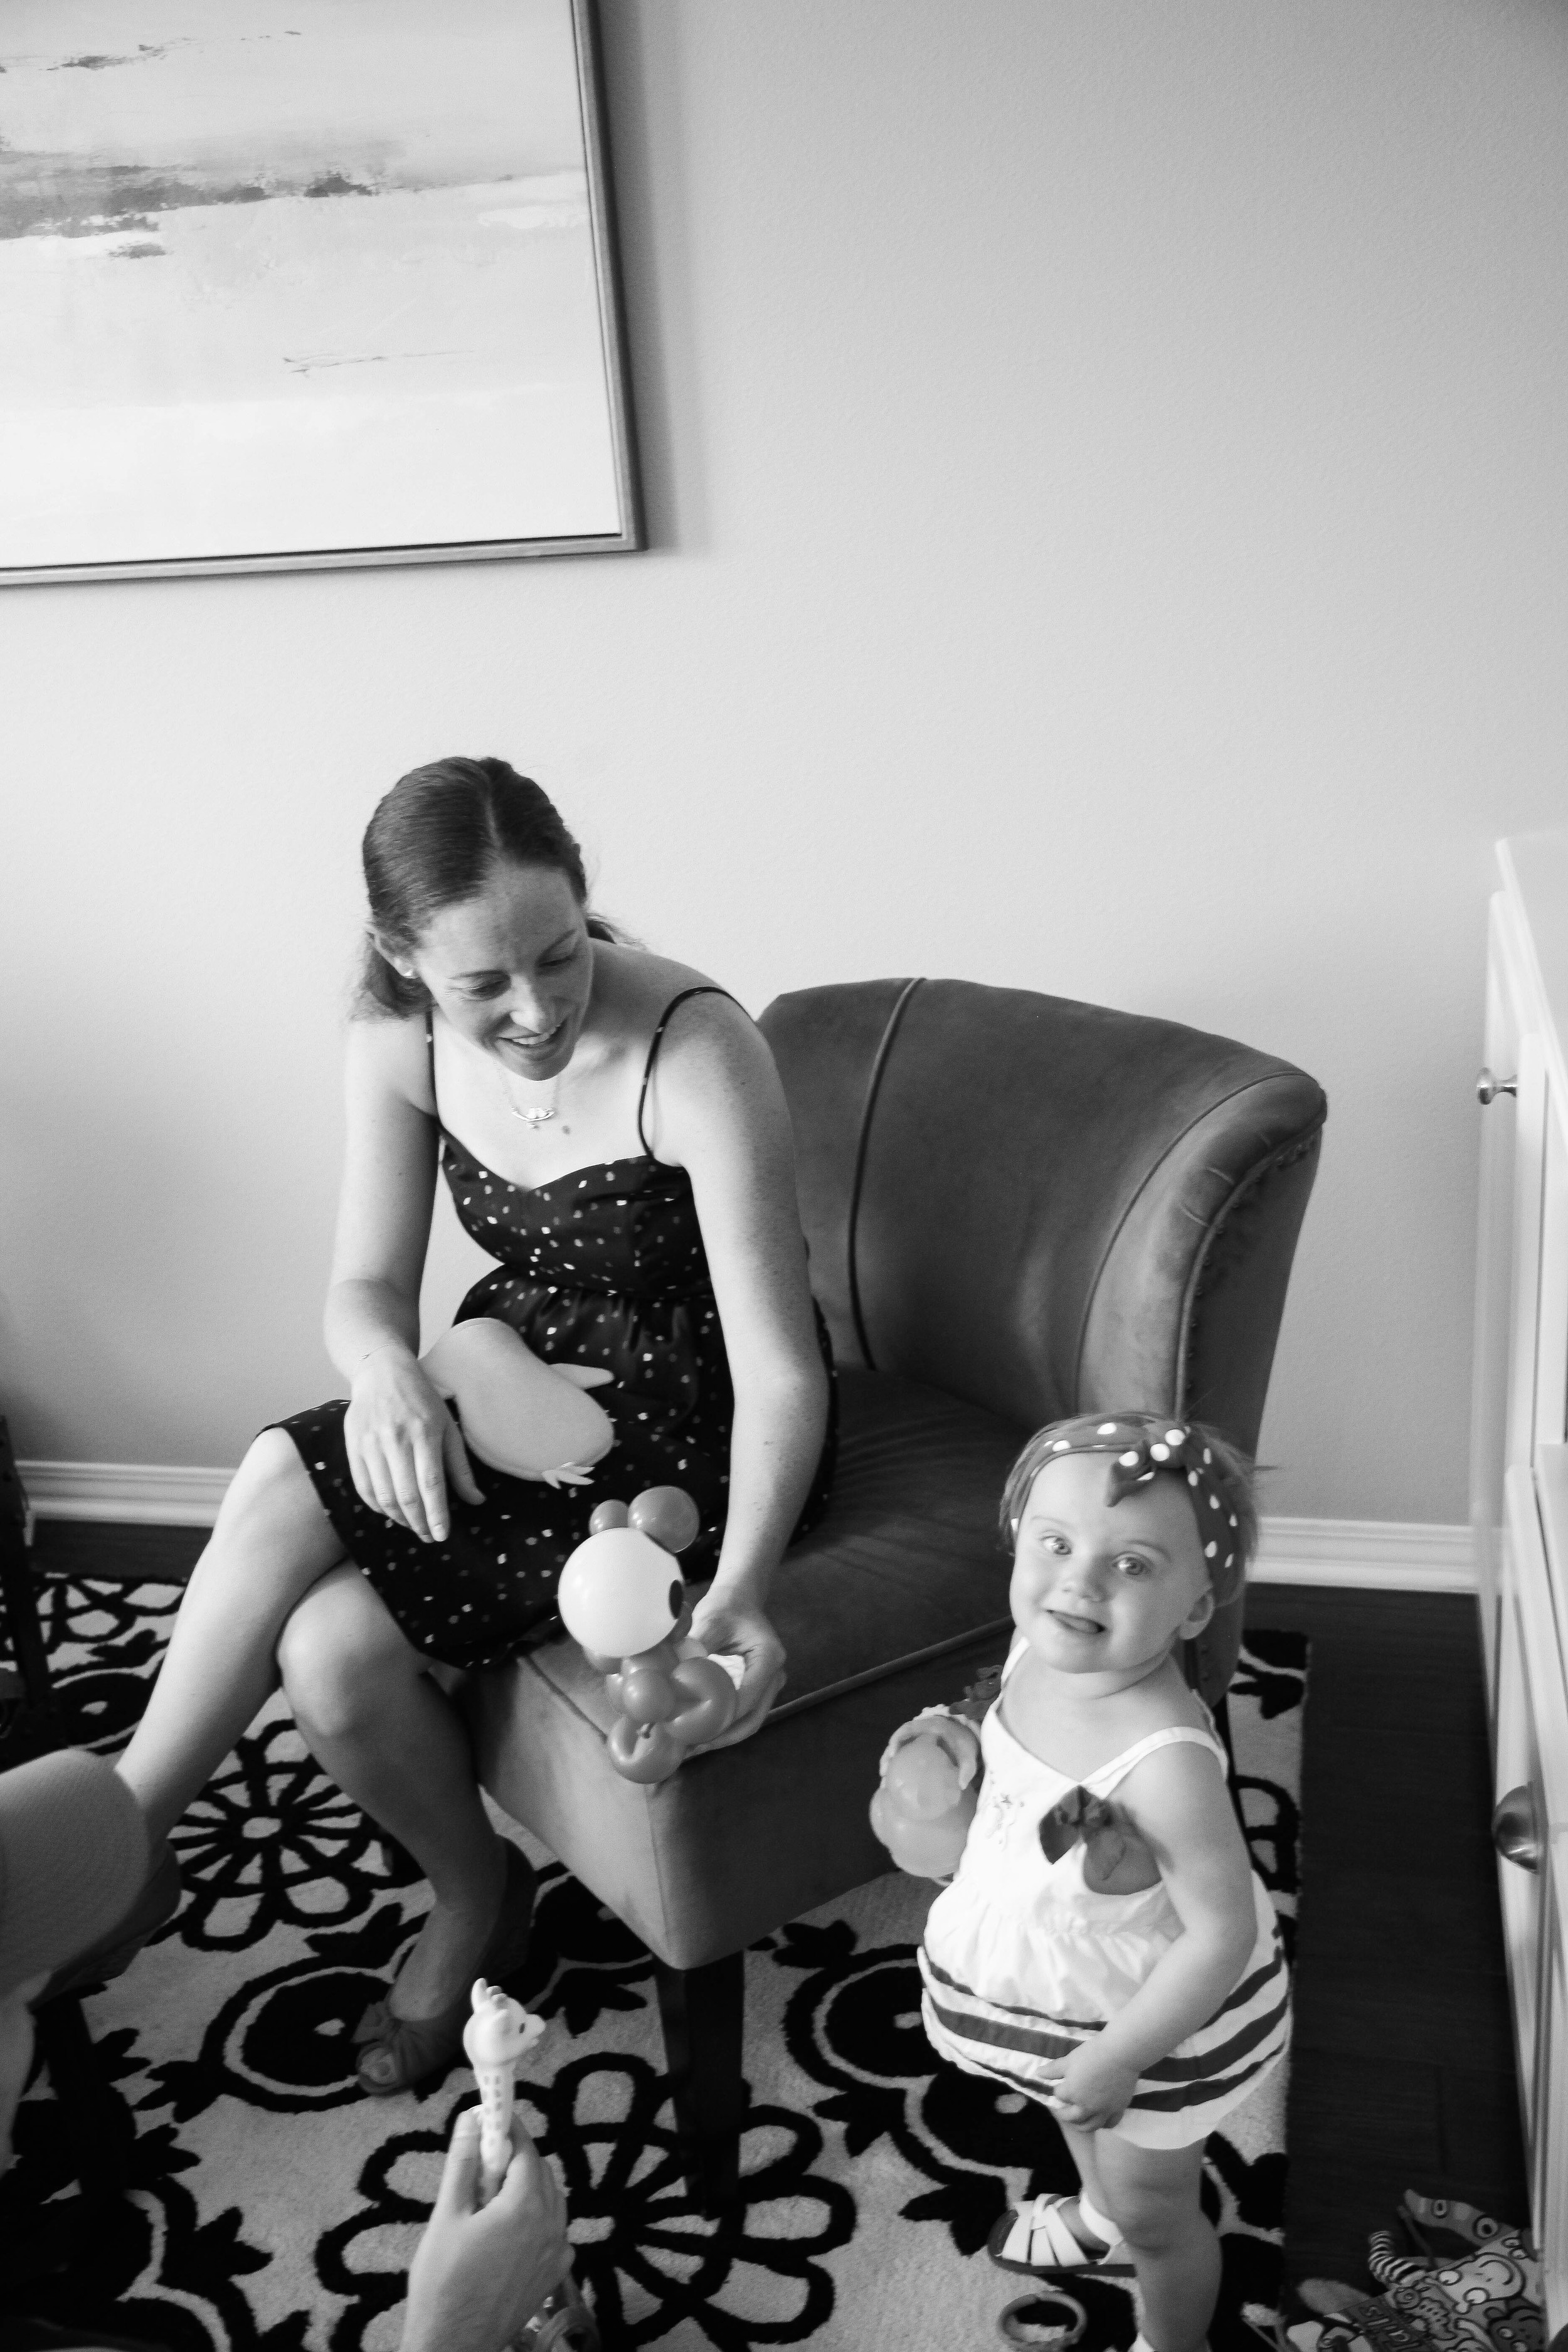
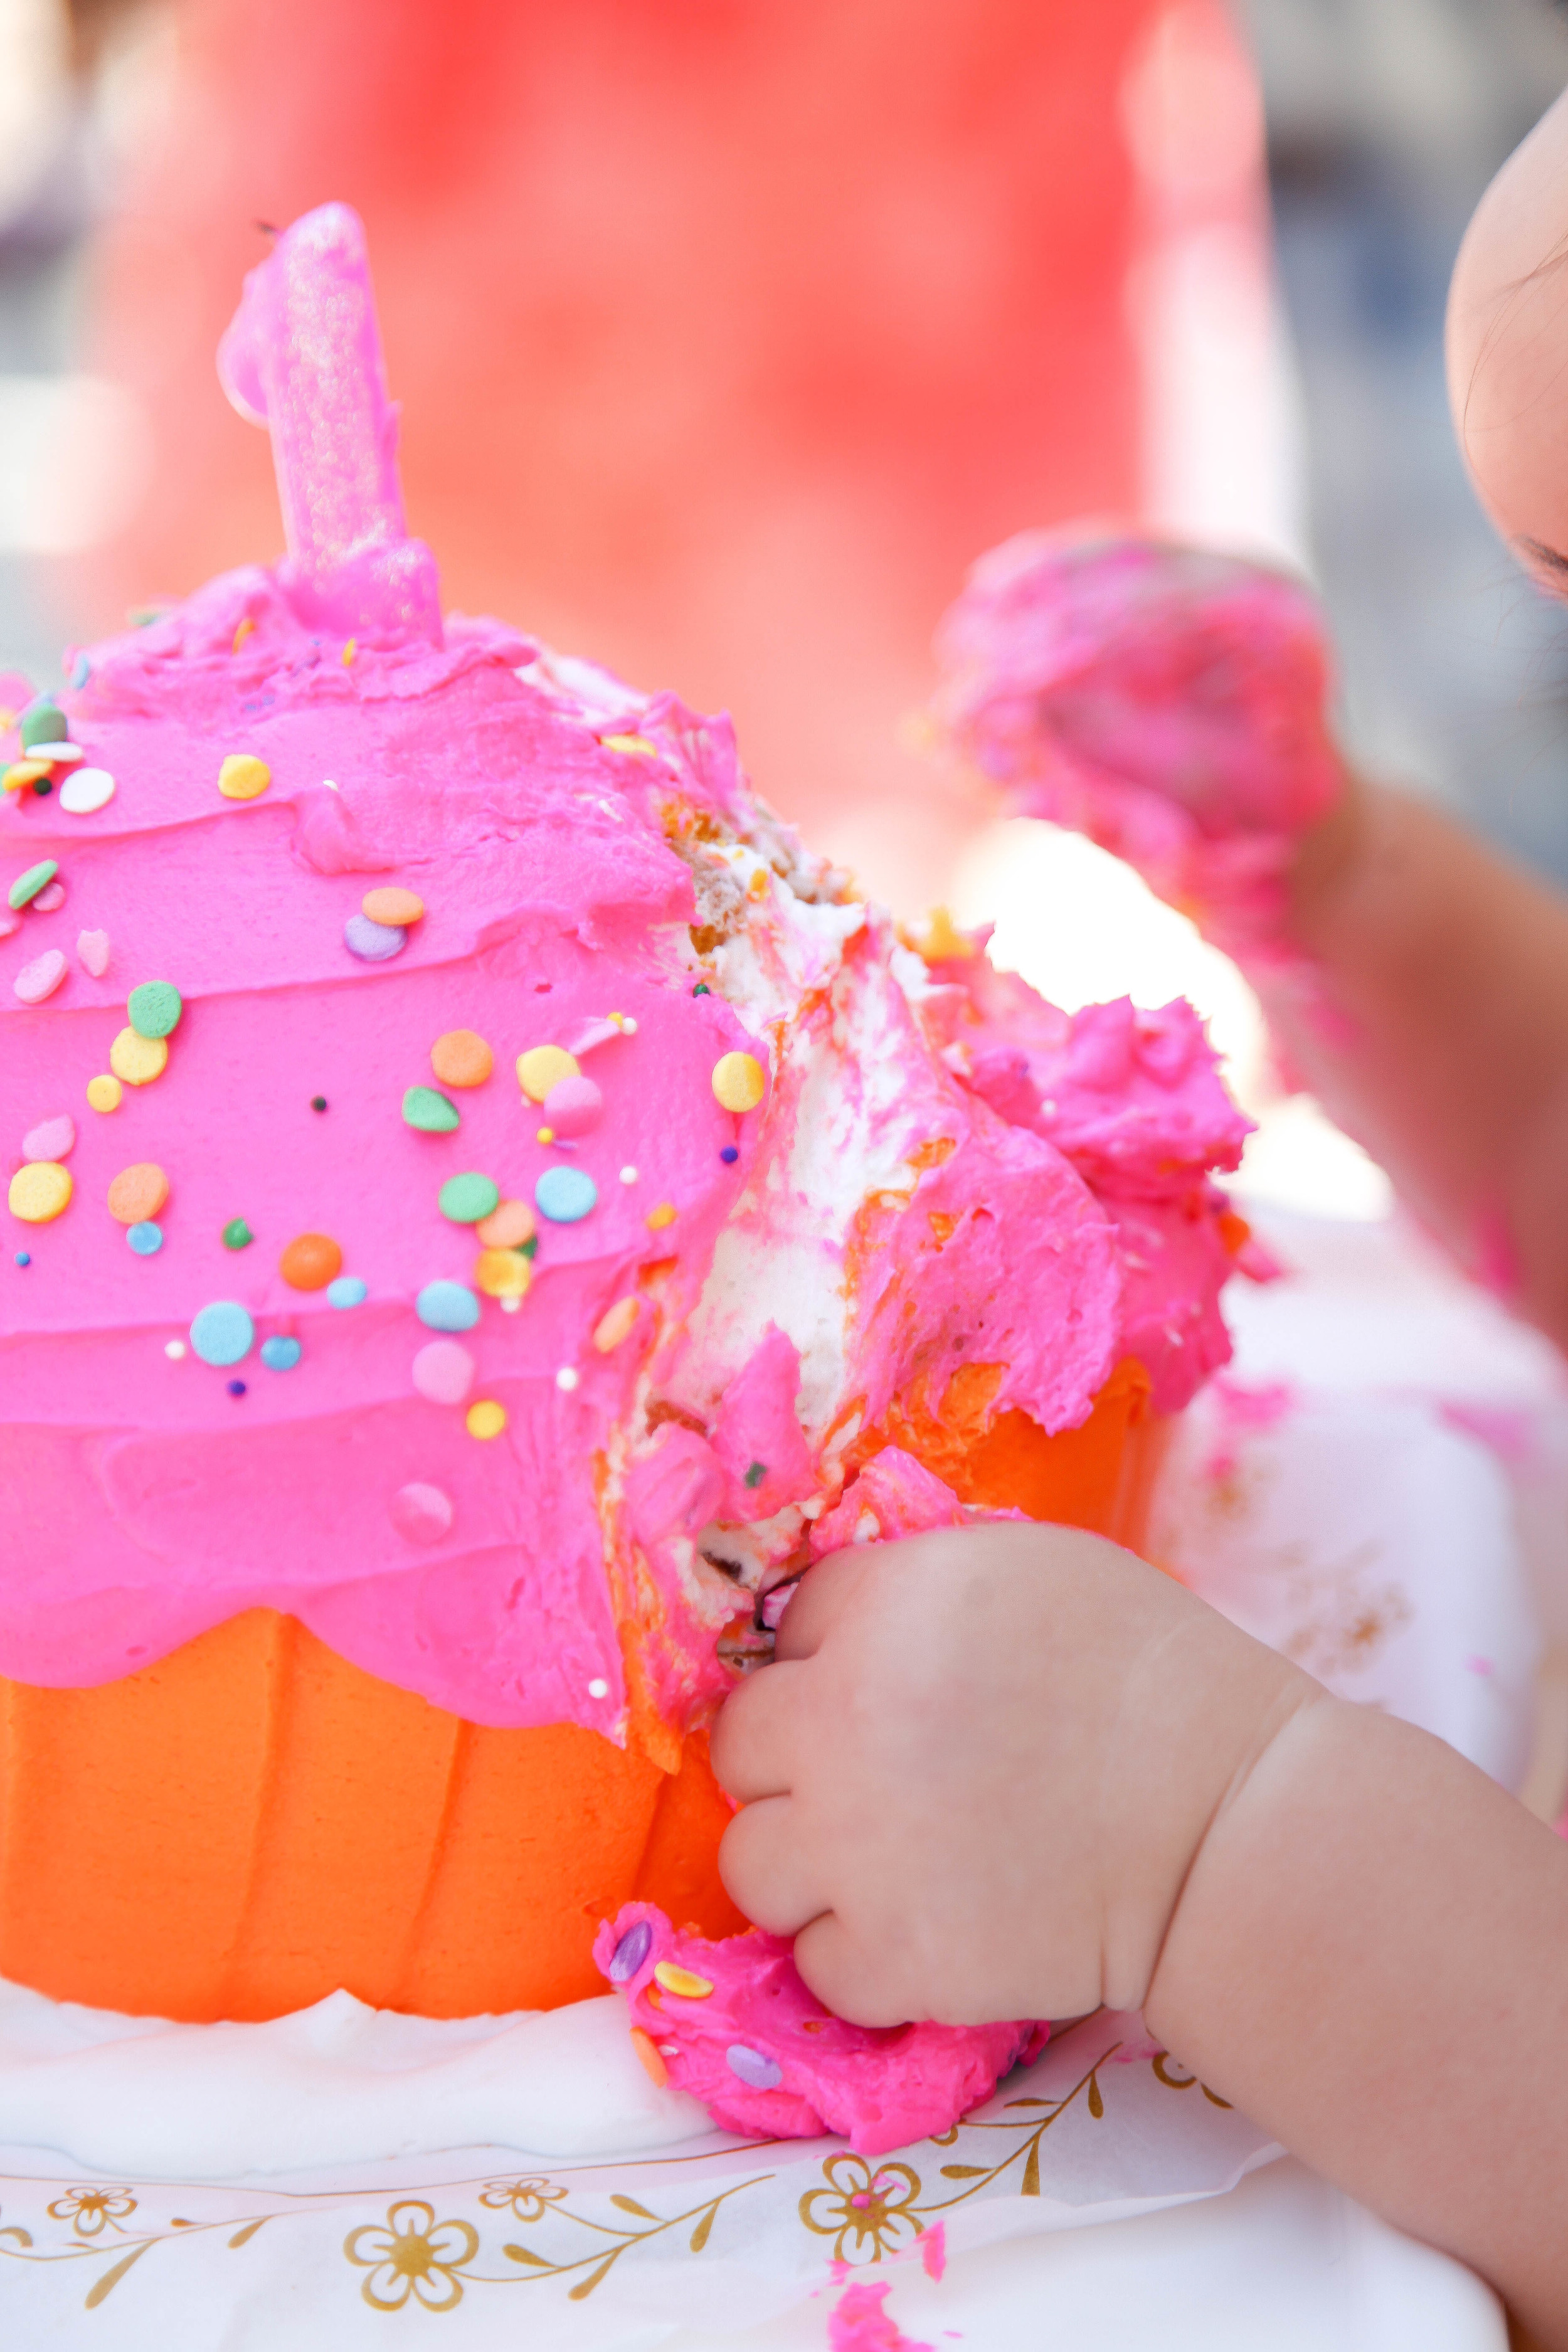
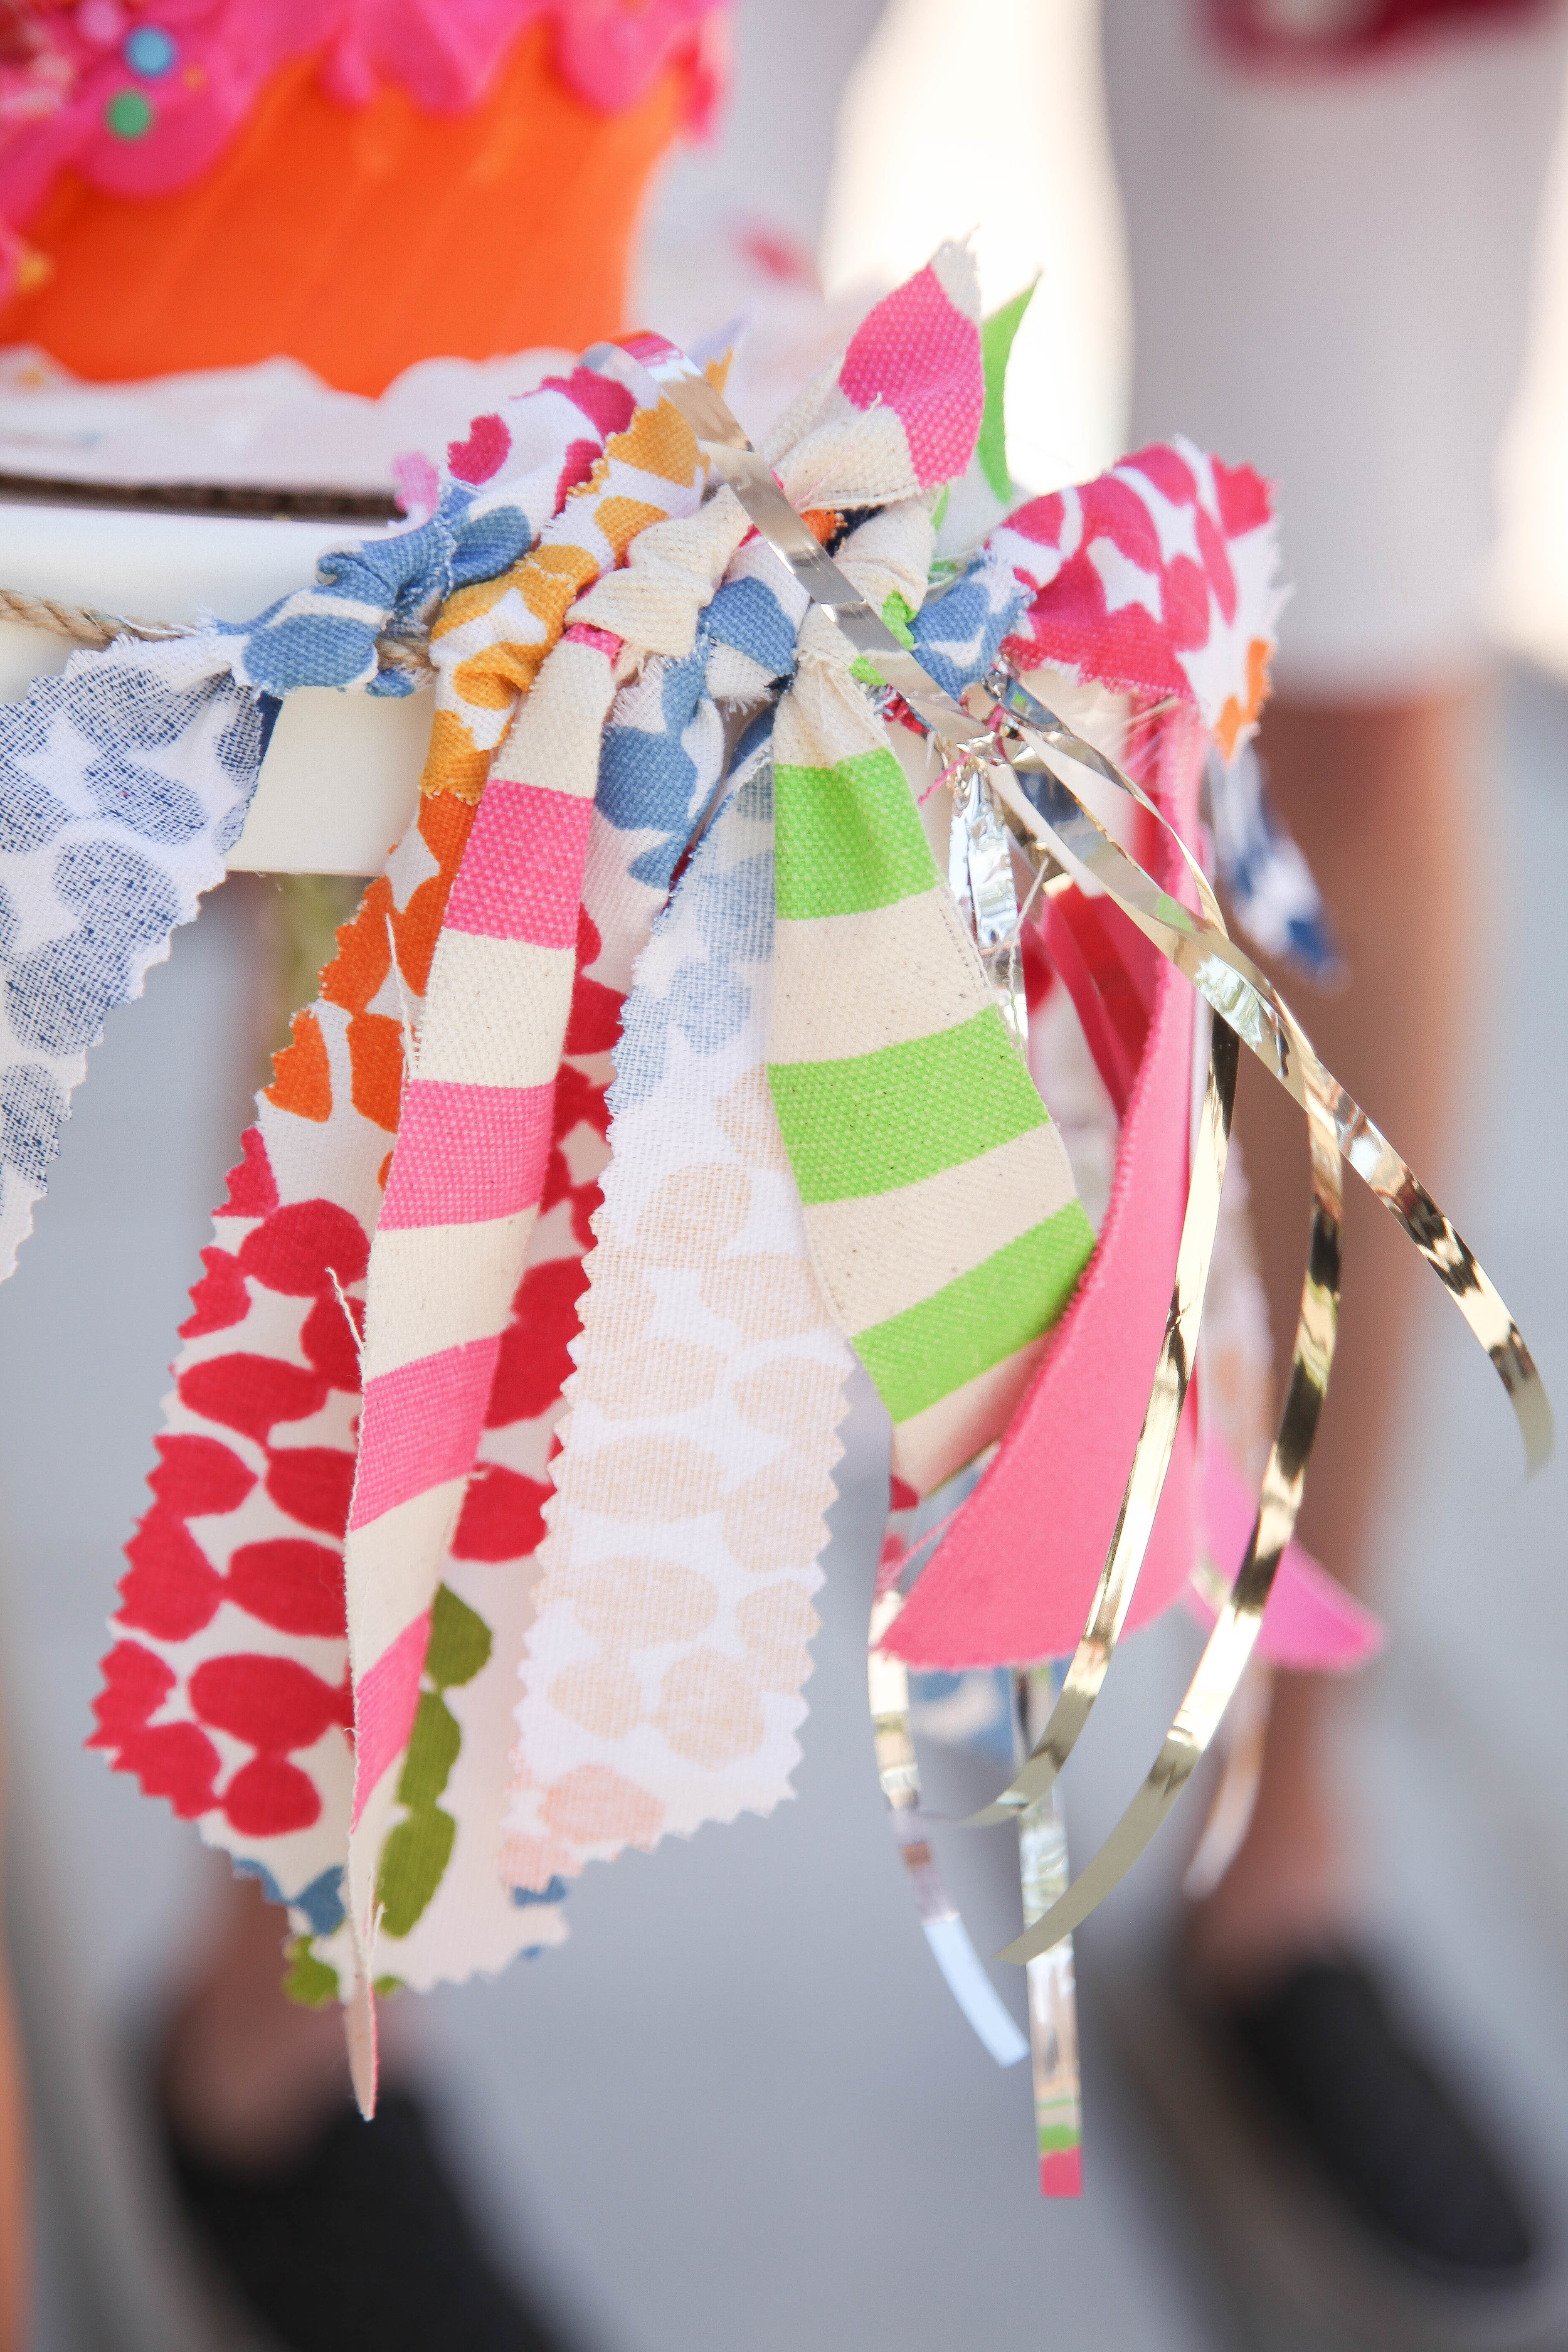
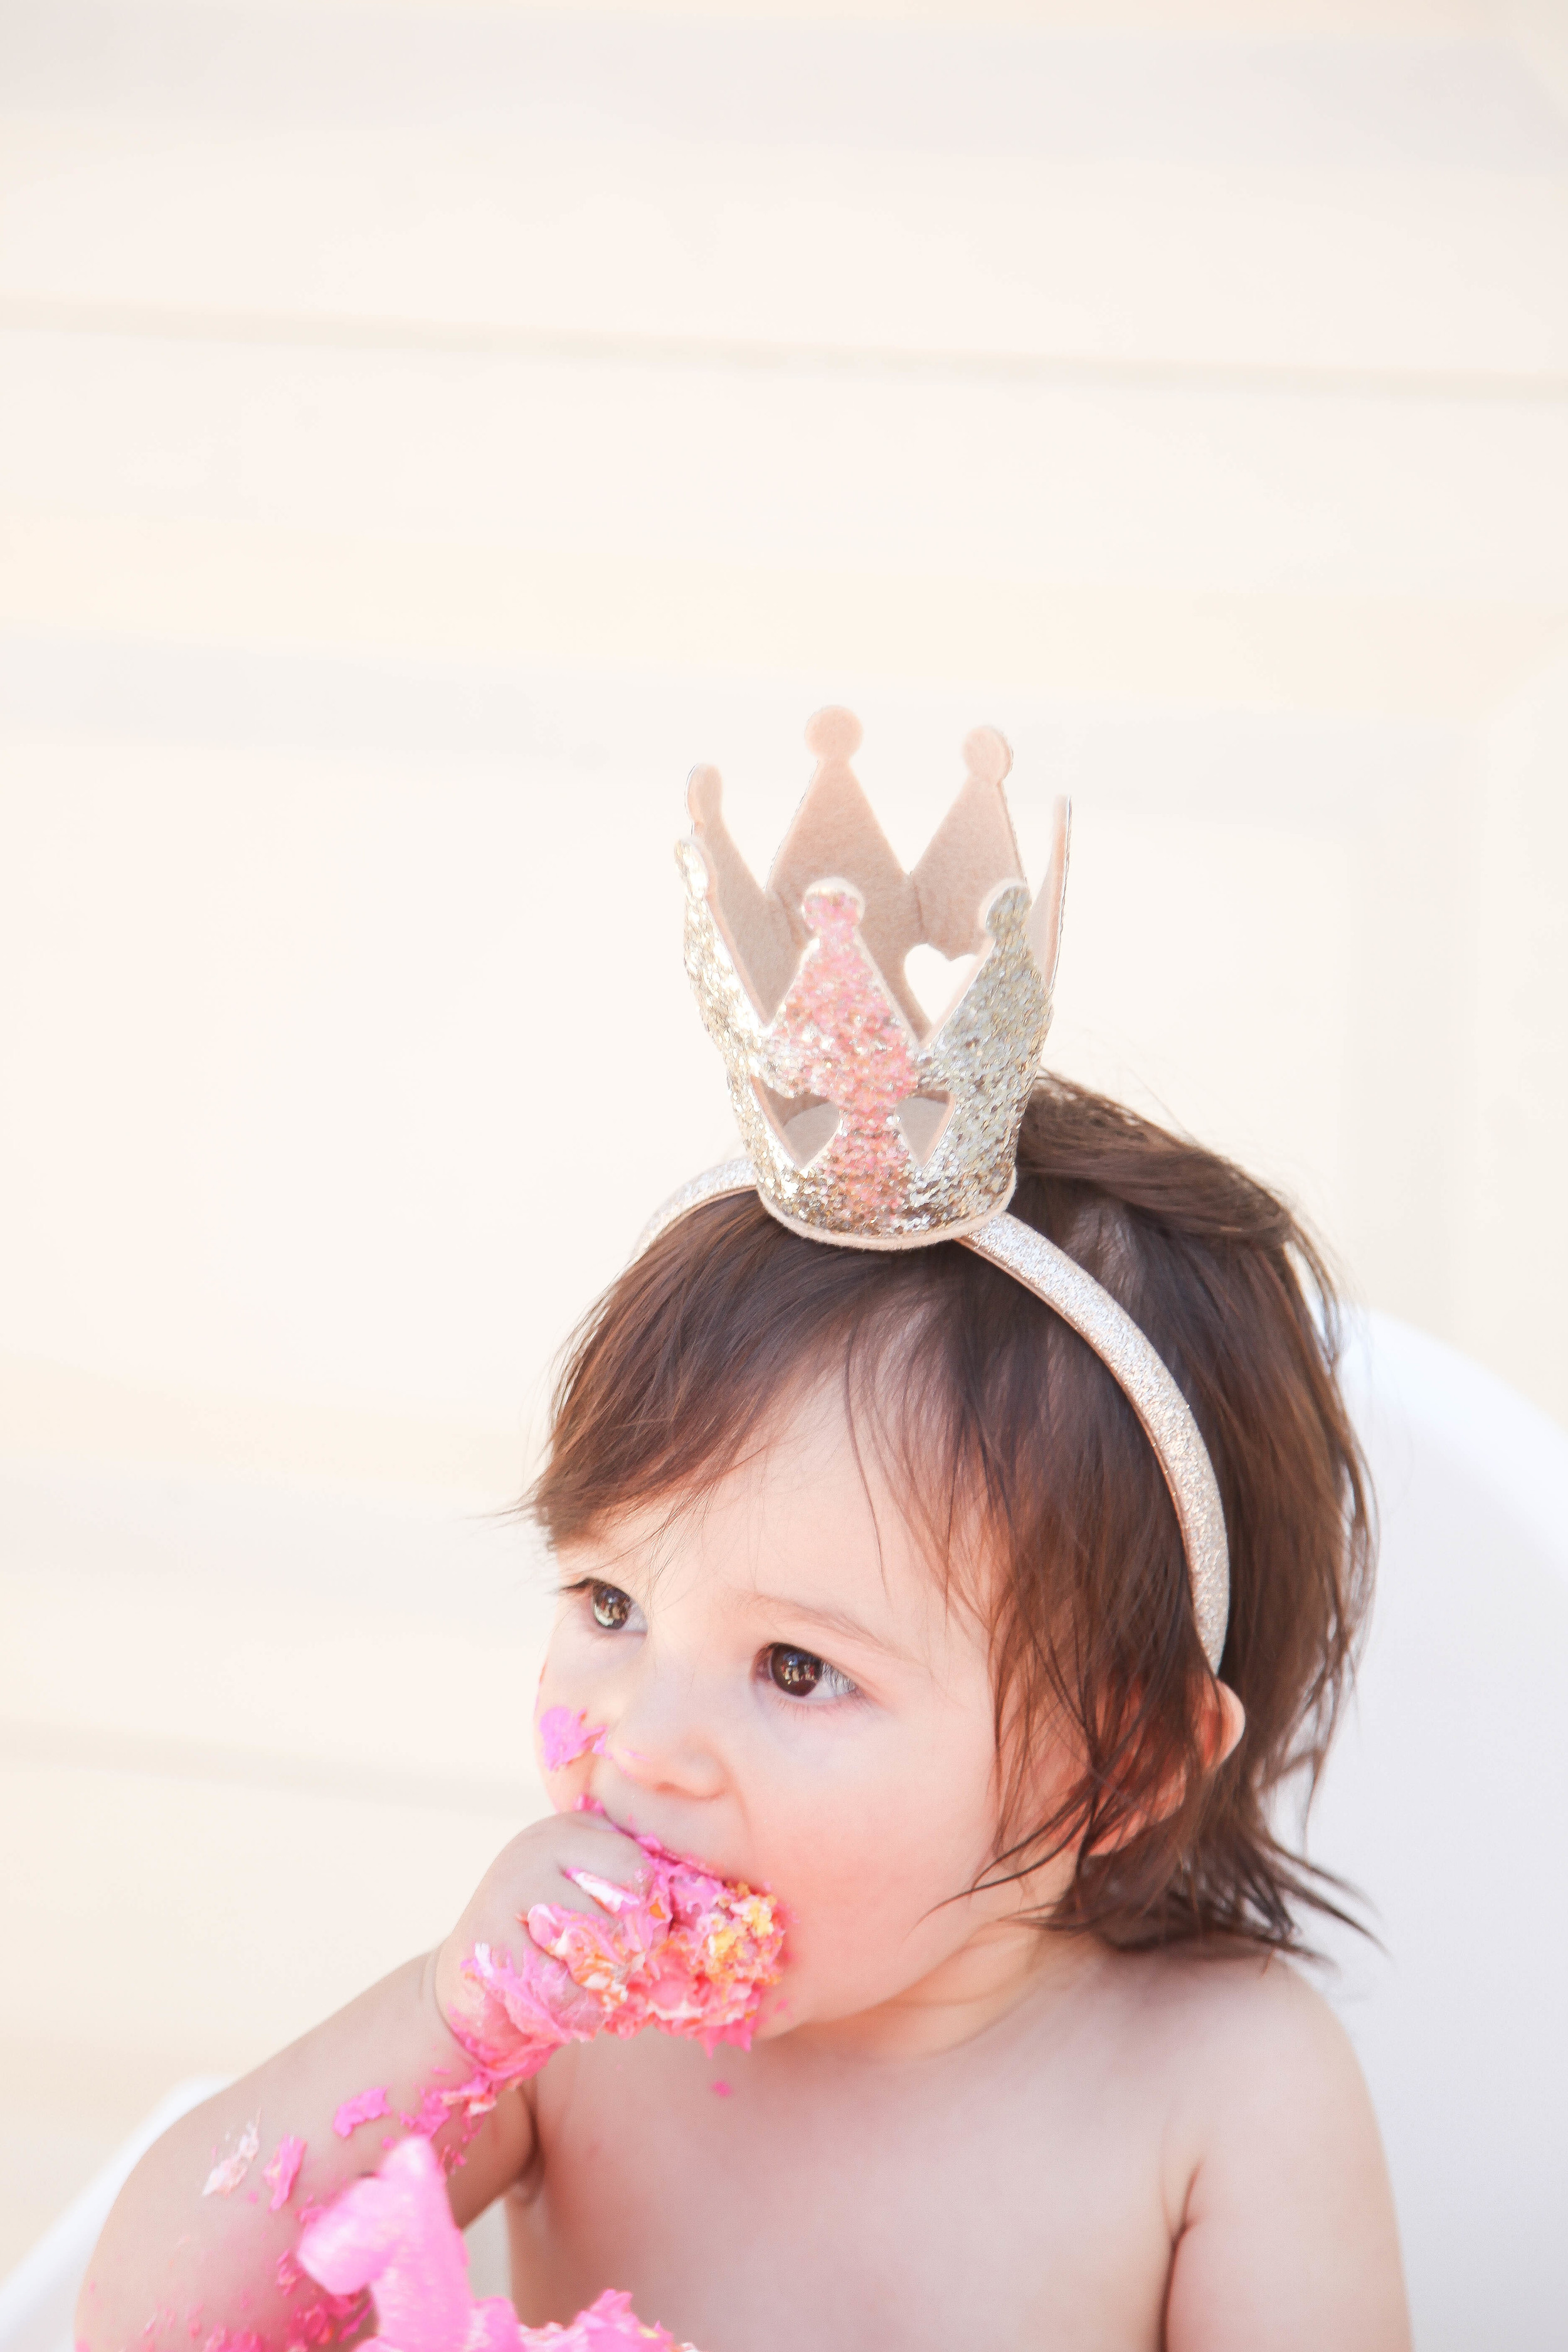
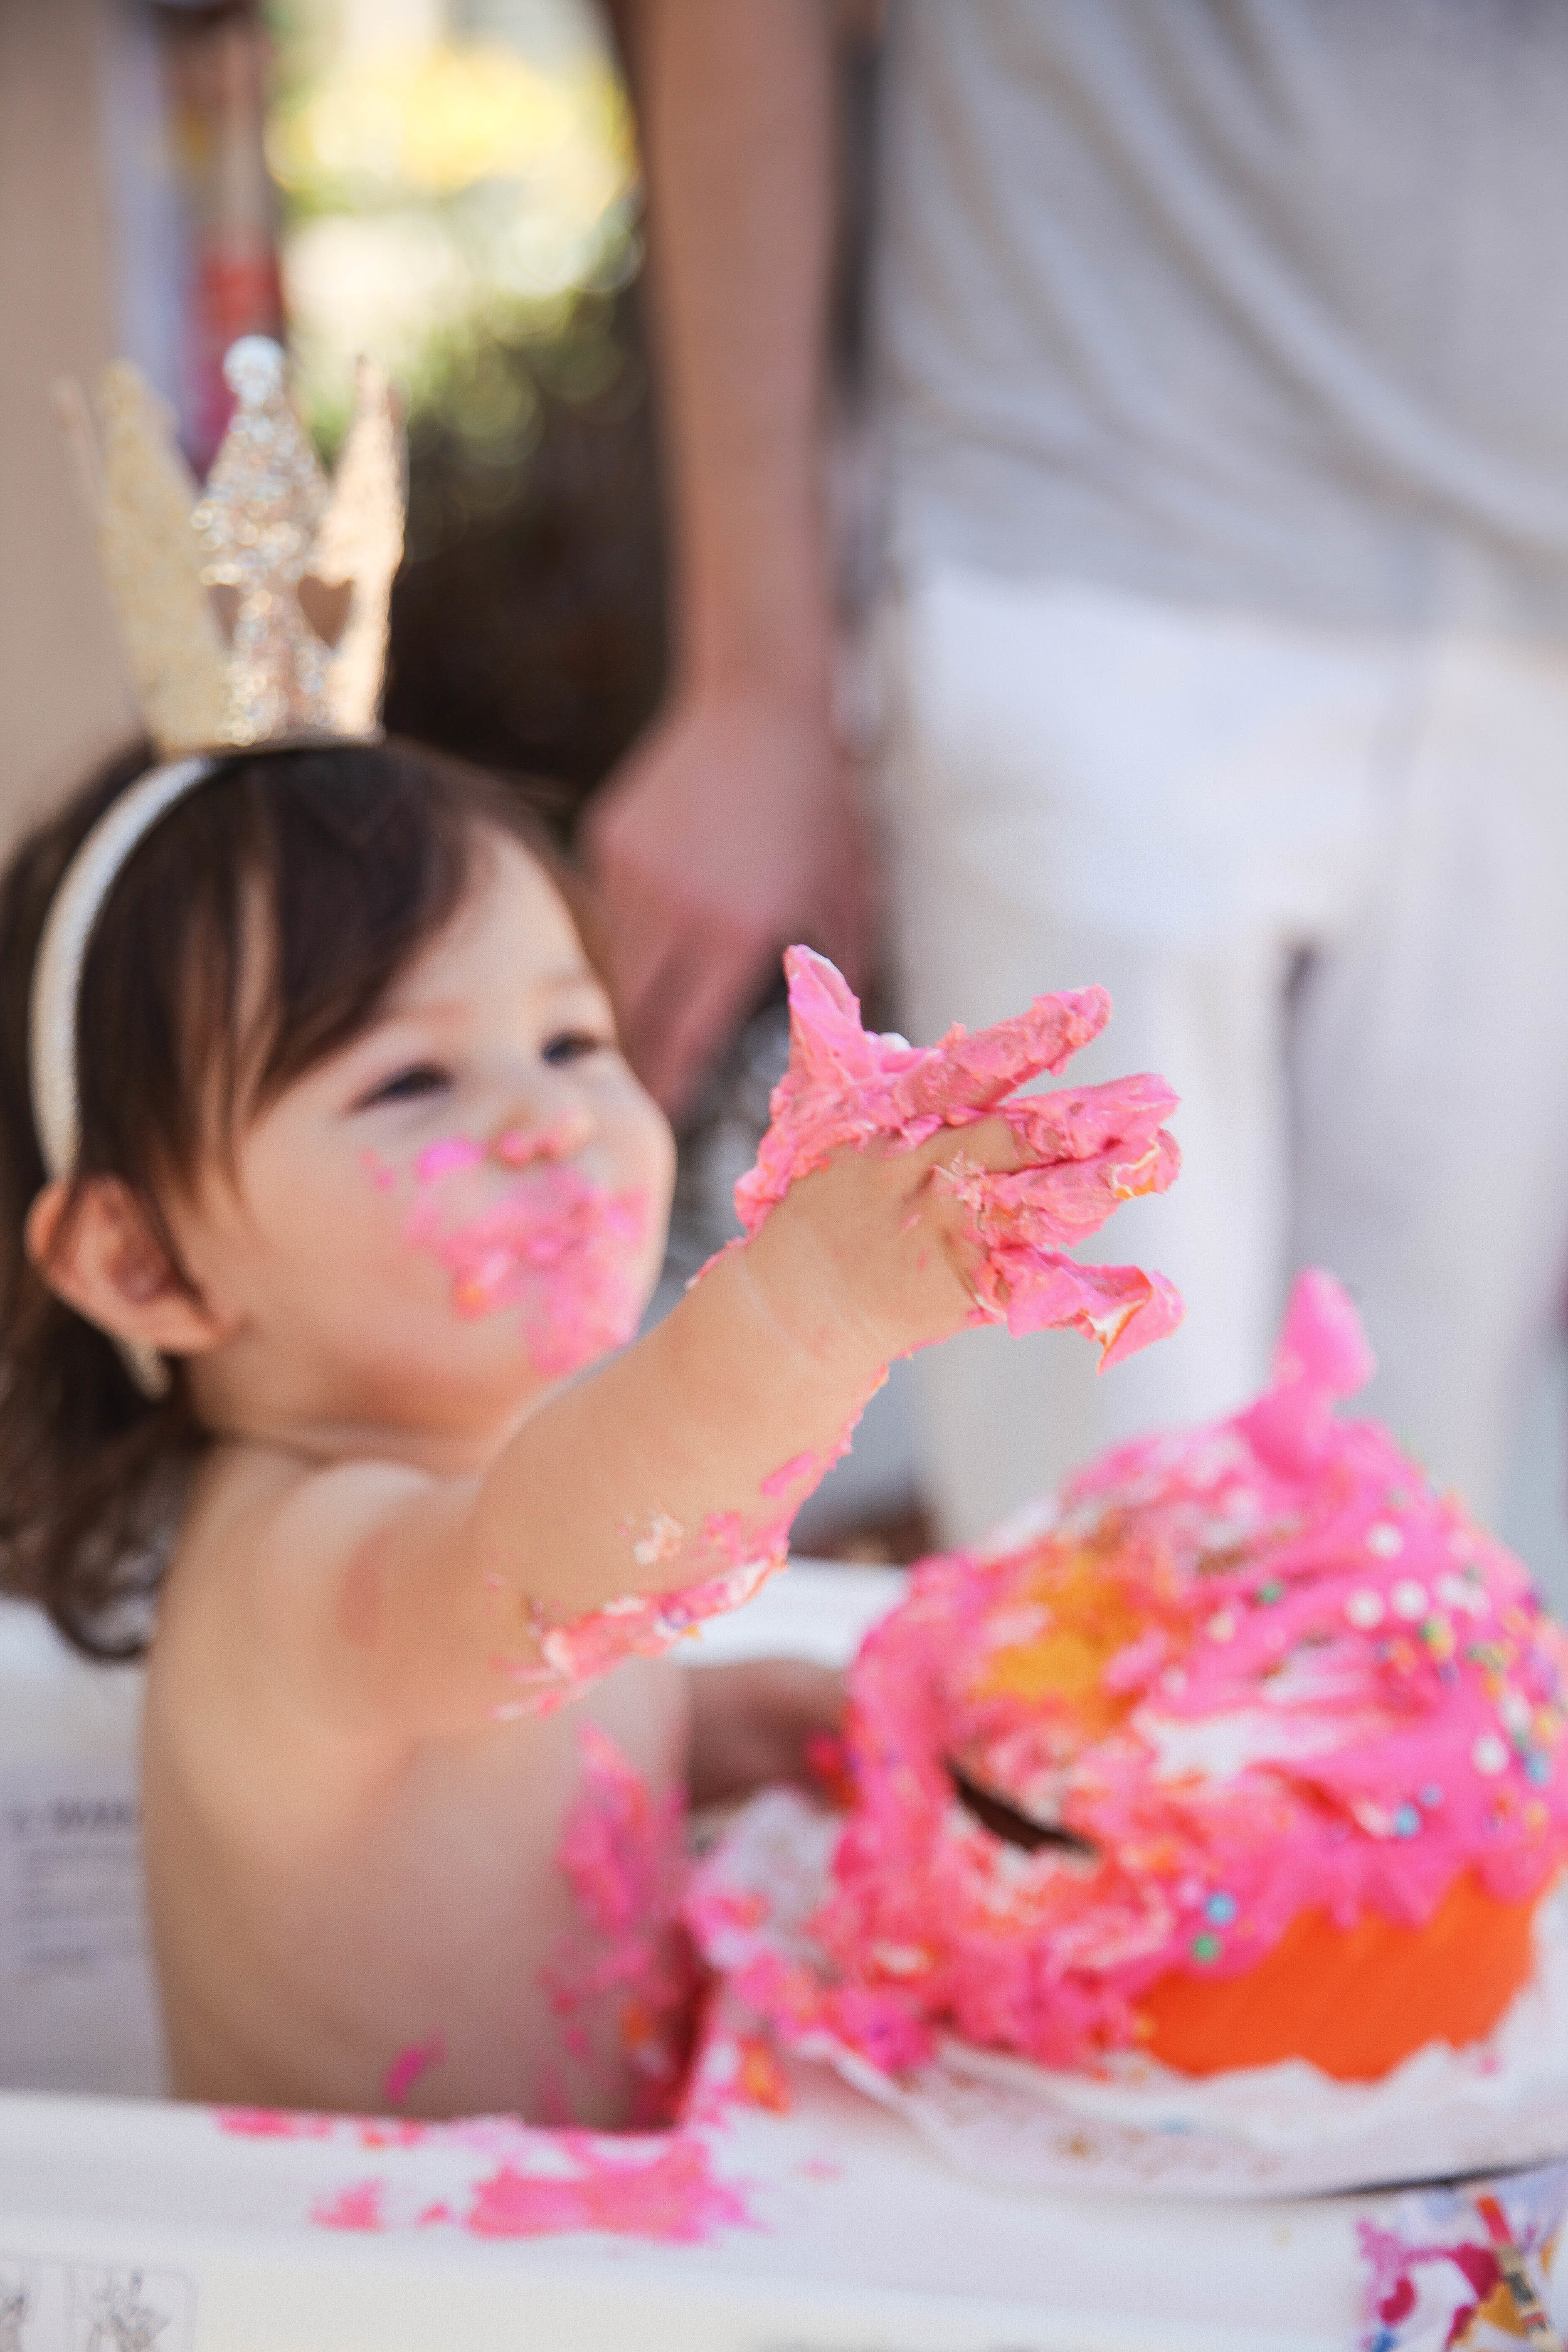
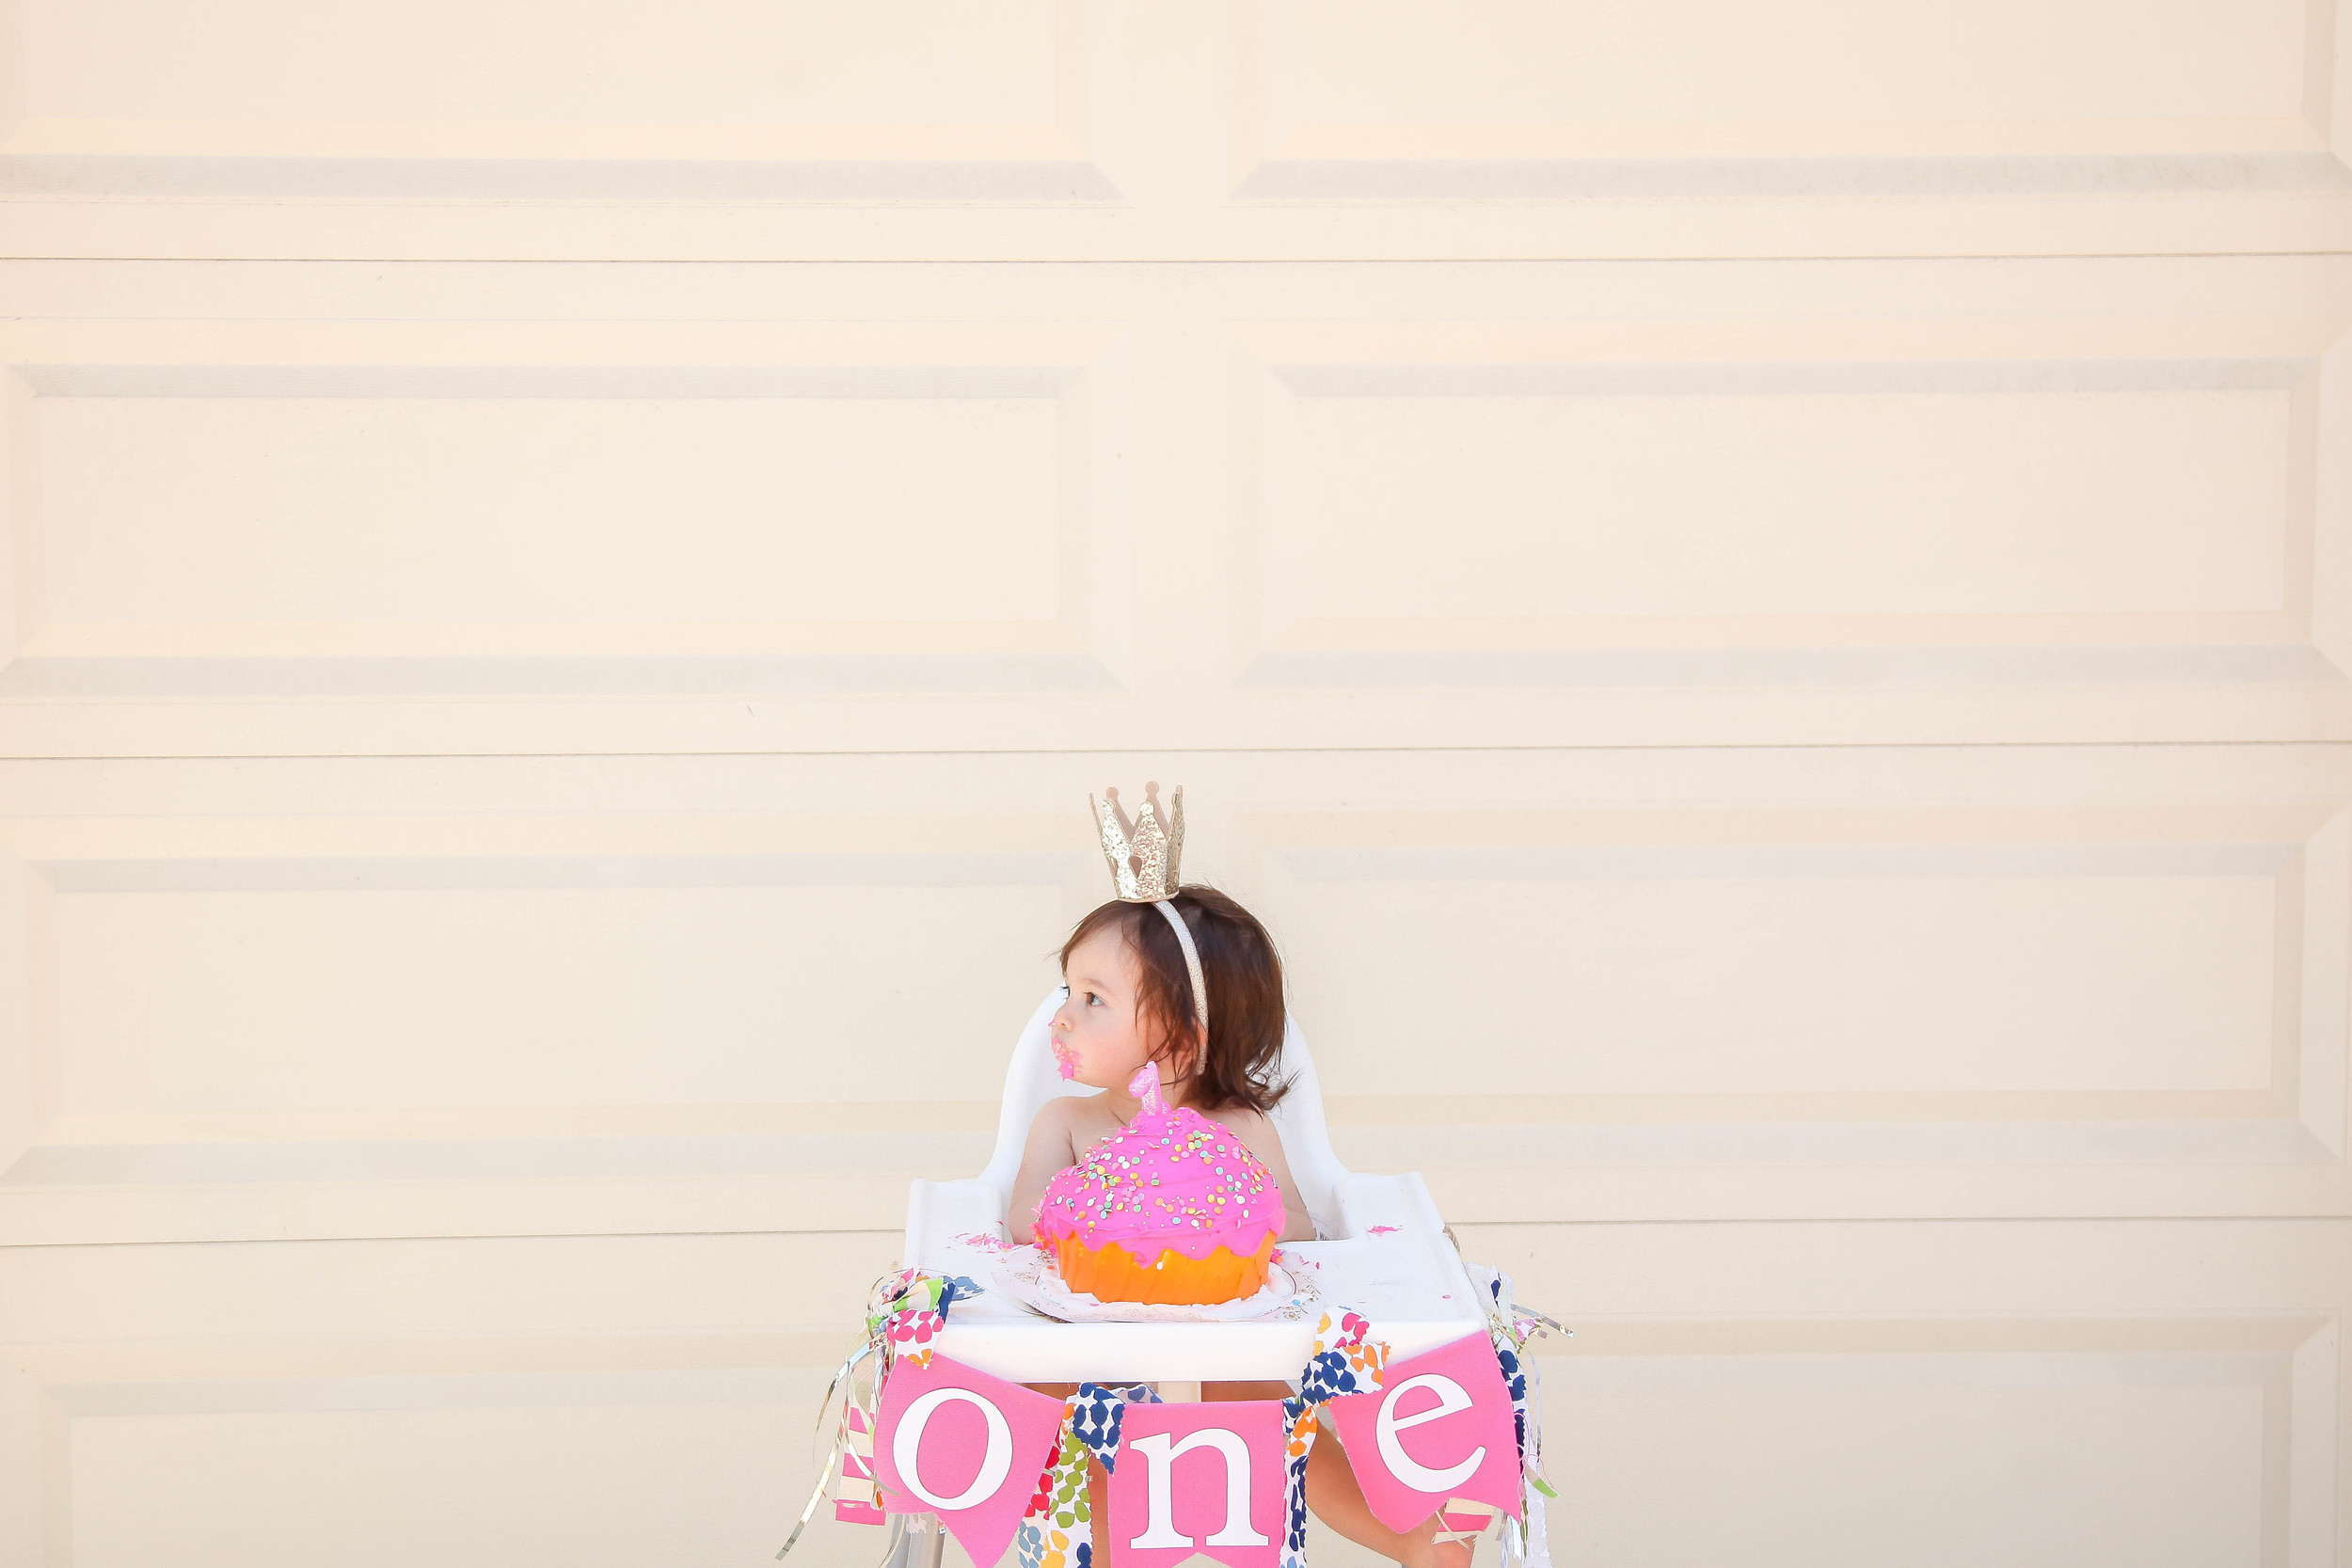
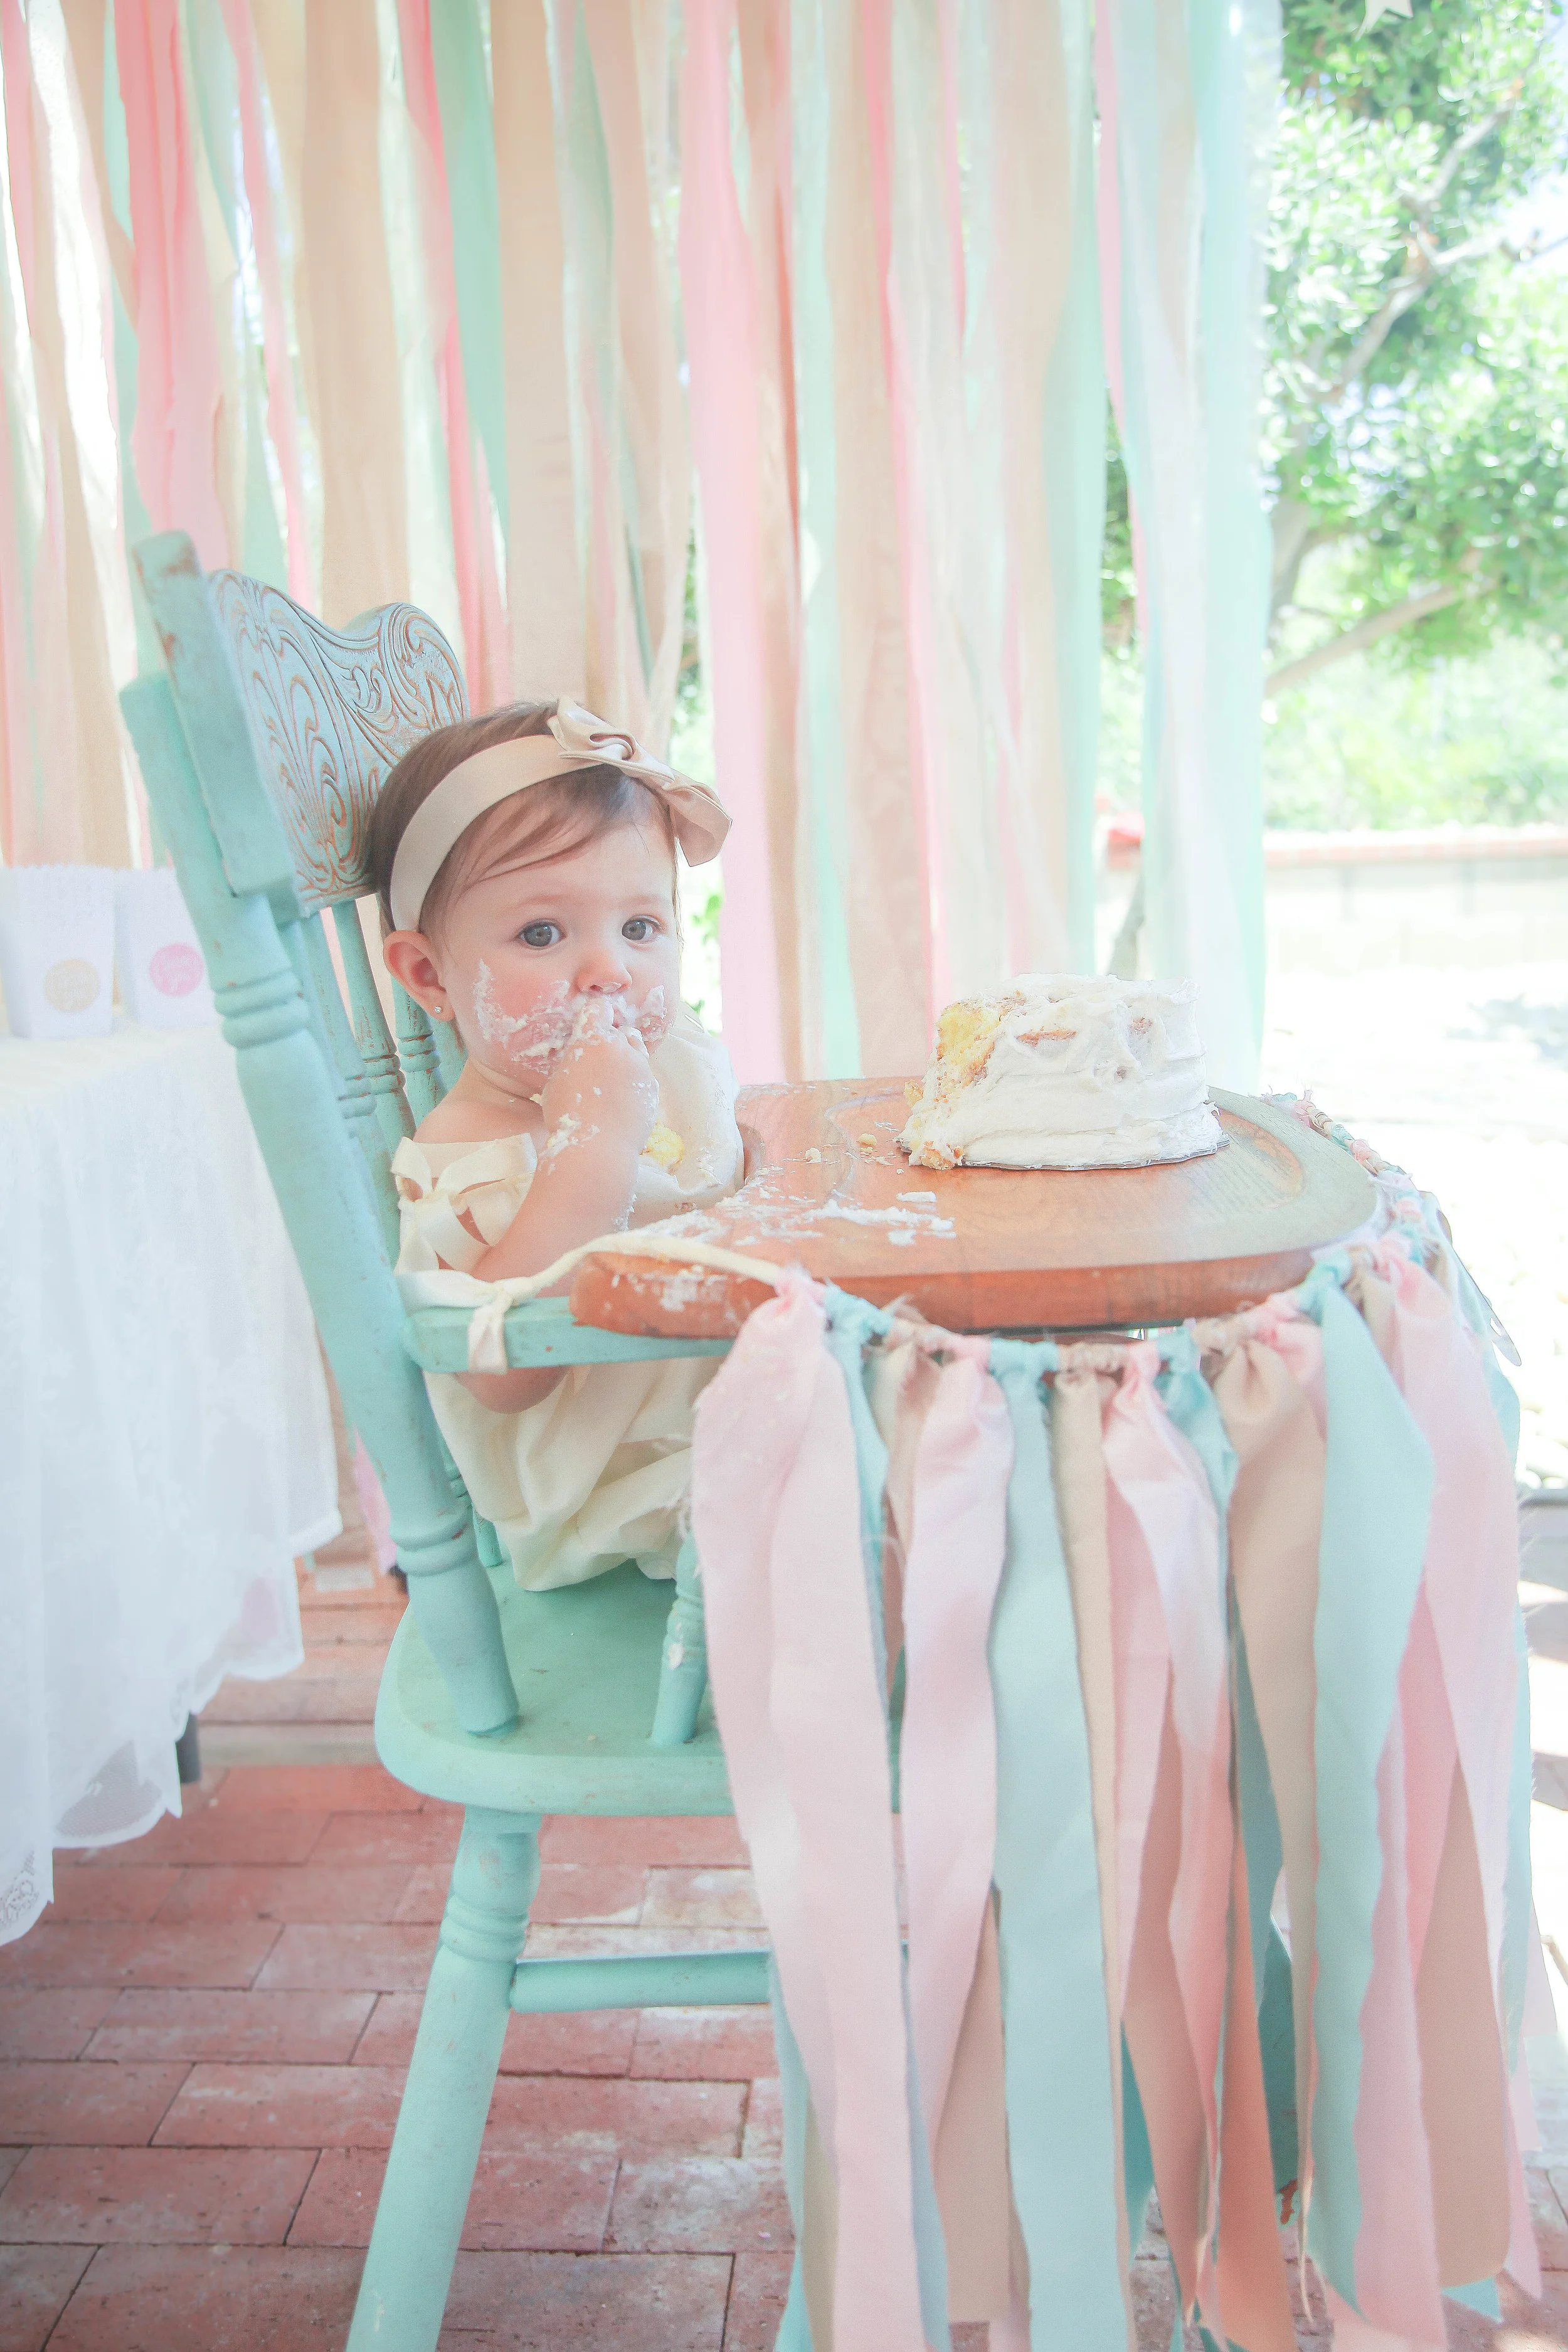
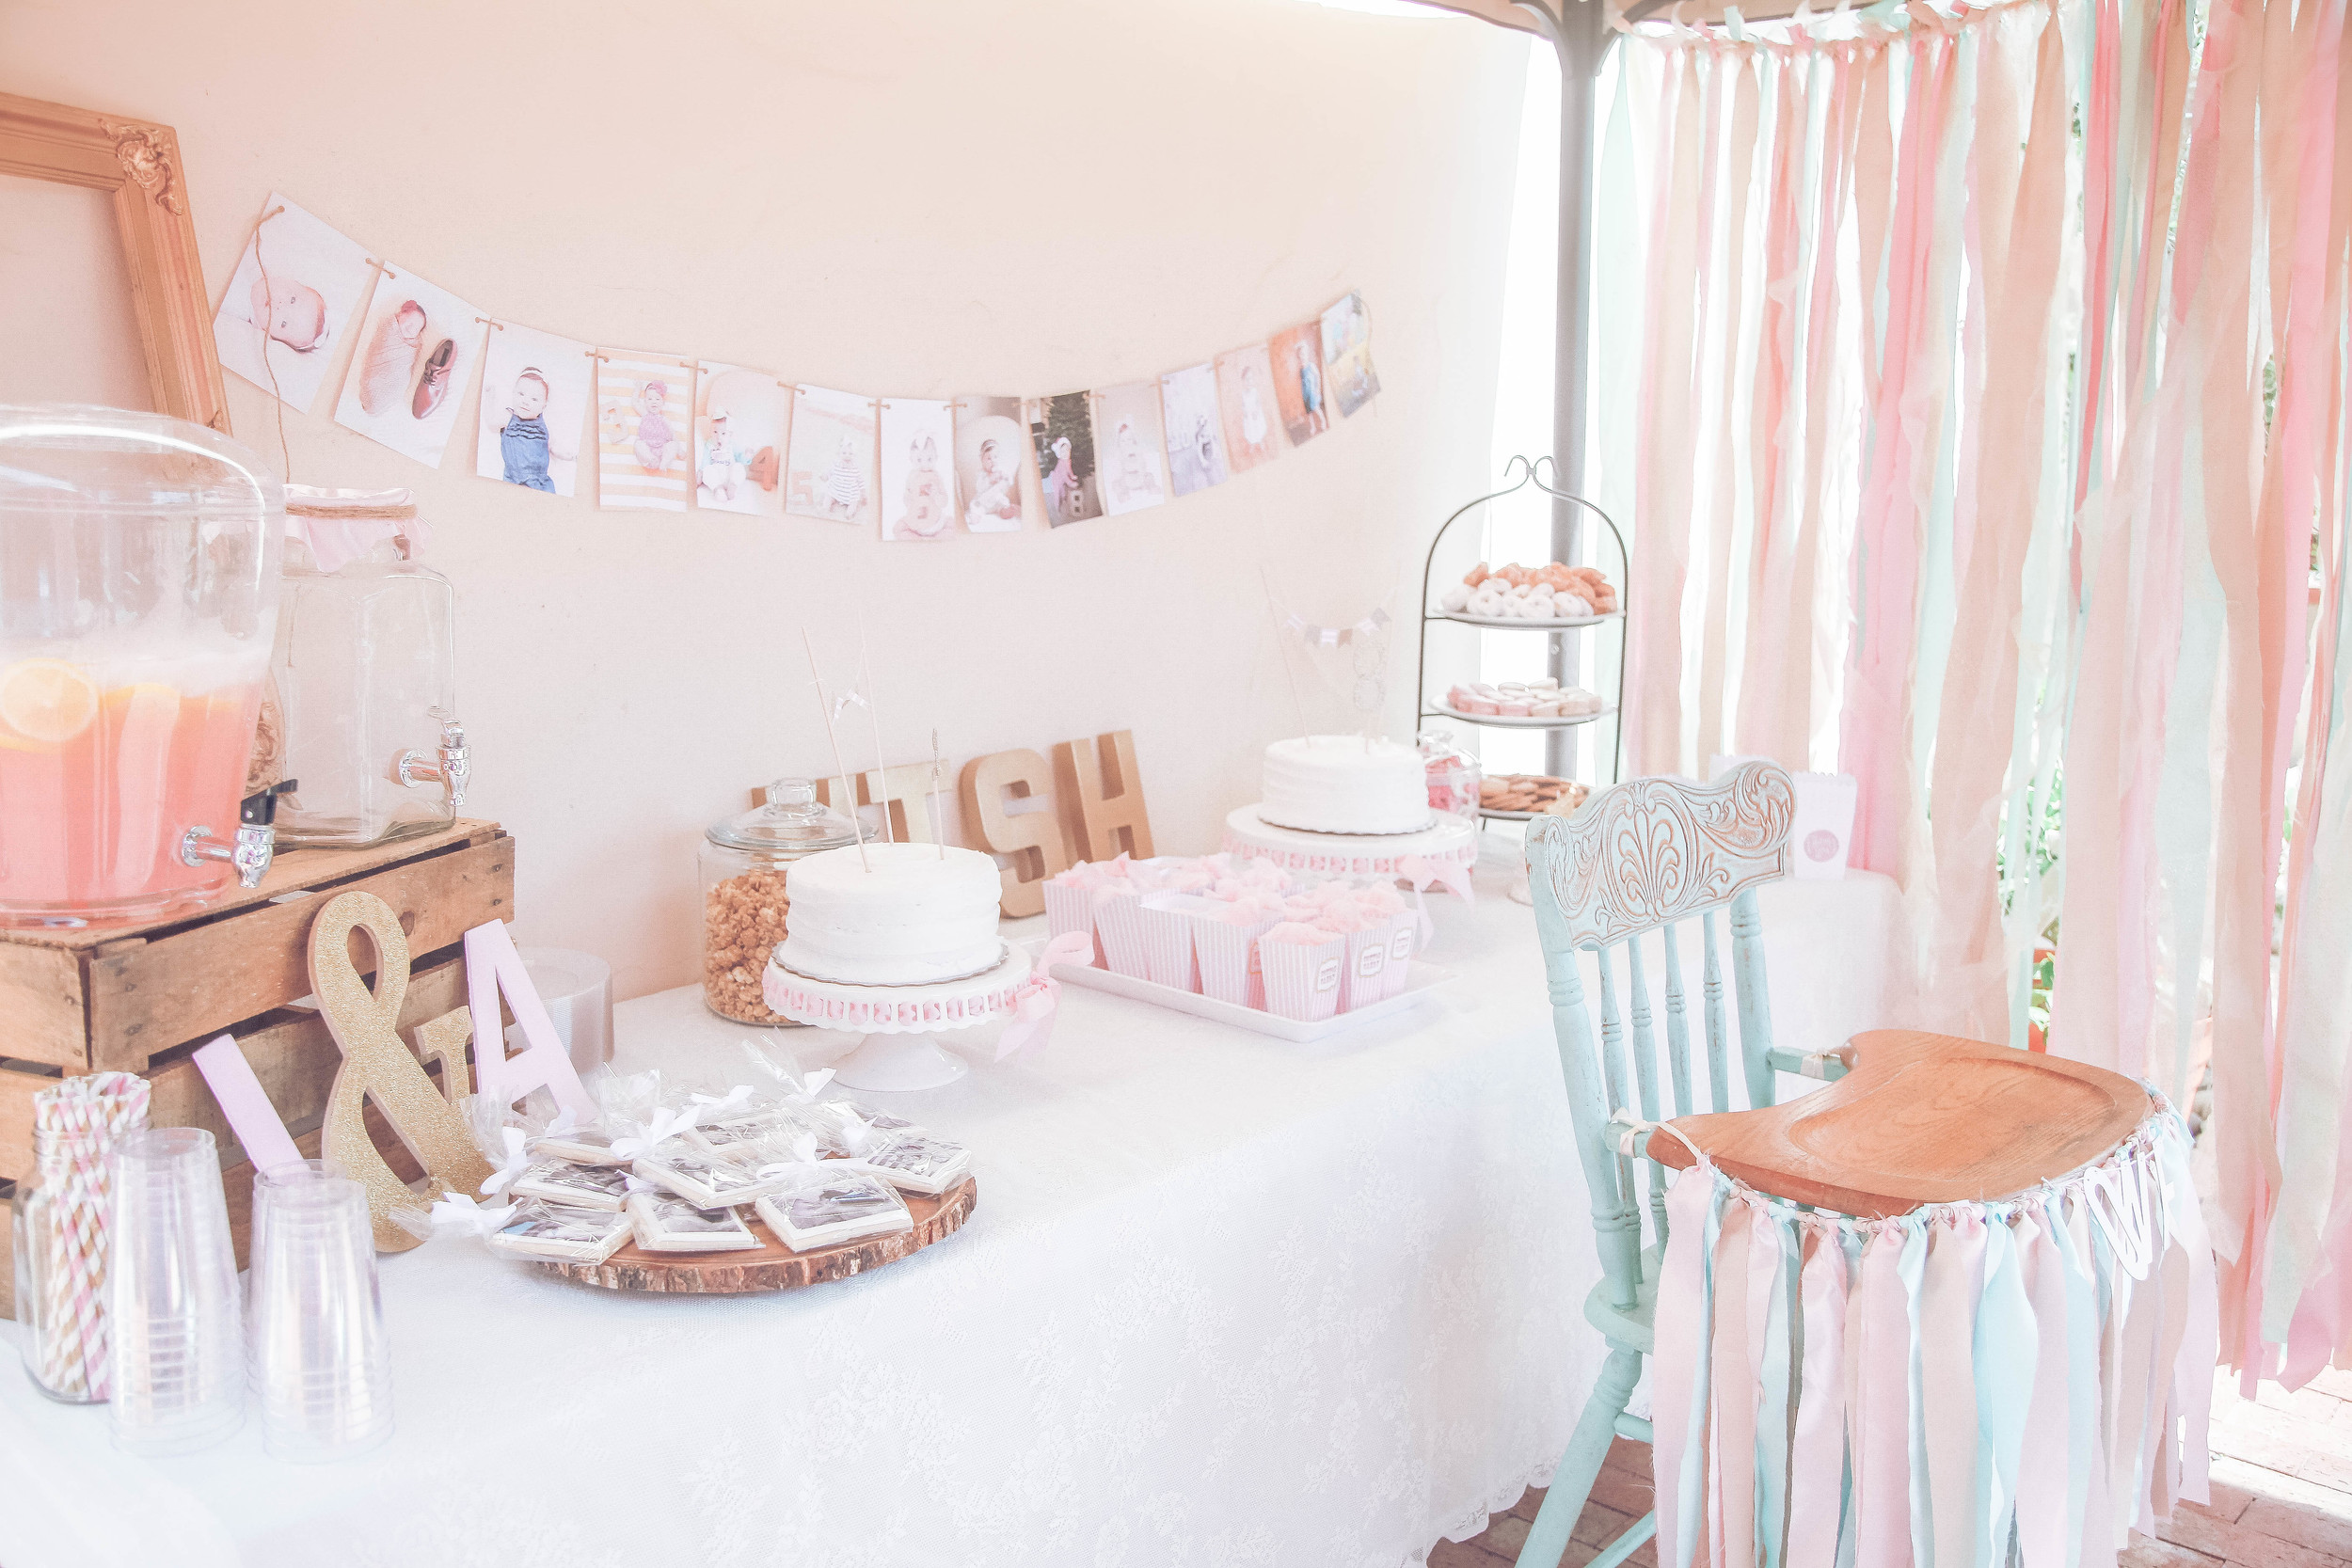
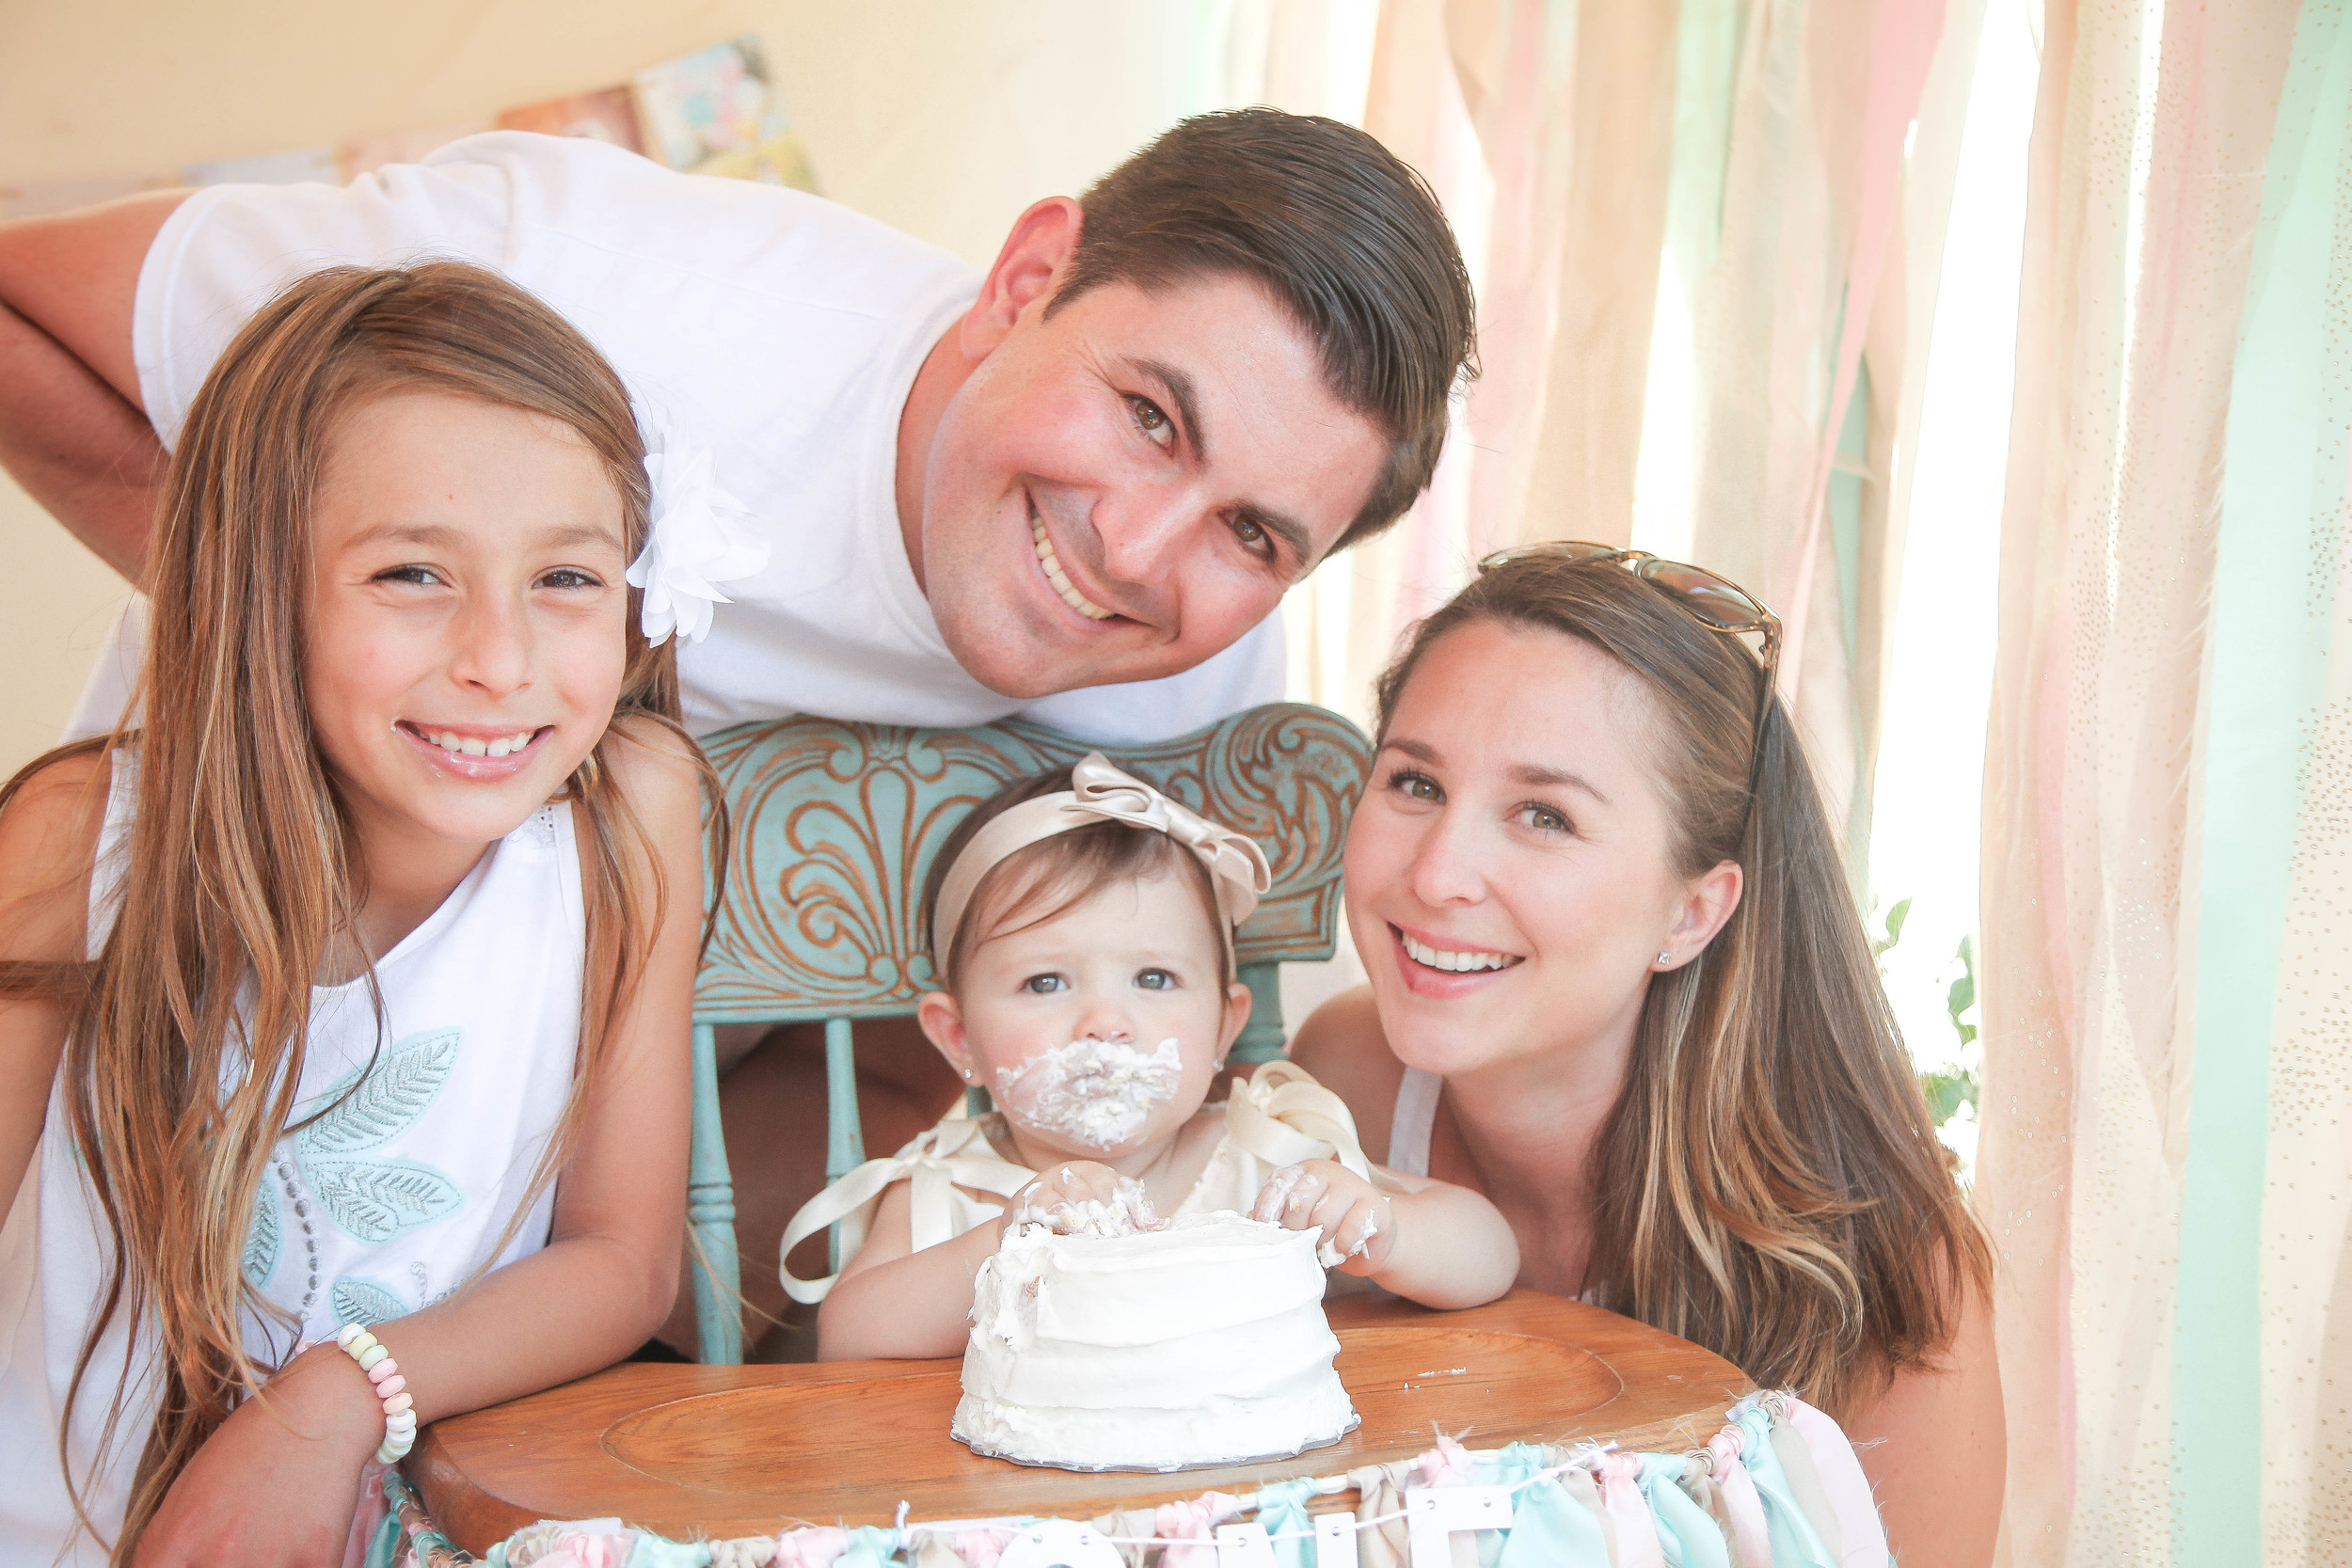
This year was a BIG year for our family with both girls birthdays being so close together and kinda big ones ( Audrey turning 1 yr and Jaelene turning 8 yrs) SO, we decided to combine parties! I knew that doubling parties meant I had to plan to "DIY " for most the party details to keep the budget low (and also not give daddy a heart attack with spending, ha!) so I got as crafty as I could (usually I'm just not that crafty, ha) and did one little thing at a time. From the highchair banner, (crafted with satin fabric pieces from Joaanes) to the milestone month-by-month "watch me grow" banner (simply made by printing her images on stock paper and streaming with twine) . The cakes (8 inch rounds two tier ordered for only $13.99 at Ralphs yet looks far more sophisticated if you ask me ;) were a pure white with some texture and I crafted the cake toppers myself (to add a little badazzle) by cutting triangles from color paper and glittering the cut out number ONE & EIGHT to match the 'pink & gold' theme. One of my FAVORITE details were the B&W photo cookies (yes they're edible & delicious too !) by Baked Sweets By Erika. These cookies were such a special touch to celebrate all the memories my girls have made together in their first year as sisters!
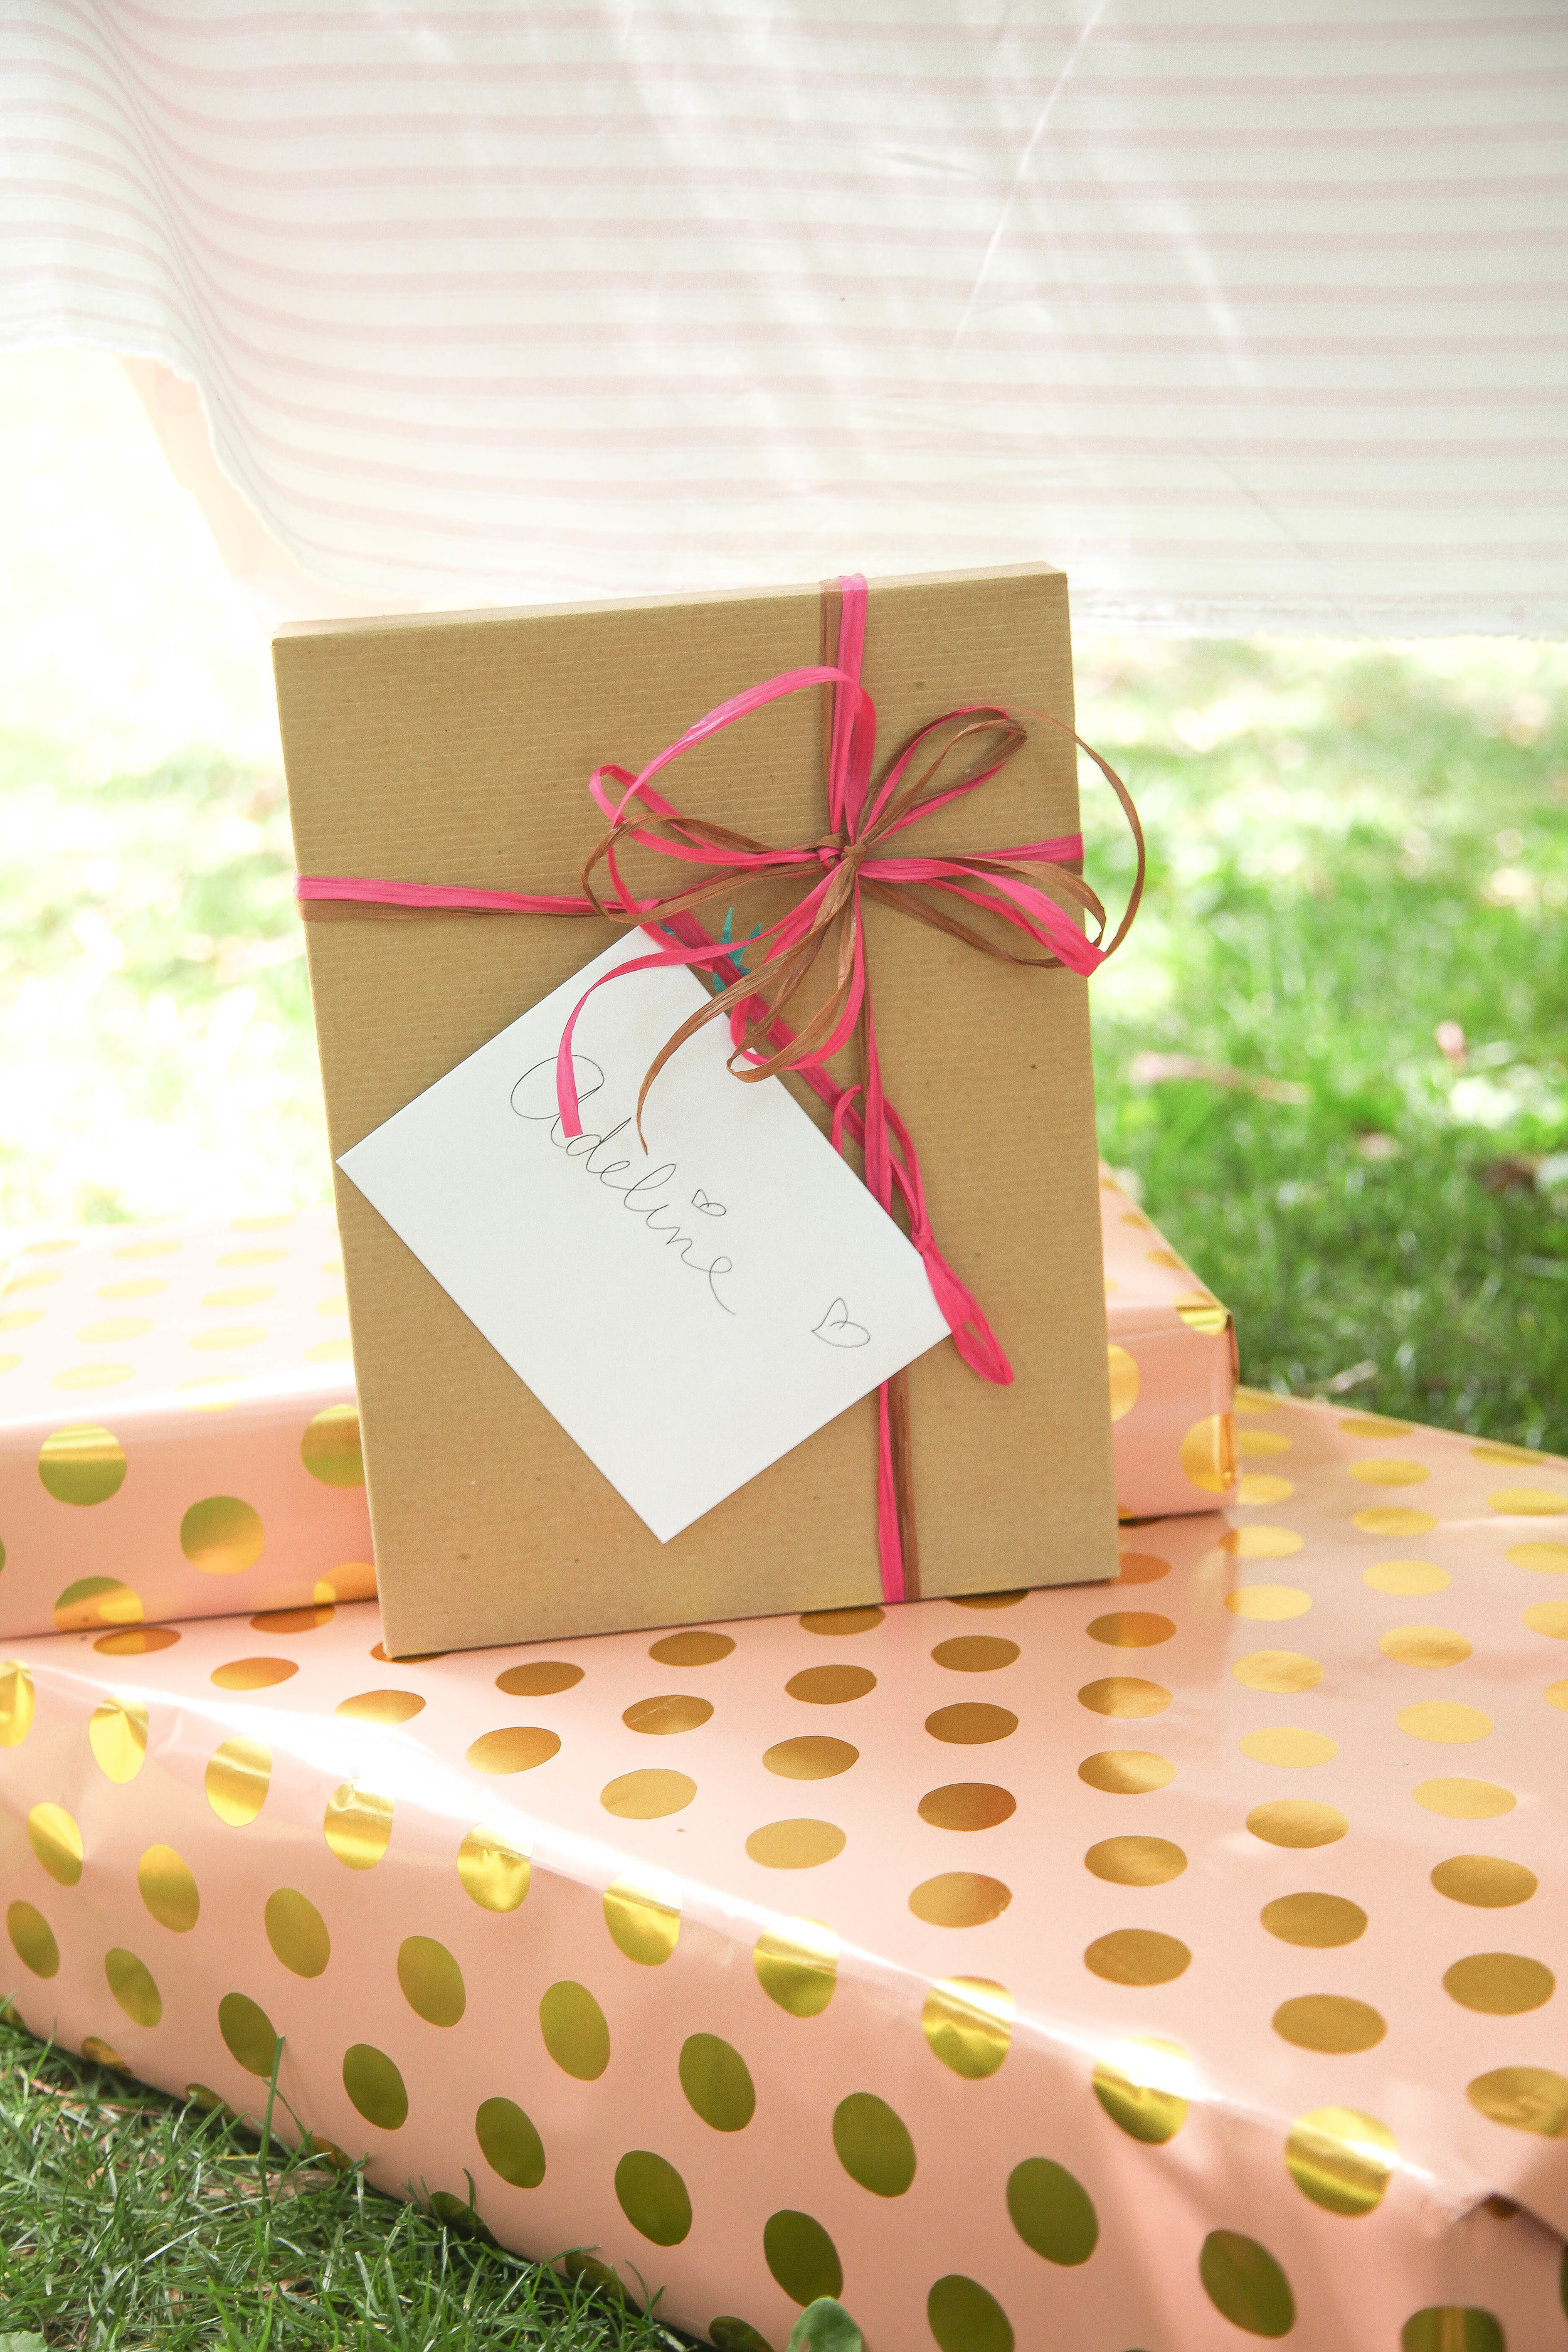
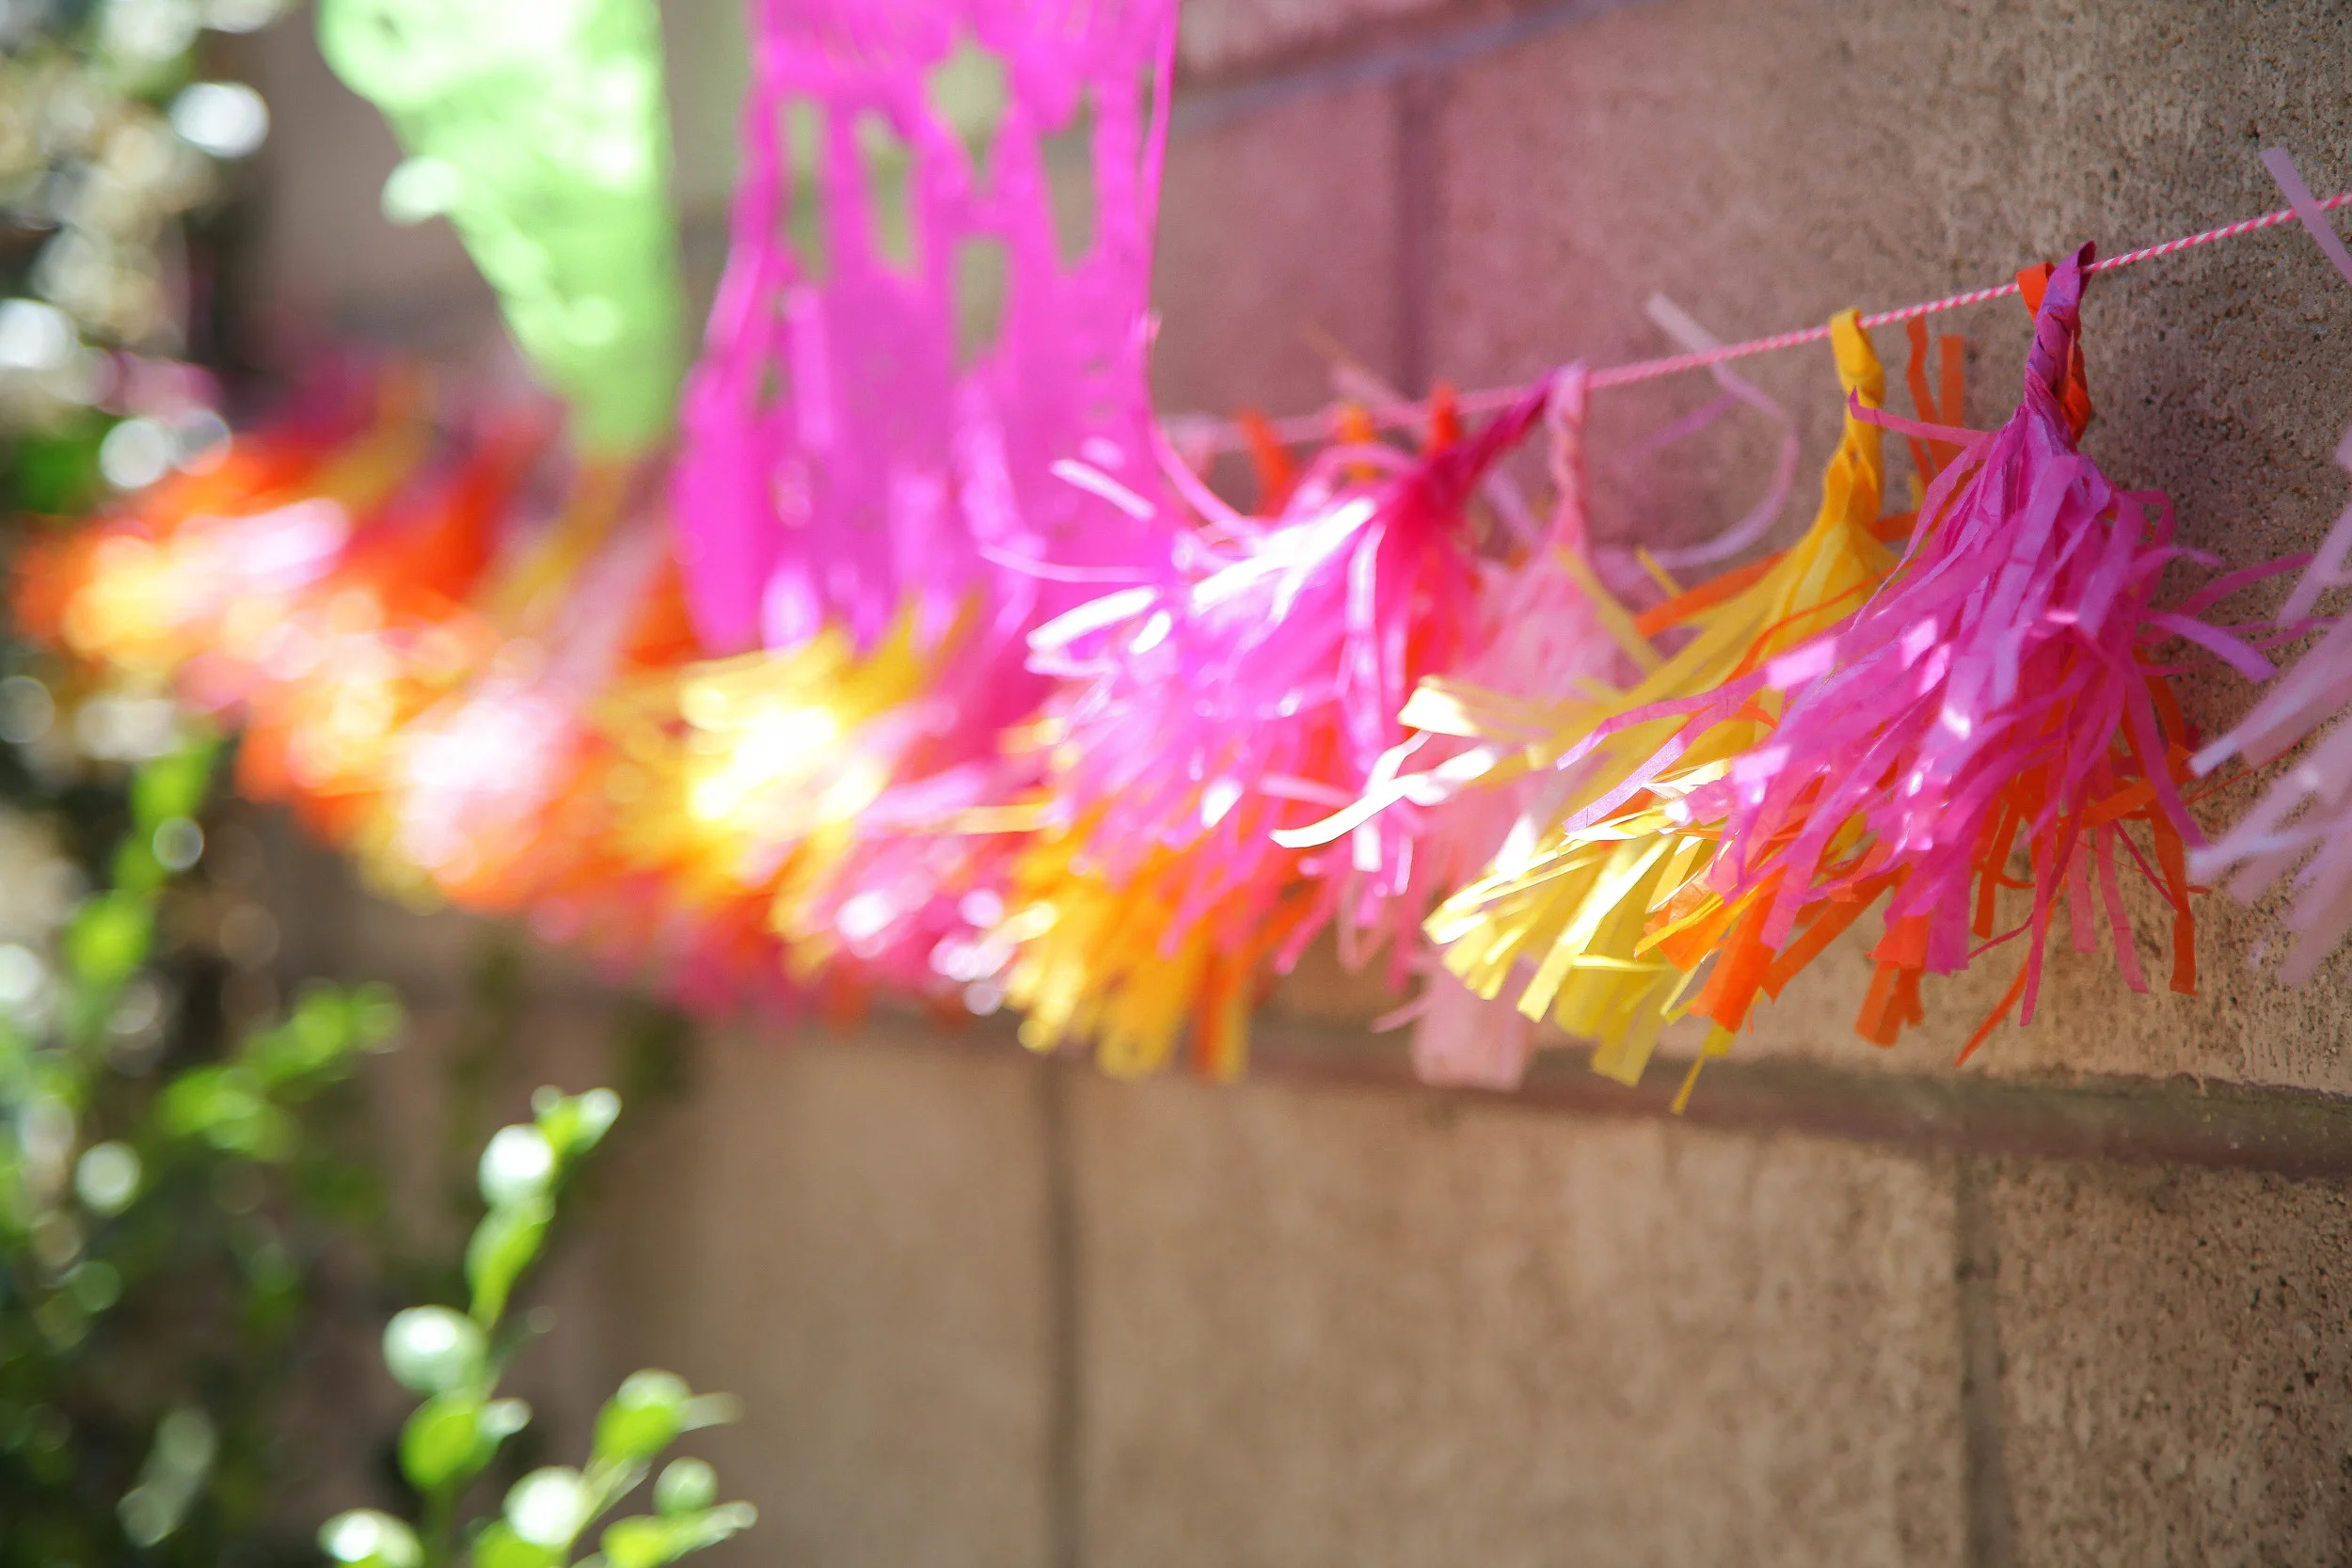
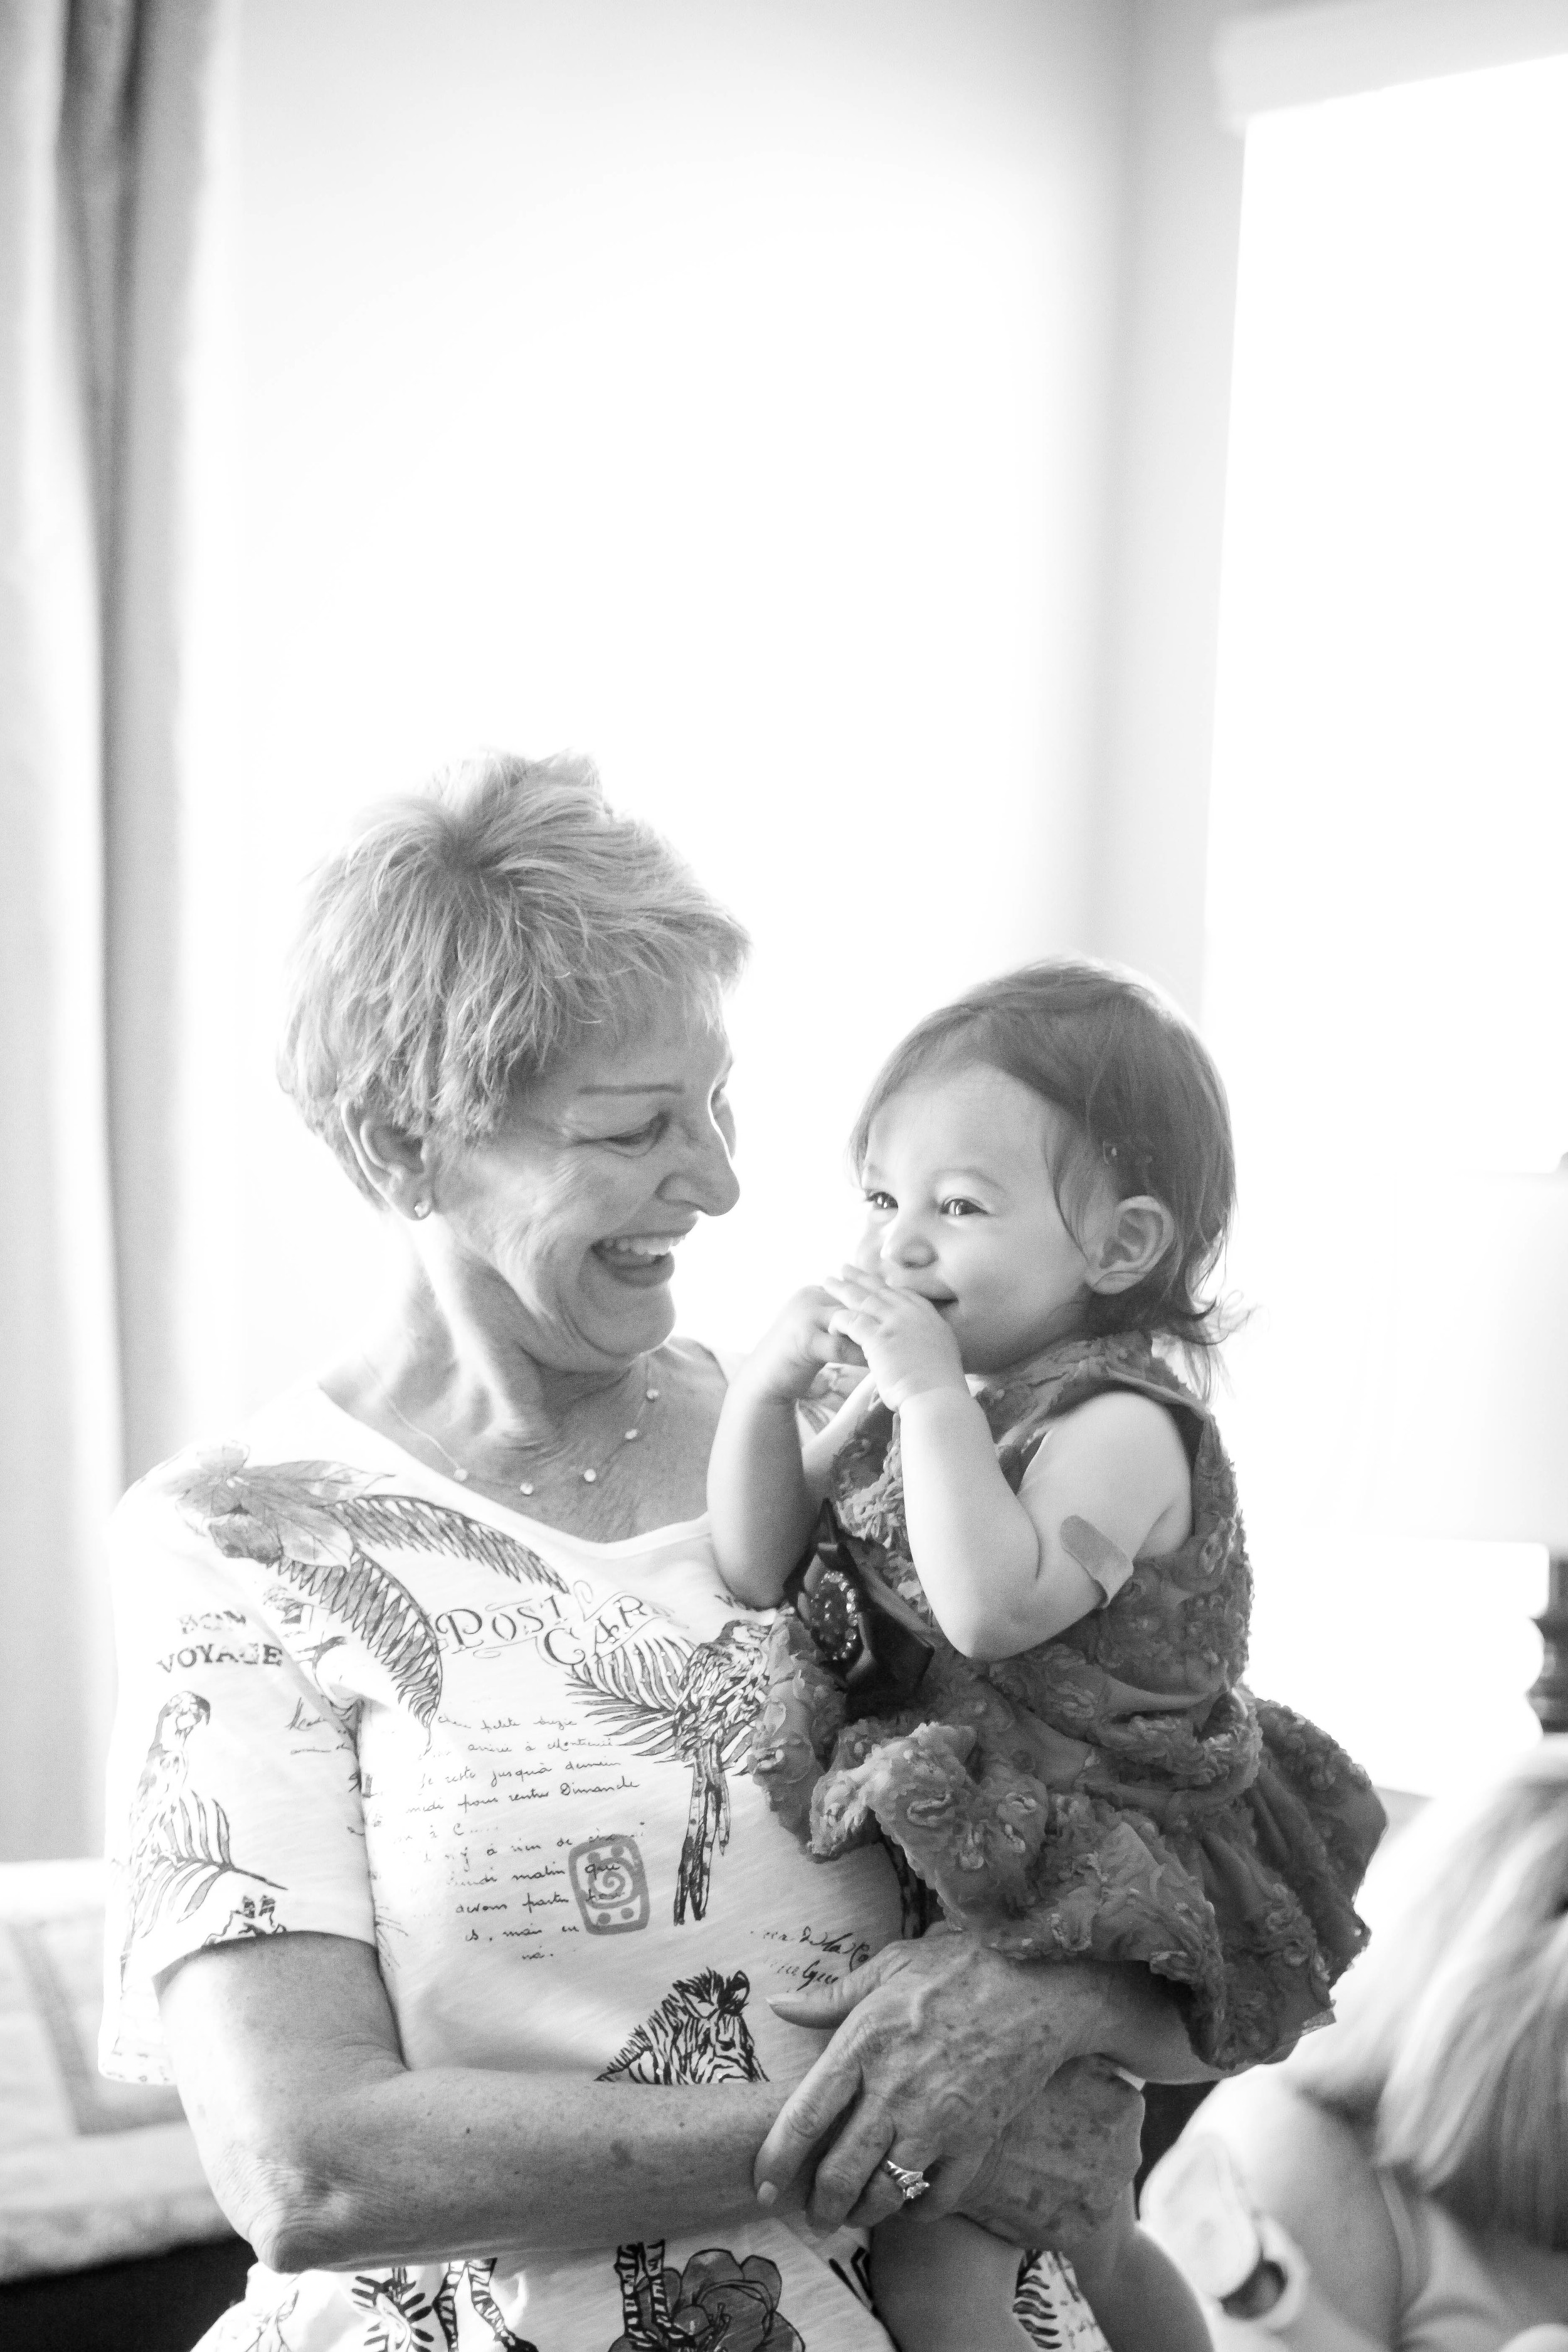
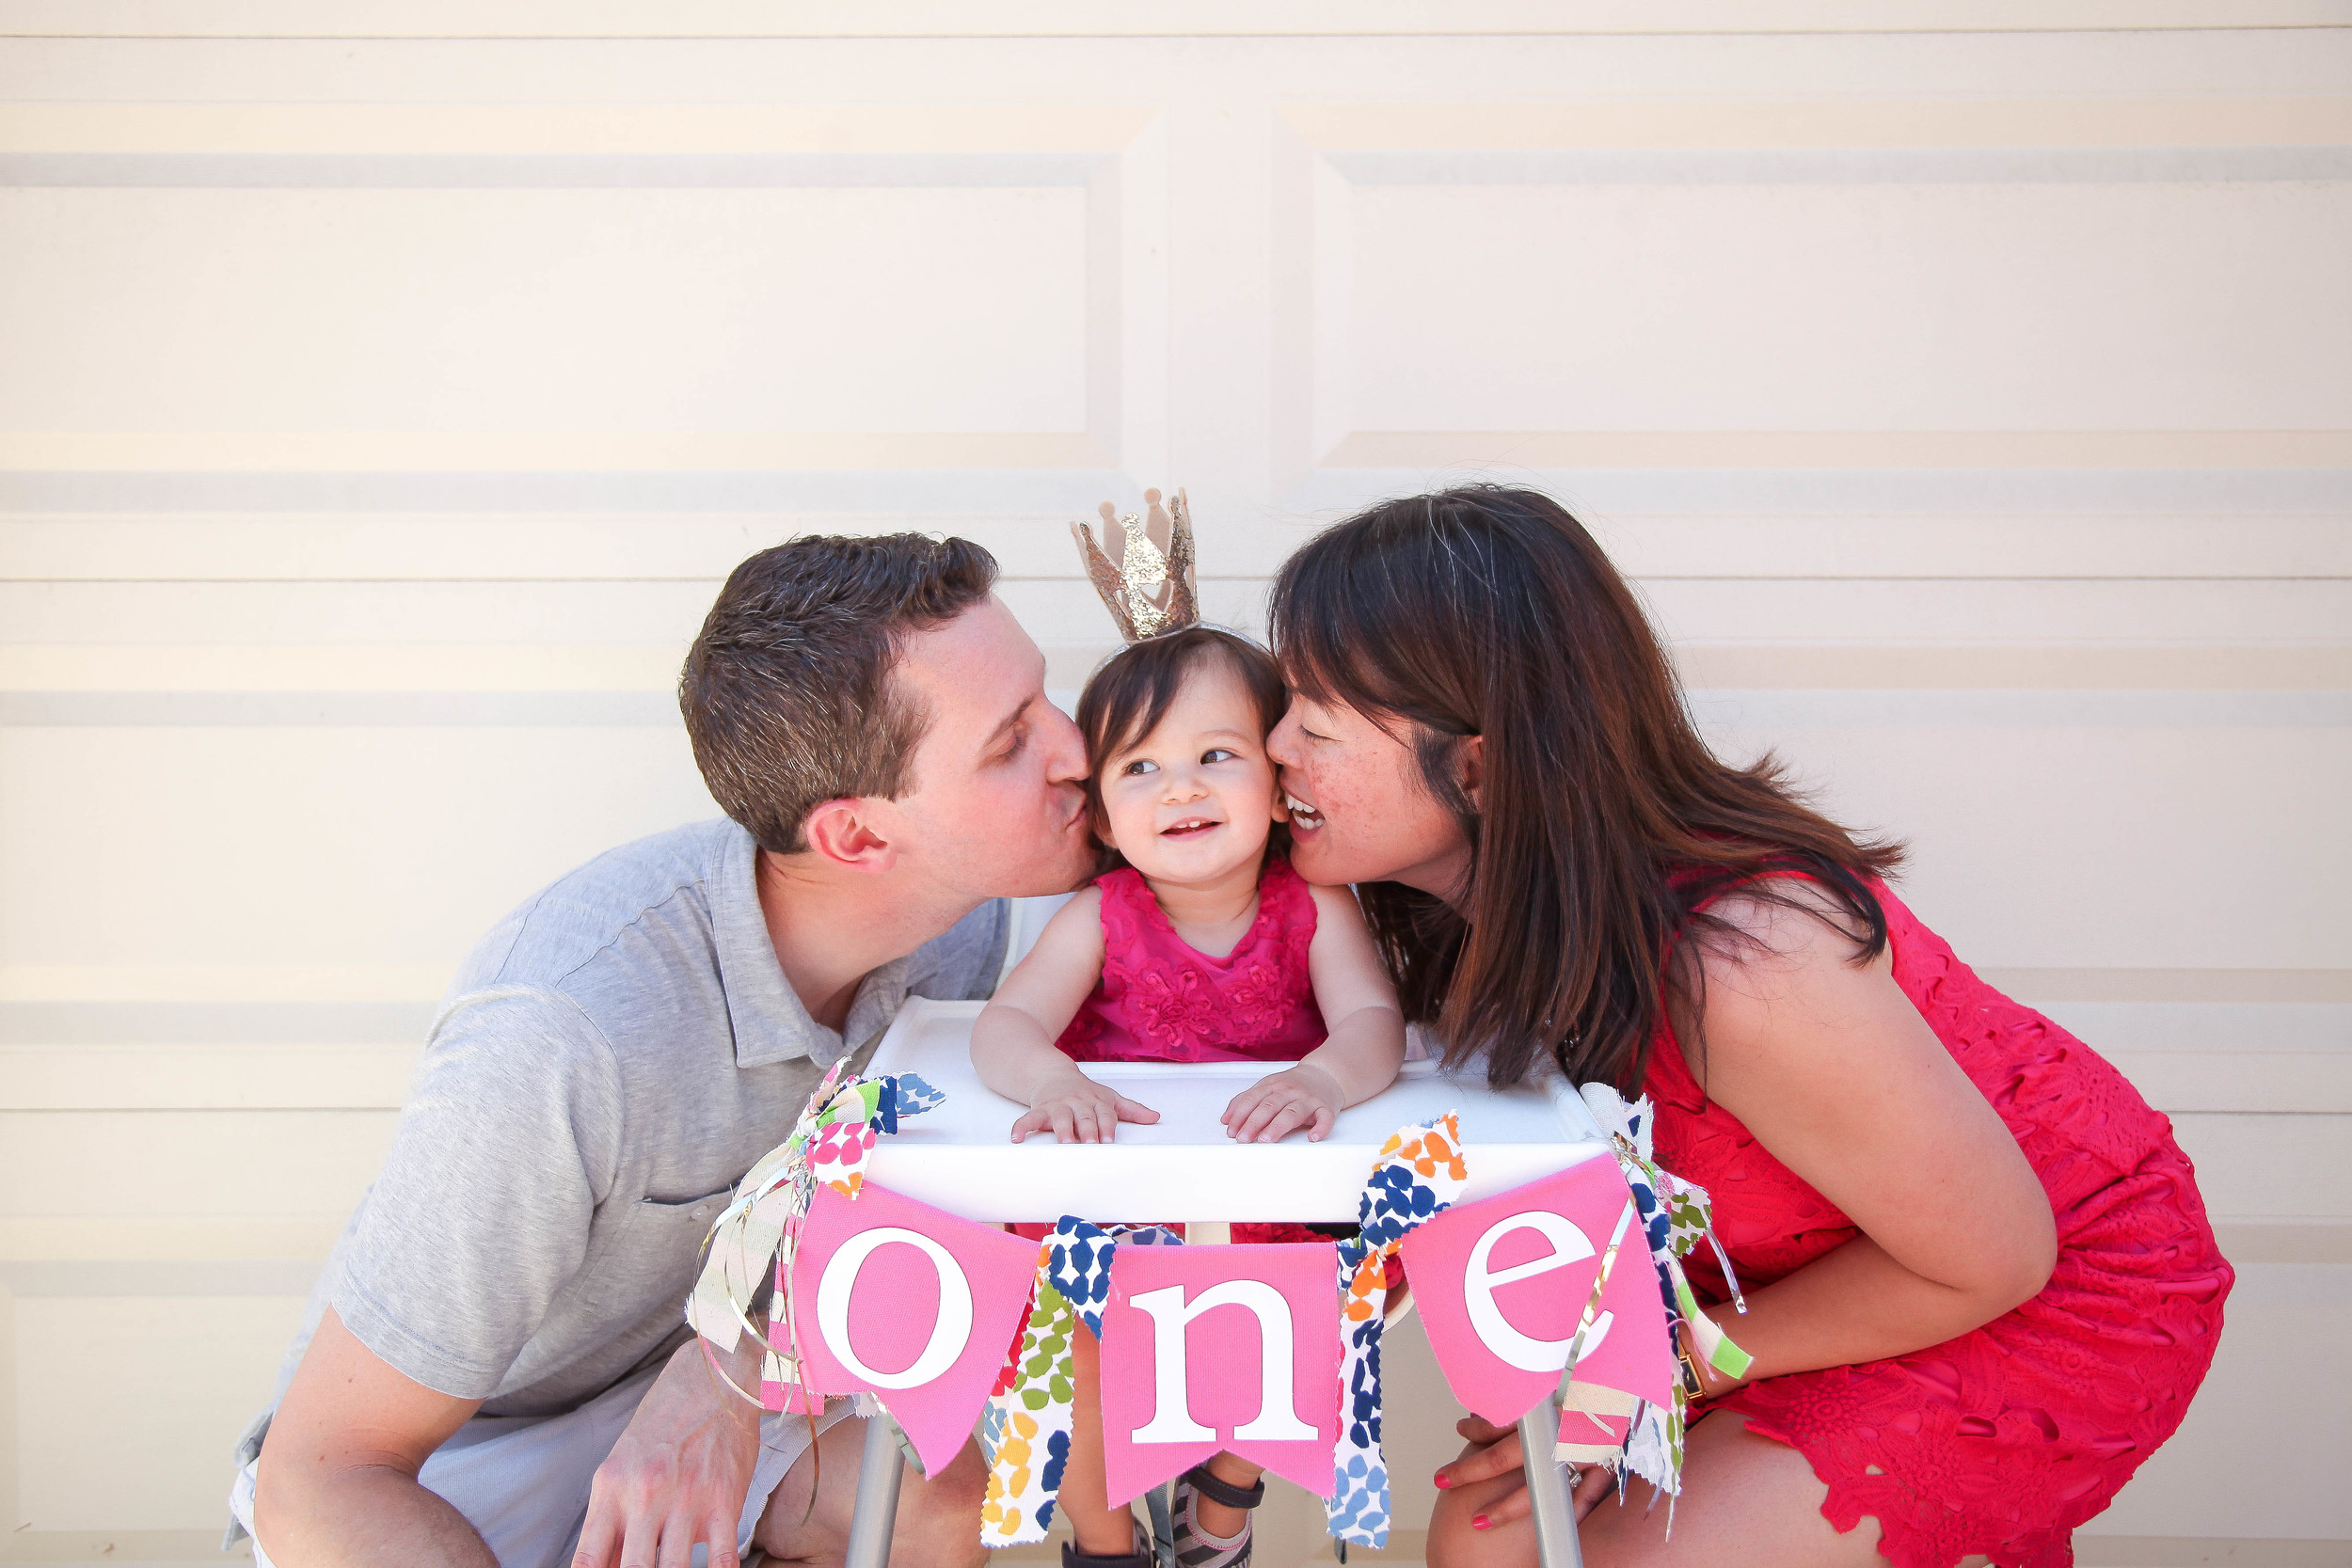
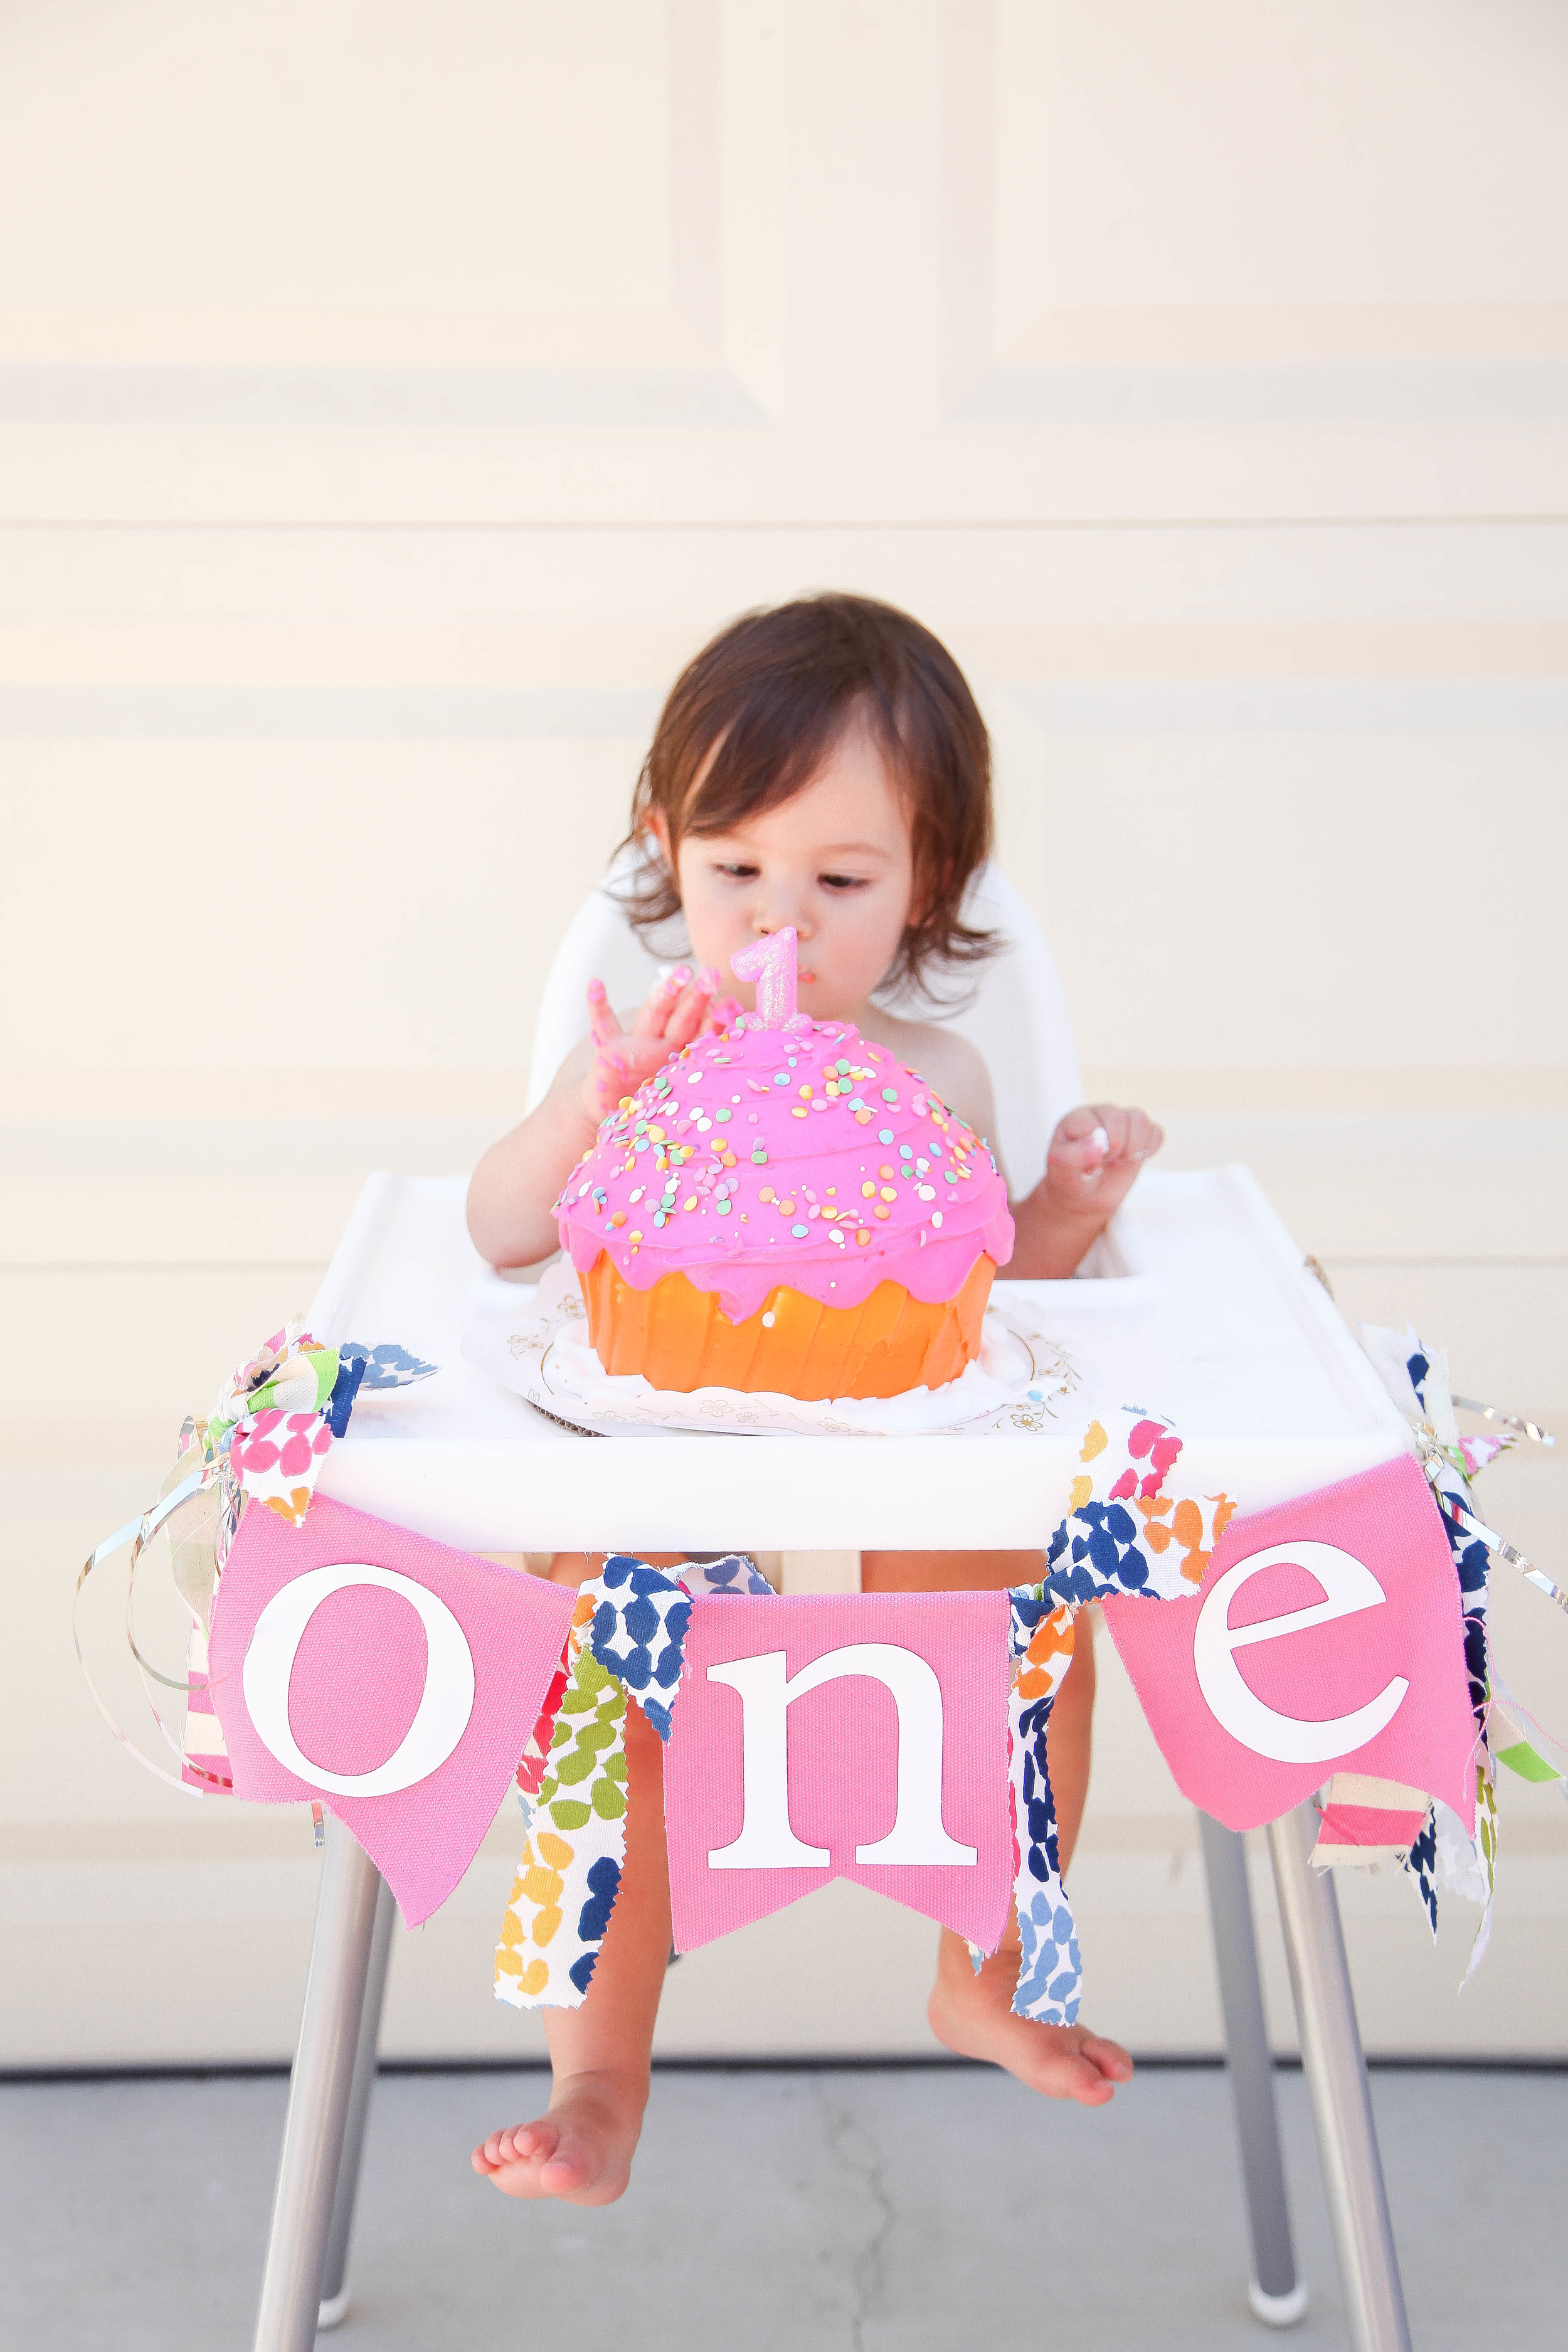
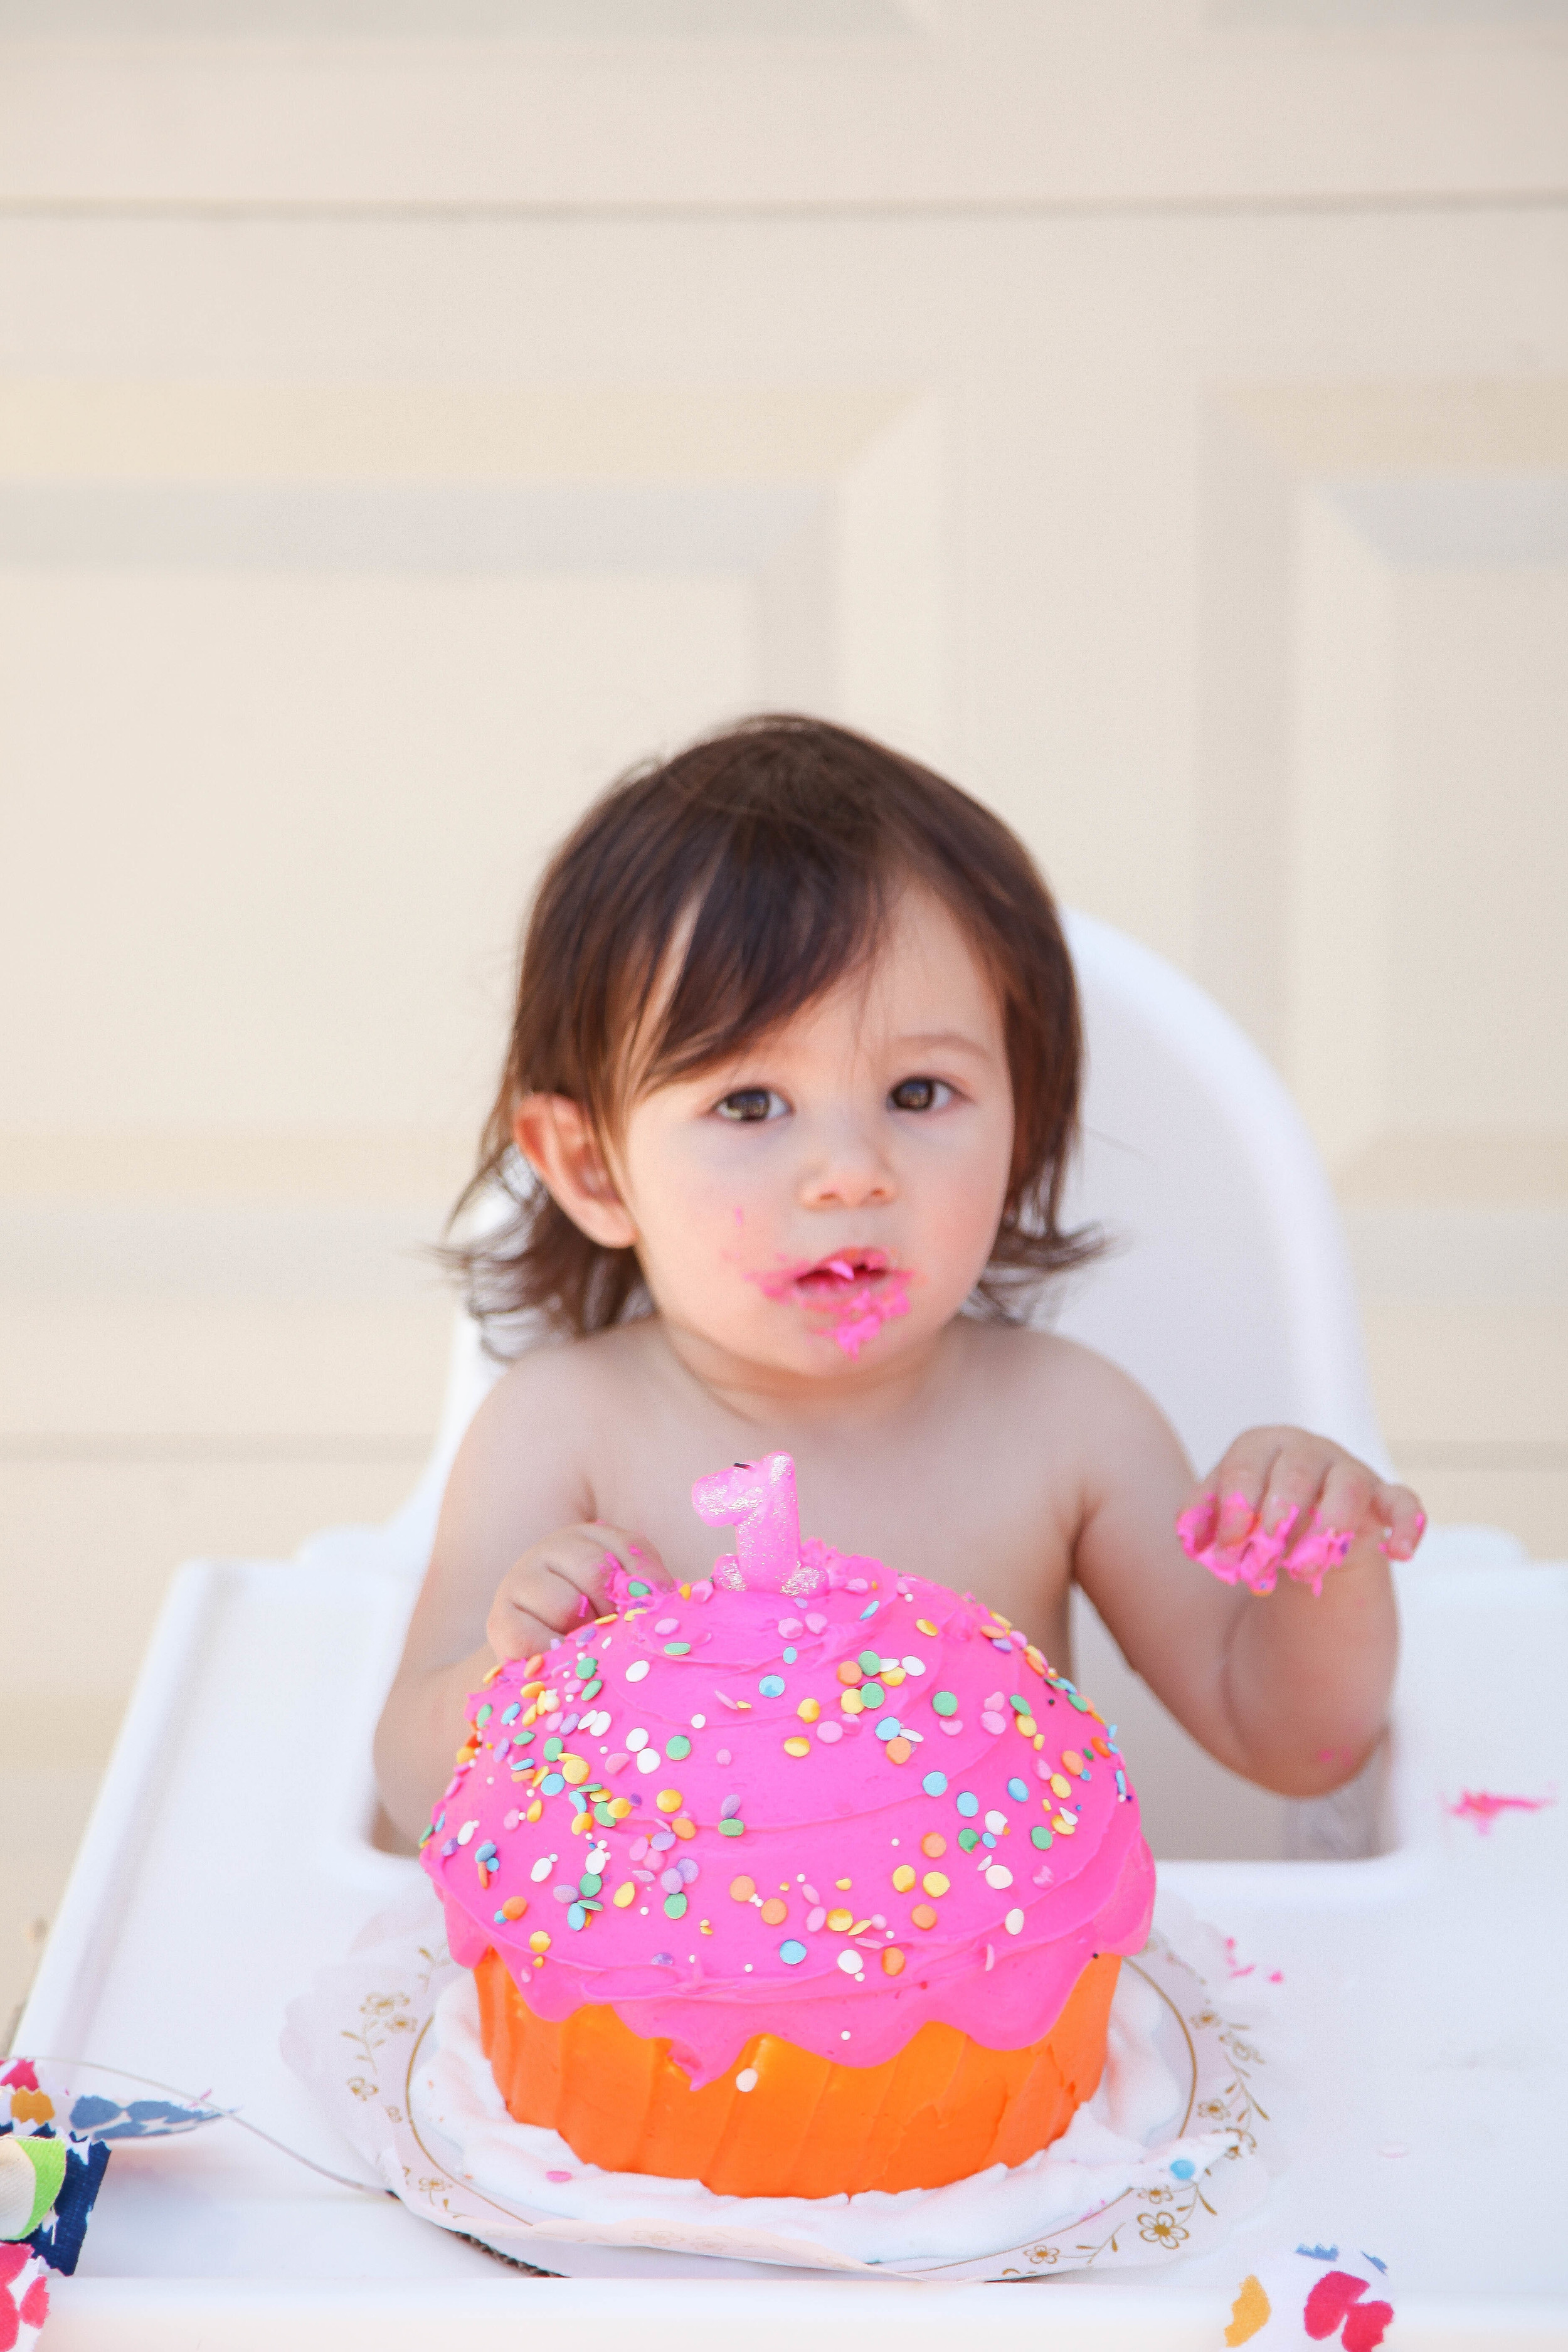
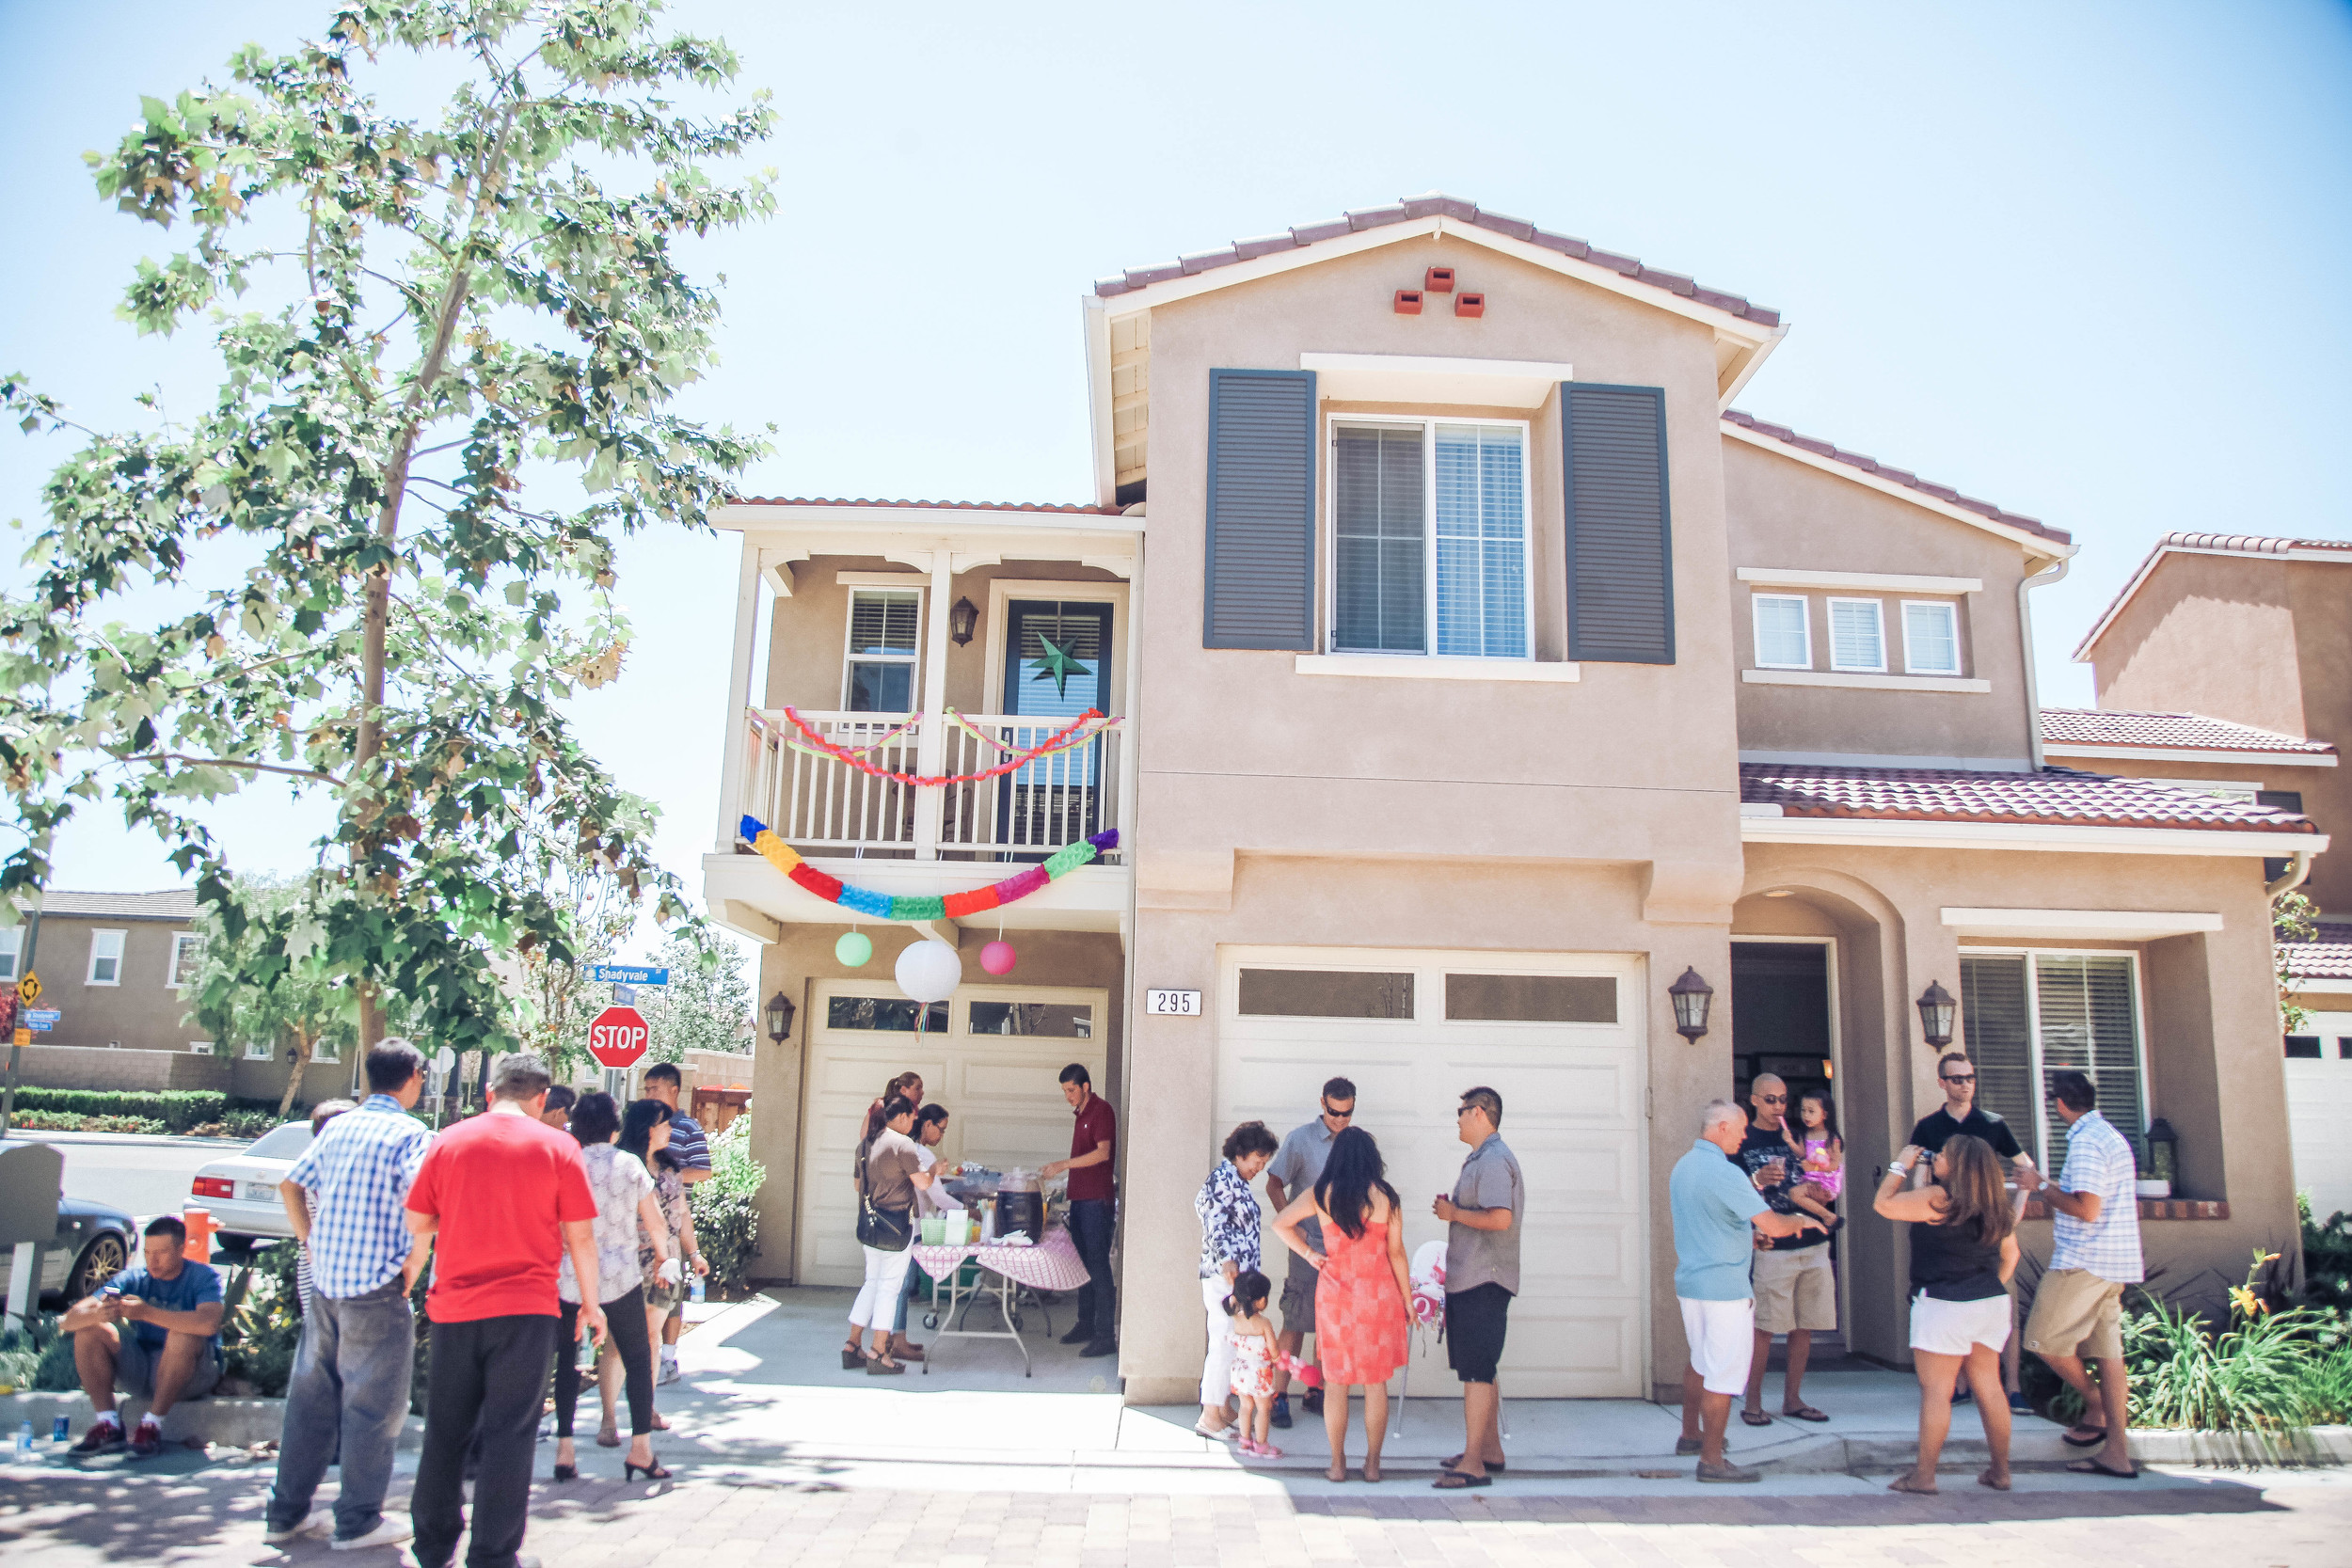
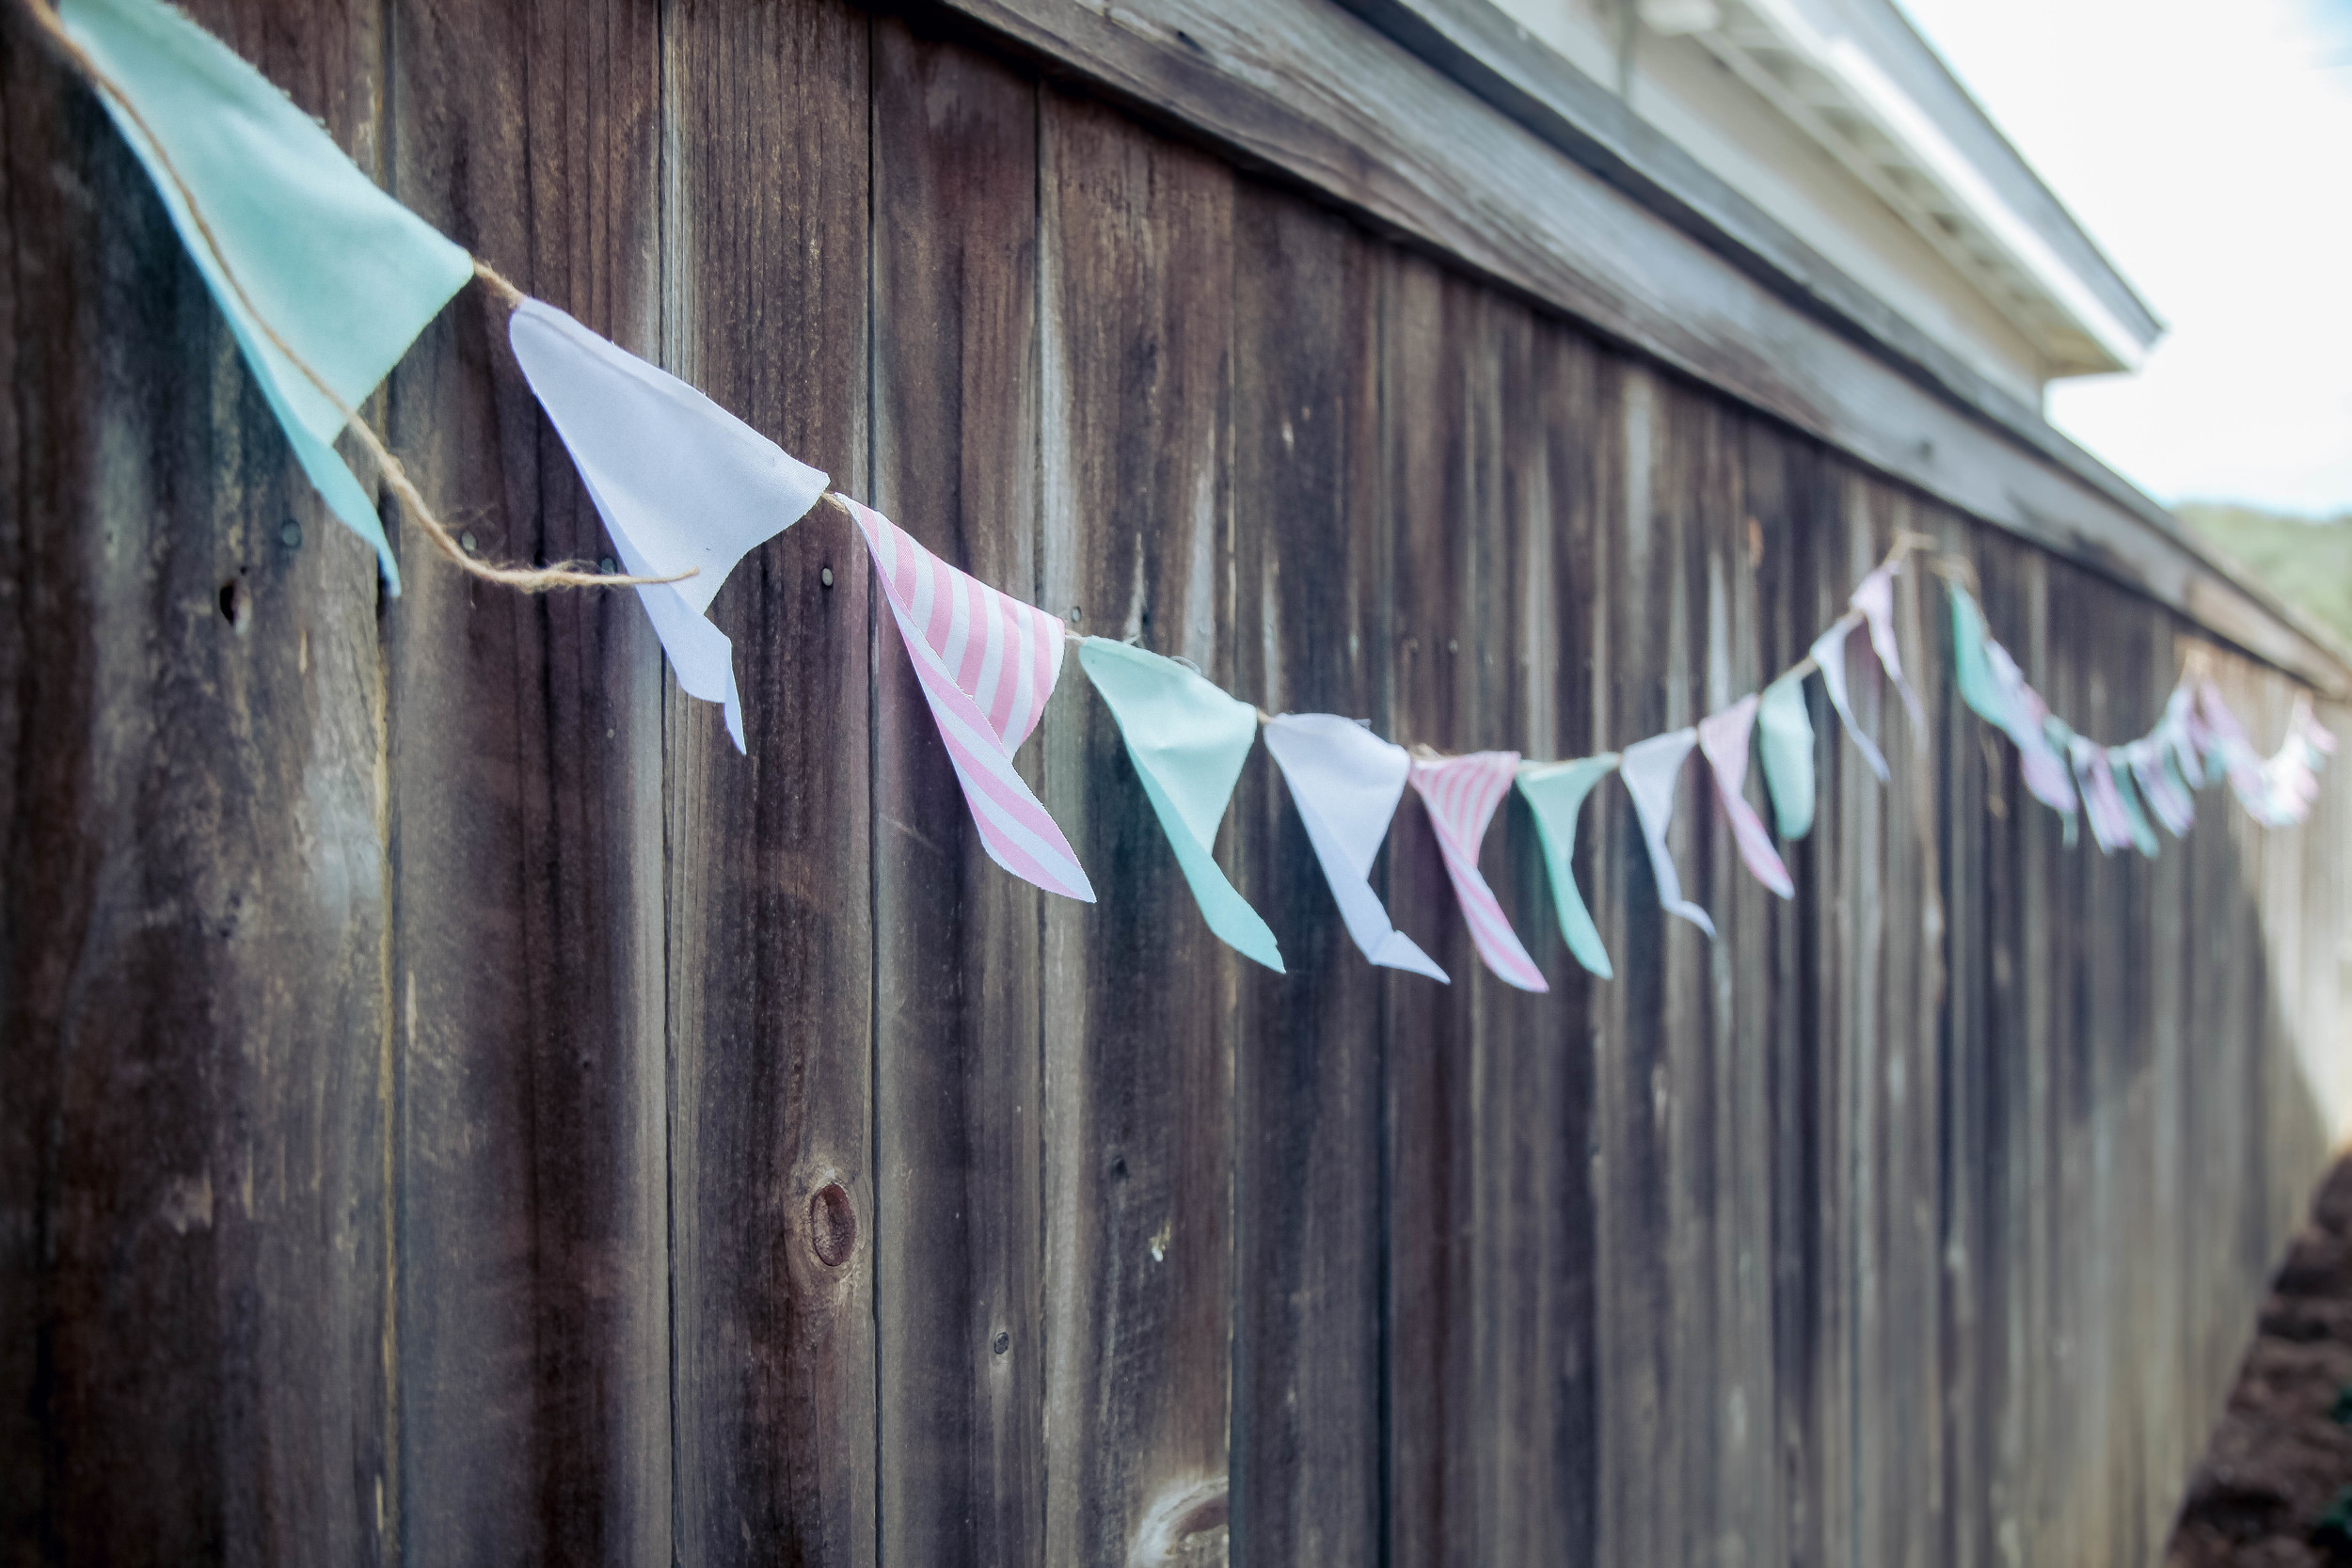
So I kept finding that all the number candles were primary colors in all the stores which didn't go with a light pink or gold party theme so I decided to buy a yellow number ONE candle and paint it glitter-gold to add to the top of my little ones smash cake. Most of the purchases made were from Hobby Lobby like the cardboard 3D letters that spell "WISH" , which we spray painted gold ourselves to match the party theme, and the paper cut-out letters streamed along her highchair banner that spell "ONE" . I also crafted fabric banners that were hung along the wood fence right where we'd greet people at the entrance, as some extra decor. For this I used .99 cent Walmart fabric (about 1 yard of each color/pattern) and cut triangles of fabric (mint pink and gold) and glued them to twine. I did about 12 triangles for each banner (about 5 banners total) . The DIY PRINTABLE Cotton Candy Box holders are Etsy printables (by Partymonkey) that we folded and glued together. For the "thank you favors" , I found pure white boxes at Target and free downloadable 'thank you' circle printables as well. Lastly, the pin wheels are also handcrafted (by watching tutorials on YouTube , ha)
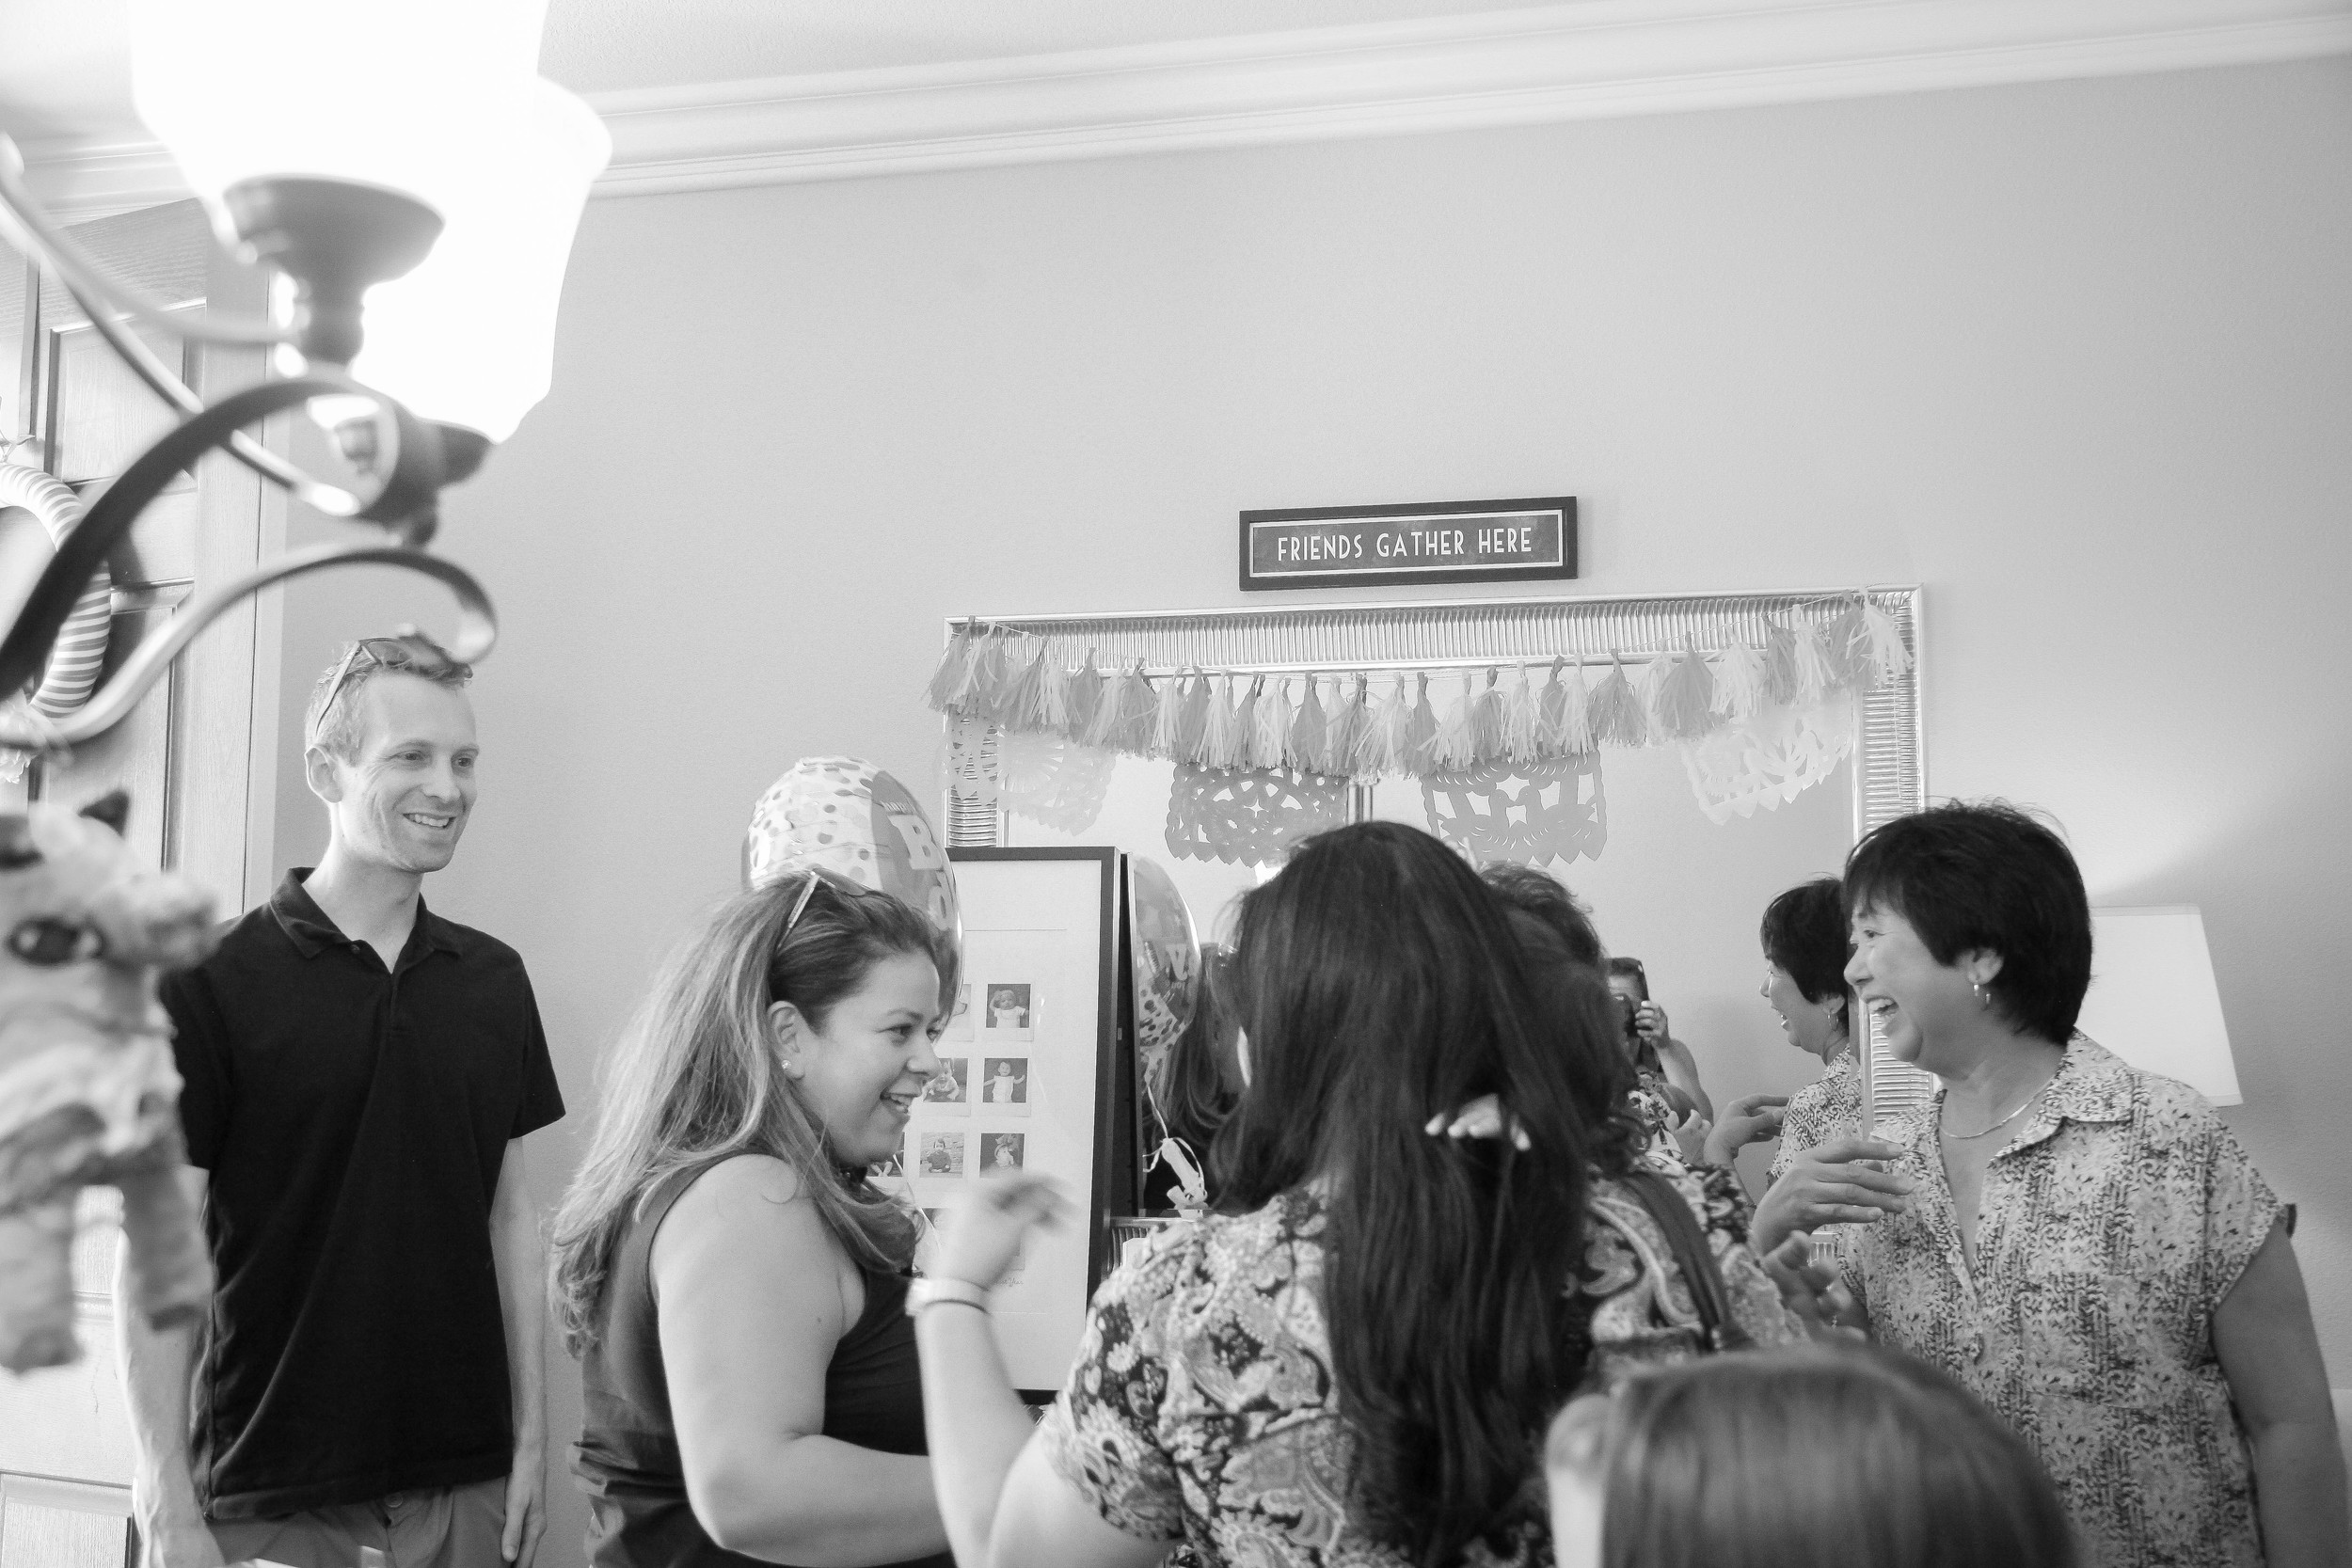
All together, the girls PINK & GOLD (with a touch of mint) PARTY came out just as I envisioned! It was truly a magical day and all those little details didn't go unnoticed by our guests! Anyways, you get the gist of it! If their are any details from this pink and gold birthday party that you do not see mentioned here that you want to know how to make, let me know! Shoot me an email!


PHOTOGRAPHY : Cori Kleckner Photography // Www.Corikleckner.com
White or Ivory Bubble Baby Romper : Purchased on ETSY from ShelByJaneandCo
DIY PRINTABLE Popcorn or Cotton Candy Box : Purchased on ETSY from PartyMonkey
Free DIY 'Thank you' print labels : http://www.everythingetsy.com/2014/08/free-printable-labels-handmade-love/
PHOTO COOKIES: E. bakeddessertsbyerika@yahoo.com FB: https://www.facebook.com/BakedSweetsByErika?fref=photo